
The vapes in the Vaporesso XROS series are small and very straightforward to use, which means that they’re equally appropriate for both beginners and experienced vapers. If you’re new to vaping, though, it might be helpful for you to read a walkthrough before you get started. Although XROS vapes include printed manuals, the manuals are typically very short and don’t discuss the basics of vaping. In this guide, we’re going to remove a major obstacle and help you get started. Here’s how to fill a Vaporesso XROS pod.
How to Fill a Top-Filling XROS Pod
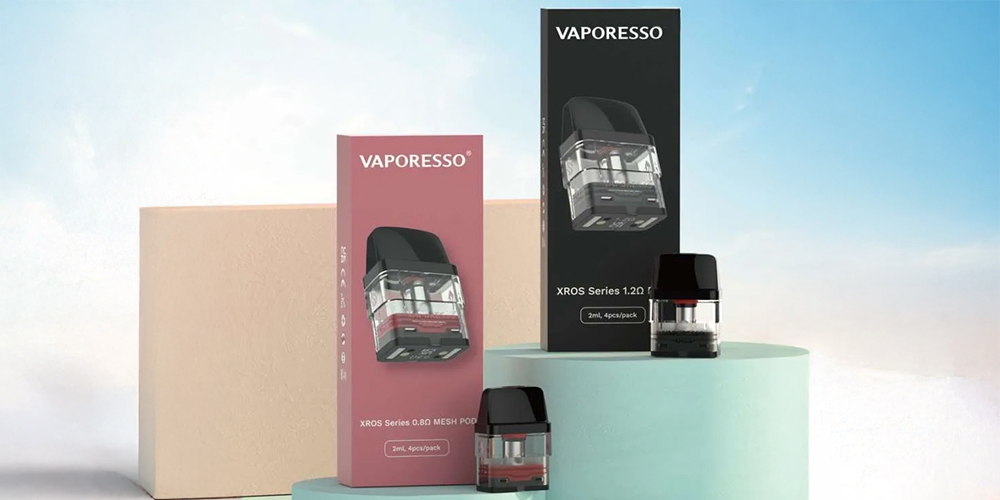
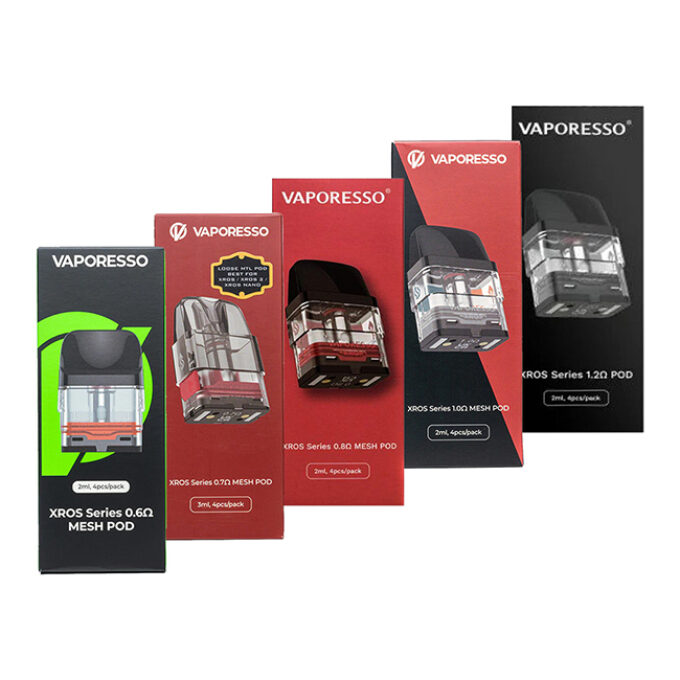
XROS pods are available in both top-filling and side-filling varieties. The top-filling pods are more common, though, so we’ll discuss those first.
To fill a top-filling XROS pod:
- Grasp the mouthpiece and wiggle it gently to remove it. Under the mouthpiece, you’ll see the filling hole, which is marked with a red ring and positioned slightly to the side of the main center air channel.
- Put the tip of your e-liquid bottle over the filling hole and push gently to insert it into the gasket.
- Squeeze the bottle to dispense the e-liquid. Stop when the pod is filled almost all the way to the top.
- Replace the mouthpiece and push it down until it locks into place.
How to Fill a Side-Filling XROS Pod
Although side-filling XROS pods aren’t as common as top-filling pods, they’re still available from some vape shops and are included with some older XROS kits. You can tell that you have a side-filling pod because it’ll have a black or red silicone plug on the side.
To fill a side-filling XROS pod:
- Place your fingernail under the edge of the silicone stopper and lift it to open the pod.
- Put the tip of your e-liquid bottle in the filling hole.
- Squeeze the bottle to dispense the e-liquid. Stop when the pod is filled almost all the way to the top.
- Replace the stopper and push it down on all sides to make sure that it’s completely sealed.
Always Let a New Pod Stand After Filling It
Whenever you fill a new XROS vape pod, it’s important to let the pod stand for several minutes before you begin using it. Waiting a few minutes helps to ensure that the wick will be completely wet when you start vaping. That’s key because the e-liquid in the wick prevents the coil from overheating. If the coil overheats, you’ll get a harsh “burnt hit.” The wick can also potentially be damaged, which will ruin the pod’s flavor permanently.
If you do get a burnt hit when using an XROS pod for the first time, you haven’t allowed enough time for the wick to saturate. To mitigate any damage to the wick, stop vaping immediately and wait several more minutes for the e-liquid to absorb more fully.
What’s the Difference Between Top-Filling and Side-Filling XROS Pods?
For a while, Vaporesso experimented with offering both top-filling and side-filling XROS pods. The side-filling pods are discontinued at the time of writing, but they’re still available from some vape shops.
Why do some people prefer one type of pod over the other?
- A top-filling XROS pod can be refilled without removing it from the device, which is convenient. Top-filling pods are also the only ones that use Vaporesso’s new COREX 2.0 technology, which we’ll discuss in a moment.
- Some people prefer side-filling pods because they have trouble getting the top-filling pods open.
If you find it difficult to remove the mouthpiece of a top-filling XROS pod, try lubricating the gasket that holds the mouthpiece in place with a drop of e-liquid. You’ll probably find it much easier to manipulate the mouthpiece after doing that.
As we mentioned above, Vaporesso’s new COREX 2.0 technology is only available for the latest top-filling XROS pods. COREX 2.0 pods offer:
- Better leak resistance due to a larger silicone gasket at the bottom.
- Better vapor production due to a redesigned mesh coil structure.
- Improved heat resistance due to a new fiber blend used for the wick.
XROS Pod Leaks After Filling? Here’s Why
Does your XROS pod appear to be leaking after you’ve filled it? It’s important to understand that it’s normal for a little condensation to form under the pod as you vape because of how the airflow system works. If you see a few droplets under your XROS pod, that’s not a major cause for concern; you can simply remove the liquid with a cotton swab.
If you see a major leak, on the other hand, you may have done something incorrectly. After drying the pod and device thoroughly, keep these four things in mind when you resume vaping.
- If you have a top-filling XROS pod, don’t ever put e-liquid in the center air channel. Any e-liquid that goes in the air channel will leak out of the bottom of the pod.
- Don’t use too much air pressure when you inhale through your device. The XROS has small airflow openings and is designed for light air pressure only. If you want your device to produce bigger clouds, take a longer puff rather than a harder one.
- Don’t overfill the pod. If you don’t leave a little empty space at the top of the pod, you’ll push some e-liquid out when you replace the mouthpiece or stopper.
- After you fill the XROS pod, make sure that it’s completely closed. If you’re using a top-filling pod, the mouthpiece shouldn’t wobble. If you’re using a side-filling pod, the stopper should be firmly sealed.
When Is It Time for a New XROS Pod?
You can typically expect an XROS pod to last about one week, and it could last even longer if you use unsweetened e-liquid. Eventually, though, every pod begins to take on an “off” flavor as it collects residue from your vape juice. When you’re no longer happy with your pod’s flavor, it’s time to head over to Vape Vibe and grab a new box of pods.