
Though there are many different coil types being introduced to the world of rebuildable atomizers, the “twisted 28” coil remains one of the easiest and most effective builds for users. In this how-to, you’ll be guided through each step with pictures showing you exactly how to build the twisted 28 coil. If at any point you feel that you’ve done something wrong or this how-to doesn’t cover certain portions of the build, feel free to let us know below in the comments section.
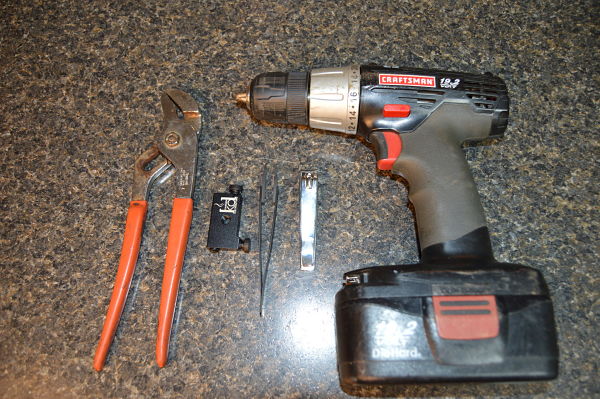
TOOLS YOU WILL NEED
- Drill
- Pliers
- Precision Screwdriver (or coil jig)
- Tweezers
- Clippers (fingernail clippers, something to cut wire with)
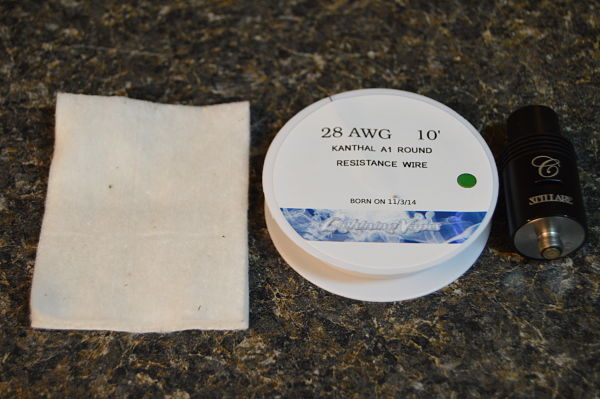
PRODUCTS YOU WILL NEED
- 28g Wire
- Organic Cotton
- Rebuildable Dripping Atomizer
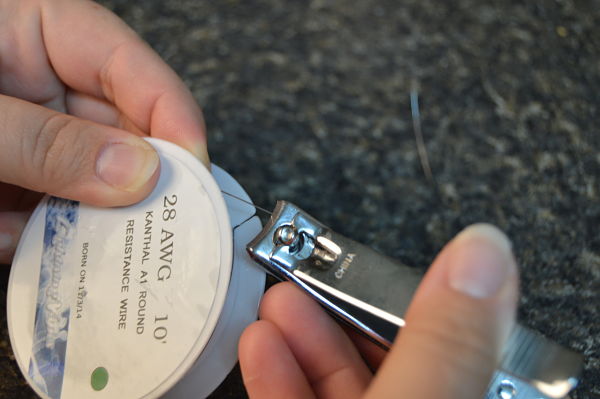
1. Cut Your Wire Length
You’ll want to begin by cutting two pieces of wire from your 28g spool. The wires need to be cut the same length. I usually cut 2 pieces of wire about 12 inches long. Though I only build single twisted 28 coils, I cut enough wire where I can make multiple coils. To save yourself wire, you can try cutting half the length for a single coil build.
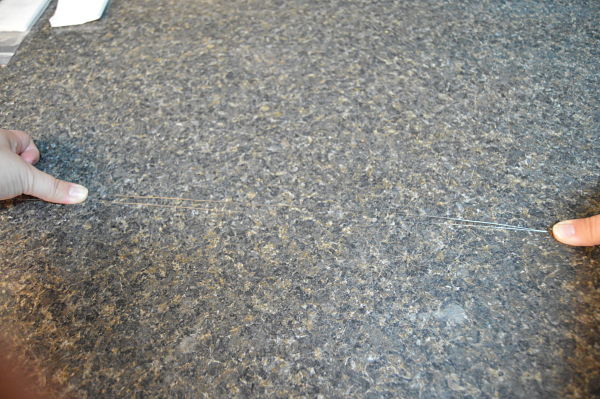
2. Position Your Two Wires Together
You’ll now want to place both of your wires together evenly. If they’re crossed, don’t worry about it. You’ll be spinning them anyways.
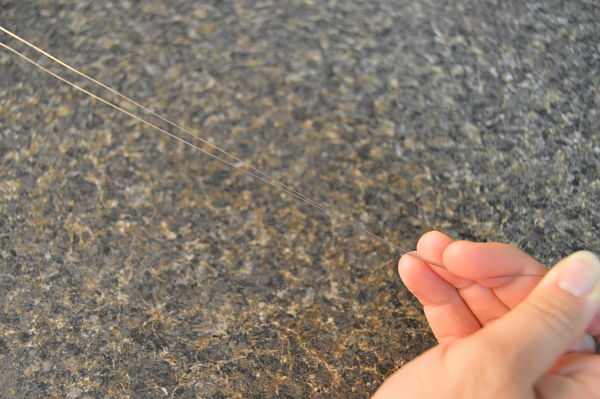
3. Twist One End of Your Wires
Go ahead and twist the end of the wires in the direction your drill will be rotating. This step isn’t required, but I always just pre-twist them anyways.
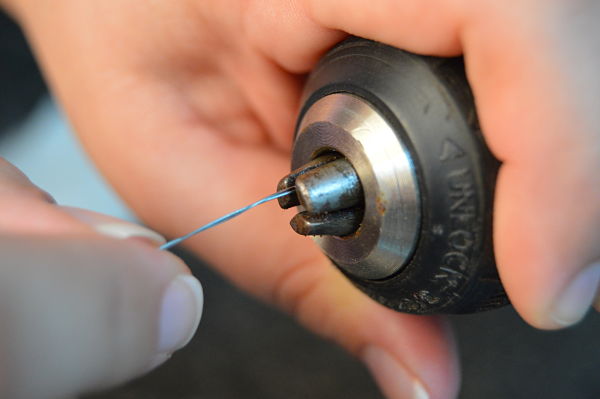
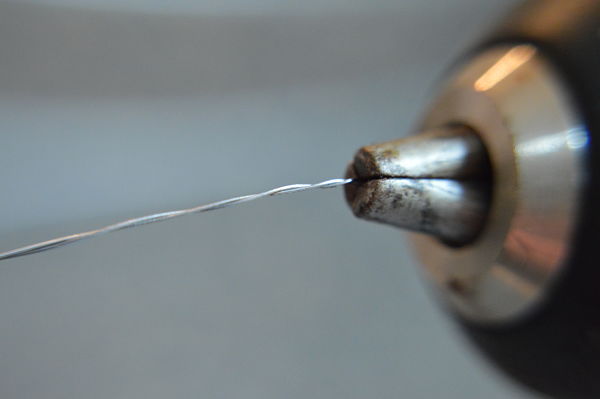
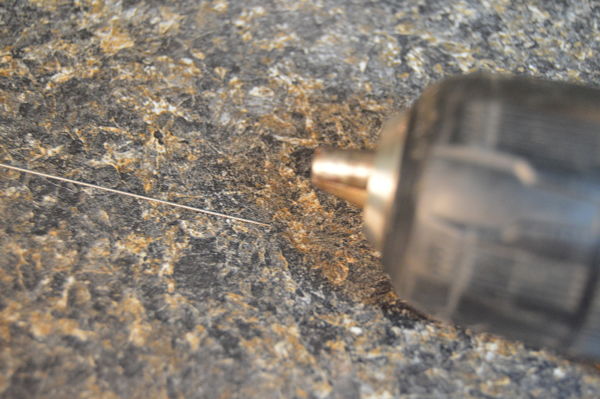
4. Insert One End of Wires Into The Drill
Now you’ll need to insert that twisted end into your drill. When you insert the wires, make sure your drill is tight around the wires so that it doesn’t come off during the twisting process.
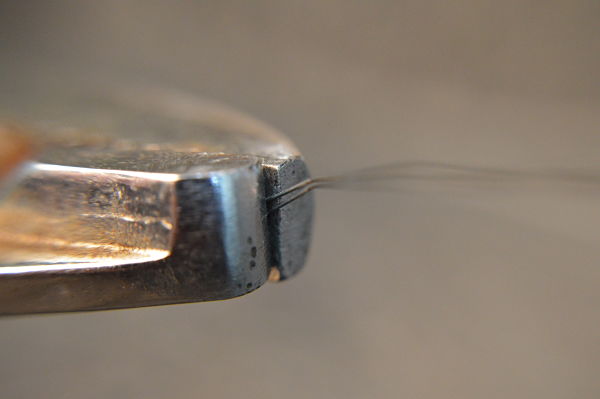
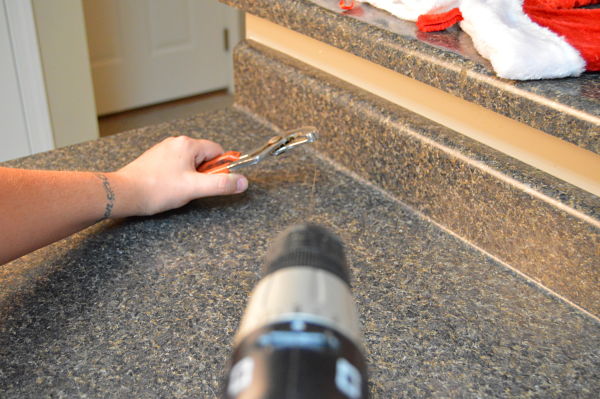
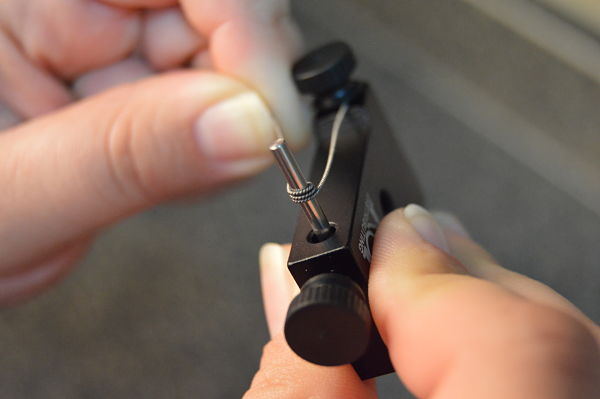
5. Insert The Opposite End of Wires Into The Pliers
Insert the opposite end of wires into the pliers. After you insert this end into the pliers, you’ll need to make sure you have a good grip so that the wires don’t come loose during the twisting process. You’ll then want to spread your drill and pliers away from each other and pull them just enough where you have a good amount of tension on the wires.
6. Slowly Power Your Drill To Twist Your Wire
You’ll now want to start slowly powering your drill to twist your wire. You can take it easy at first just to make sure your wires aren’t going to slip out of the drill.
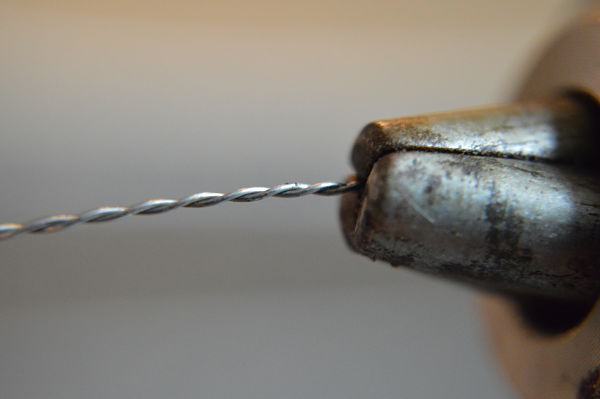
7. Increase The Drill Speed
Go ahead and increase the speed on the drill. This is going to take a minute, so you’ll want to go full power. You’ll slowly begin to notice that your wire is making tighter wraps. While you’re drilling, let the drill pull in as you go. The wire’s total length is becoming shorter since you’re making wraps.

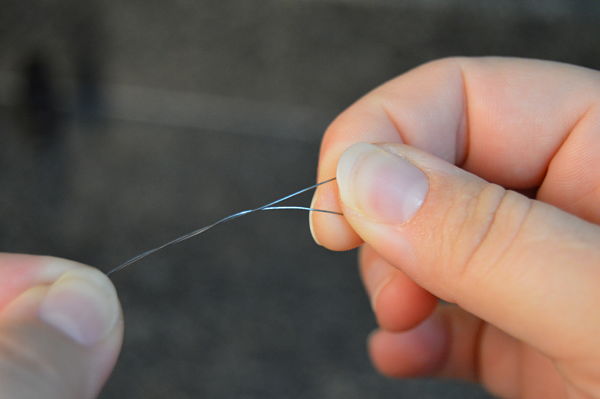
8. Twist Until The Wire Breaks
Continue twisting the wire until it breaks from the drill or pliers end. Don’t pull the wire tighter to make it break though, just let it run its process.
9. Wrap The Coil
In this step you’ll want to wrap your coil. I personally use the smallest rod on my coil jig. I don’t know the exact size of the rod, but it’s the smallest. I make about 7 wraps, which puts me at about 1.0Ω. Since I’m using a variable wattage device, I don’t try to reach a certain resistance because I can easily adjust my wattage depending on my coil.
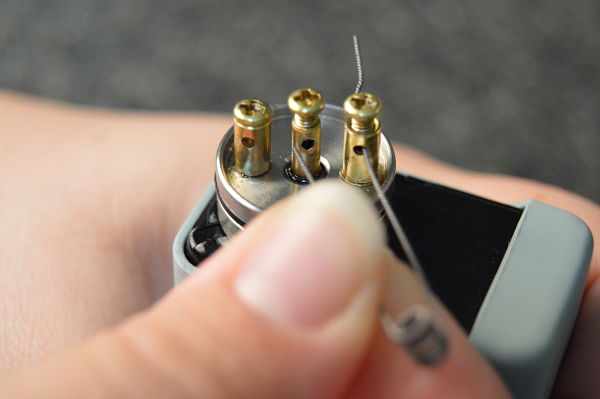
10. Insert The Coil
Now you’ll want to insert your coil into the posts on your rebuildable dripping atomizer just like the picture below.
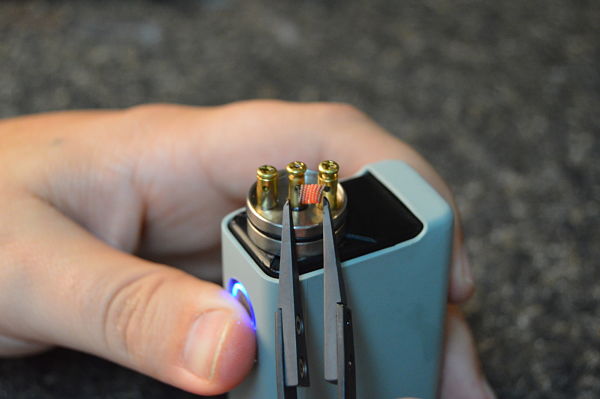
11. Form The Coil
To form your coil, you’ll want to heat it up until it gets red hot, then as it cools down, mash the coil together with your tweezers. Forming your coil eliminates hot spots and makes sure your coil is firing correctly. It also makes the coil look better. When you do this, you’ll notice that your coil will begin firing from the middle of the coil to the outside. If your coil isn’t firing from the middle like the one in the picture below, then you’ll need to continue forming your coil until it does.
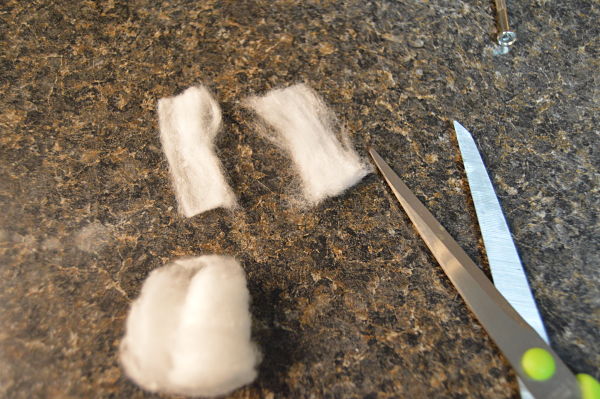
12. Cut The Cotton
Cut your cotton to size. I personally cut my cotton to the size you see in the picture. I used the top left piece. You may noticed that I’m using different cotton than what I had in the Tools picture at the top of this how-to. When I began taking pictures for this how-to, I was going to use a different type of cotton, but ended up deciding to use a regular organic cotton ball as I normally do.
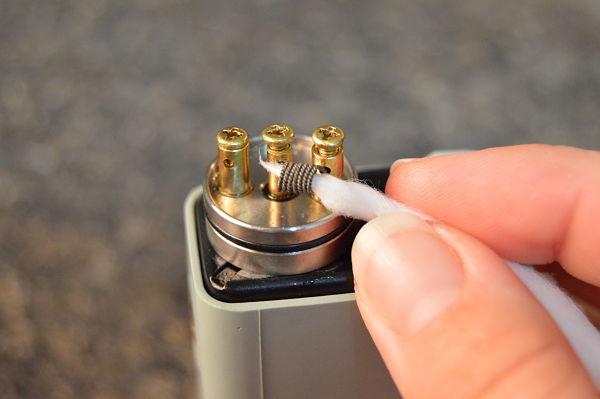
13. Insert The Cotton
In this step, you’ll want to twist your cotton, but make sure it’s still fluffy… just like in the picture below. You’ll then need to insert the cotton into the middle of your coil.
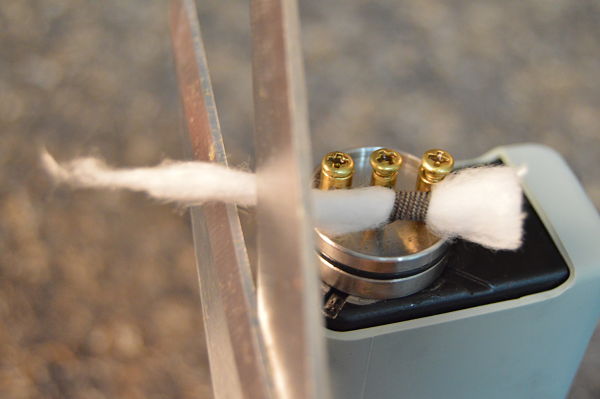
14. Cut The Cotton’s Ends
Once the cotton is in the middle of the coil, you’ll then want to cut the ends off. Make sure you leave enough length on each end where you can pack your cotton underneath the coil to hold more e-liquid.
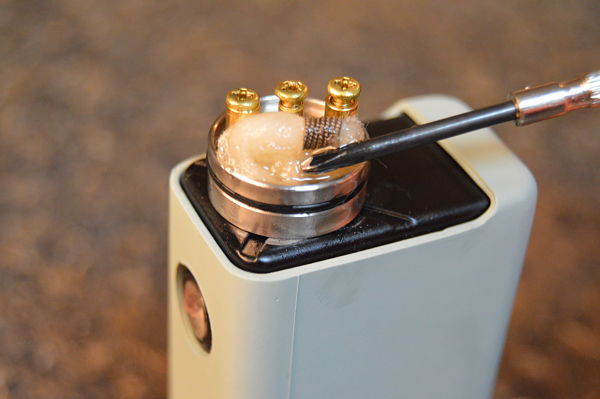
15. Pack The Cotton
In this last step, you’ll want to saturate your coil ends with e-liquid, and then start packing it on your deck and beneath the coil. Once you’re done packing, throw on your cap and start making clouds!


I think you forgot to add that you should always leave a bit of space underneath the coil or between the coil and cotton so that air can still pass through. I’ve found this to make a big difference and it applies to pretty much any build.
Otherwise, great tutorial for newbies.
Happy vaping =]
What did the resistance come out to on that coil, just out of curiosity?