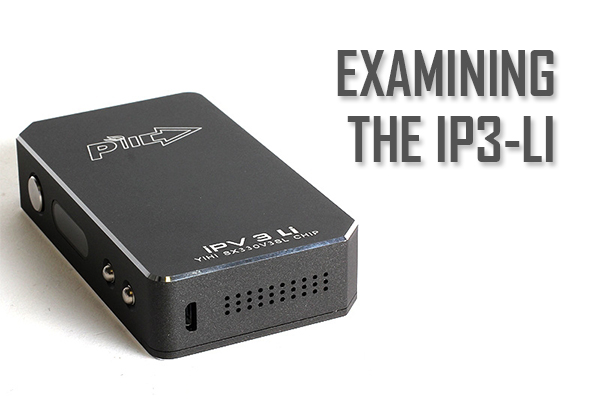

By now everyone has seen or heard of the iPV3-Li. It isn’t the newest kid on the block, but I have spent the last two months putting one through its paces, and hard. I’m going to take some time to walk you through the device, its materials and talk about the powerhouse that runs it, the YiHi SX 330 V 3 SL chip.
The Pioneer4You iPV3-Li
Although Pioneer4You have since released 2 more regulated devices, and other companies have offered a plethora of similar products, this one is still at the front of the pack.
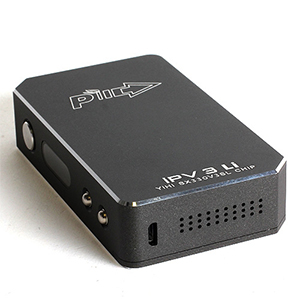 As you look at the top of the iPV3-Li you will find a spring-loaded 510 connection and my favorite part of this whole thing… a fully functional touch sensor! More about that later on. Head around the corner to the other edge we find Pioneer4You’s “star board” emblem and logo. Head to the bottom for vent holes galore and a micro-USB port for upgrades and charging. The front of the billet box has the Pioneer4You logo and nonchalantly mention the model at the bottom, as well as revealing the powerhouse inside, the YiHi SX330V3SL chip. Slide open the door to find a clean unit with a spring-loaded sled, space for two 18650 batteries in series, and the polarity clearly marked so you can’t put the cells in the wrong way round – don’t worry, even if you do the device will tell notify you. You will also find a battery strap to help you remove your batteries with ease, which isn’t too long and not too short, just another small feature that shows Pioneer4You has paid attention to everything. You will see a small metal ball bearing and some rubber feet inside here that have one function between them, which is making sure that the door doesn’t accidentally come off, and they do their job well.
The iPV3-Li screams quality as we take in each detail as Pioneer4You really doesn’t seem to have overlooked anything. The one thing I did notice is that inside the door cover there are holes for 2 ball bearings, one at the top and another towards the bottom, but I believe that when they put the rubberized feet inside they figured they wouldn’t need a second one in there.
More on The Chip
![]() A regulated device is only as strong as the chip that powers it. The powerhouse inside this device will give you what you ask for, when you ask for it. If you want to blast out at 150 watts, your batteries wont last long, but the chip will give you a consistent vape for as long as it can. The temperature control only goes up to 50 joules, but as I have only used it with a tank, I didn’t find that problematic. The chip functions are all accessed through a couple of clicks with the 3 buttons on the side. Let me guide you through that.
A regulated device is only as strong as the chip that powers it. The powerhouse inside this device will give you what you ask for, when you ask for it. If you want to blast out at 150 watts, your batteries wont last long, but the chip will give you a consistent vape for as long as it can. The temperature control only goes up to 50 joules, but as I have only used it with a tank, I didn’t find that problematic. The chip functions are all accessed through a couple of clicks with the 3 buttons on the side. Let me guide you through that.
Five clicks on the fire button and the beast is alive! In power mode, you have 5 preset levels to quickly adjust between wattage. To adjust out of these, you press the down button once and then adjust to your heart’s content. As soon as you hit the fire button, the number is locked in as a preset. The touch sensor can be turned off by holding the fire and down button for a couple of seconds and back on by holding fire and up. The touch sensor is activated when you hit the fire button and will stay active for as long as the screen is on. When the screen turns off, you have to wake it out of sleep mode with the fire switch.
Five more clicks of the fire button opens up the menu screen.
- System On/Off
- Mode Power/Joules
- Exit On/Off
Hitting fire will scroll through the menu and hitting up and down will go into the menu’s themselves. System turns the machine off, Exit takes you back to which ever mode you were in but right now lets look at the Mode menu. Switching from Power to Joules takes you into the temperature control menu.
- Unit F/C
- Temperature; 212-572 °F
When operating in Joules mode, you have options between 5-50J, and although we have heard that it will be upgraded to 75J, we are still waiting.
Back in Power Mode, you have the option to go from 10-165 watts before upgrading the firmware. If you are using a pc that has windows 7/8 you can upgrade the firmware to increase your wattage to 200 watts and it will allow you to use titanium wire in temperature control.
[youtube http://www.youtube.com/watch?v=G6oOPivYZlU]
Why Should You Own The iPV3-Li
As I mentioned at the start of this piece, I have put this device through the ringer. The 5 memory settings are awesome for changing wattage on the fly, and if you’re moving through RDA’s or Tanks, you can be set up and ready for 5 different ones at the click of a couple of buttons. I have put atomizers on here built down to 0.1Ω and the iPV3-Li fired it consistently until the batteries ran out. In temperature control I have been able to drain tanks without a single dry hit, because that chip is intelligent and responsive. The paint job may be getting slightly dinged, but that is because I have dropped this thing, kicked it across the floor and treated it like I hate it, but this trustworthy warrior is ready to work as soon as I hit the fire button. As a person who was not a fan of ANY regulated device, the only way you will get this one out of my hand is when it is cold and dead. If you do not have an iPV3-Li in your kit bag, in my opinion you are doing yourself a disservice as a vaper.
Pioneer4You iPV3-Li: GET IT HERE
As always, enjoy your vaporizer and vape safe!!


