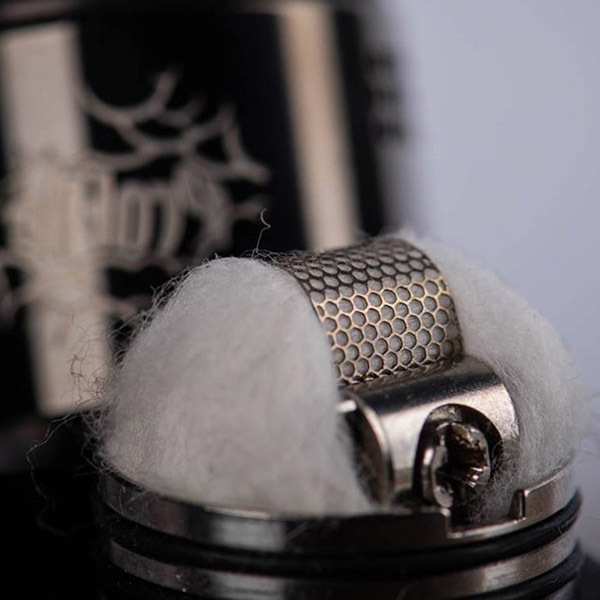
Today I will show you how to build a 5v passthrough box mod. Building a passthrough pretty much applies to any object that you can drill a hole in to hold your connector, switch and USB wires.
Just as a warning and disclaimer: I provide this as information only. If you attempt to use the information I have given you, you are doing it at your own risk and I will not be held liable for anything related on your build. Building MODS even something as simple as this isn’t for everyone. If you are not experienced in anything you see in this information, I do not recommend trying this. I know this may sound cheesy, but remember… safety first.
Parts you will need:
- Battery Box/Project Box – (Any object you can fit the connector, switch and wires in.)
- 510 Connector
- Button Switch
- USB Wire


Tools you will need:
- Drill/Drill Bits
- Wire Strippers
- Flat Head Screwdriver
- Hot Glue Gun
- Solder Gun
- Box Cutter – (Razor Blade)
- Remove everything from the box. You can use your flat head screwdriver to remove any of those springs and all that’s in the box.
![[Image: iGNJs.jpg]](http://i.imgur.com/iGNJs.jpg)
Step #2:
- Drill a hole for your button switch. (momentary switch) – Make it a tight hole so the button will hold itself in place.
![[Image: Fjvms.jpg]](http://i.imgur.com/Fjvms.jpg)
Step #3:
- Drill a hole for your 510 connector. – Make it a tight hole so the connector will hold itself in place.
![[Image: ZZOpi.jpg]](http://i.imgur.com/ZZOpi.jpg)
Step #4:
- Use your box cutter and cut two openings in the seperator parts to allow room for your wires.
![[Image: NospP.jpg]](http://i.imgur.com/NospP.jpg)
Step #5:
- Insert the USB wire into the bottom of the box into the hole already provided.
![[Image: 8VvQj.jpg]](http://i.imgur.com/8VvQj.jpg)
![[Image: kQHWv.jpg]](http://i.imgur.com/kQHWv.jpg)
Step #6:
- Insert the 510 connector and button switch into it’s place, then strip back the wires if you already haven’t on the USB wire. – (We will only be using the red and black wire. The green and white wire, you can simply cut off.)
![[Image: V9XIN.jpg]](http://i.imgur.com/V9XIN.jpg)
Step #7:
- Solder the wires to it’s rightful location.
- From the USB wire you will be using the black and red wires. Black wire goes to the outside of the 510 connector. Solder it only onto the outside of the 510 connector. The red wire will come from the USB wire to one side of the button switch. Solder the red wire onto one of the prongs on the button switch. Take another peice of red wire that isn’t connected to the USB and have it going from the other prong on the button switch to the middle pin inside the 510 connector.
[highlight color=”red”]Note:[/highlight] The black wire is your ground and the red wire is the power.
Here is a picture of how it should look. Black is for the black wire and red is for the red wire.
![[Image: 6HLA0.png]](http://i.imgur.com/6HLA0.png)
Now that you are all done, just fill in places with your hot glue gun to make sure everything is safe and not touching each other and then you’re good to go.


Yes I know, it was a poor job. I’m no modder by any means. On the next one, I think I’ll leave it to the professionals. haha 🙂
bro i have tried this type of connection but the current is too low to produce good vape
This type of pass through works best when using a wall socket adapter.
check the current capabilities of a wall-to-usb plug, standard iphone plug is 5v at 1A.
5v at 2A should give you the current you need 3A is also doable.
Would a high resistance atomizer work with the straight 5 volts?
http://www.myfreedomsmokes.com/mods/joyetech-510-atomizer-high-resistance/