
How to re-wrap 18650 batteries will be focusing on a part of vaping many people don’t realize they can do. Last night, a friend told me he had thrown away some fairly new cells because he had torn the outer wrapper when removing it from his Sigelei 150+. As a vaper, you should never put an 18650 battery into a device with a torn wrapper, as it could potentially short and vent the battery. While his batteries were in perfect working order as far as charging and discharging goes he, like many others, didn’t realize that the fix costs pennies rather than dollars. Many people will try to fix the problem with electrical tape. With many devices, from tube mods to boxes, the application of even a single wrap of tape from the bottom to the top of the battery will mean that they no longer fit as they become too thick. Now, while many vape shops will offer re-wrapping services for your 18650 batteries, they may charge you a fee as high as a couple of dollars per cell. If like myself you have as many as 20 married pairs in the house, this can become expensive rather quickly. Lets take a quick look at how simple and inexpensive it truly is to replace the covers on your batteries.
Don’t Scrap It, Re-wrap it
The process is quick and easy, after the first couple of times you re-wrap your 18650 batteries you should be able to do this in a minute or 2. Depending on where you go for your 18650 heat shrink, Google is your friend for that part, just remember to check that you order 29.5 mm in width, with an inner diameter of 18.5mm. You can find them in pre-cut lengths or whole rolls ready for use, what you actually get is up to you. As I generally have many married pairs of batteries, I have found having different colors of wrap makes it easier to differentiate between them. The wraps are thin enough to ensure that you wont have a problem getting them in and out of their trays and if you buy in bulk you won’t have to worry about anything the next time your negative snags the wrapper.
Preparing For The Operation
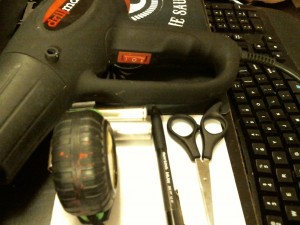
The list of items you will need is straight forward:
- An 18650 Battery (and its partner if you are changing its color)
- 29.5 mm heat shrink
- Ruler/ piece of paper you can make markings on
- Pen
- Scissors / Craft Knife
- Heat Gun ( or hair dryer if you don’t have one lying around).
- Label maker or sharpie
Lets Get Started
The first thing you should do is gently remove the old wrap from the battery. Do not use a knife as many batteries have a second layer of wrap beneath the first, which you do not want to damage. Use your finger nails and just peel it away, it should come off without any problems. What ever you do, make sure you don’t lose the positive insulator ring, unless it is severely damaged we will be reusing this piece.
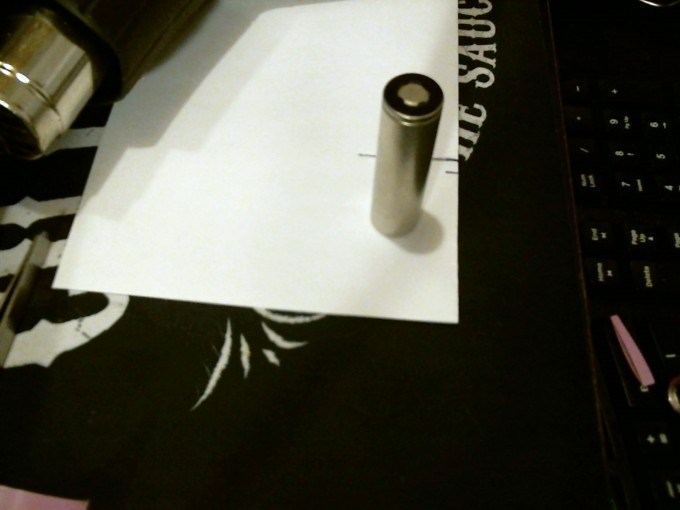
Measure the battery length. 18 650 is actually the measurements in millimeters 18 wide by 65 long which equates to just short of 3/4 of an inch wide by just over 2 1/2 inches long. If you don’t have a ruler, you can actually just place the battery on a piece of paper and mark out the ends, then add 3 mm (1/8 of an inch) to either end.
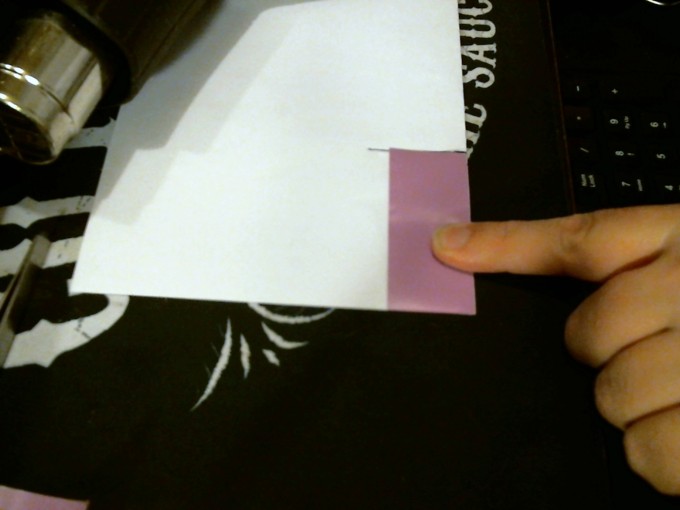
Measure out correct length of tubing, either with ruler or by placing it on your markings on the paper. Measure it twice and cut it once. Even if you are using pre-cut strips, check their length to make sure they aren’t to long.
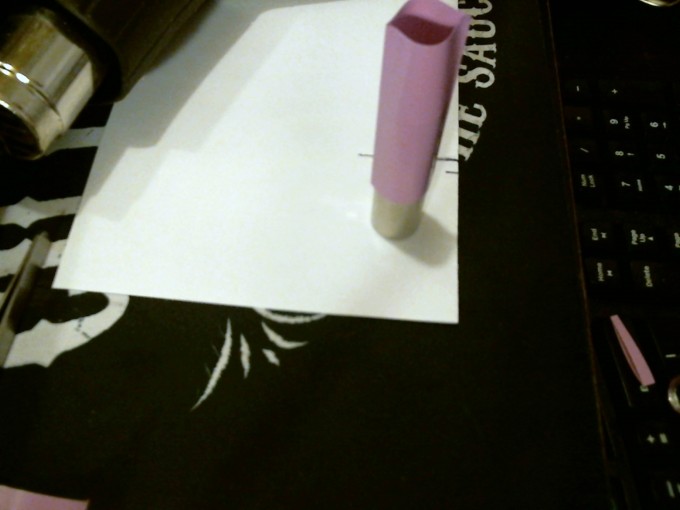
Insert the battery into the heat shrink sleeve, making sure it is positioned in the center of the tubing with the 3 mm over hang left at either end. Too much at one end will result in one of the connections being covered too far. We must Goldilocks this step, not too little and not too much make sure it is just right.
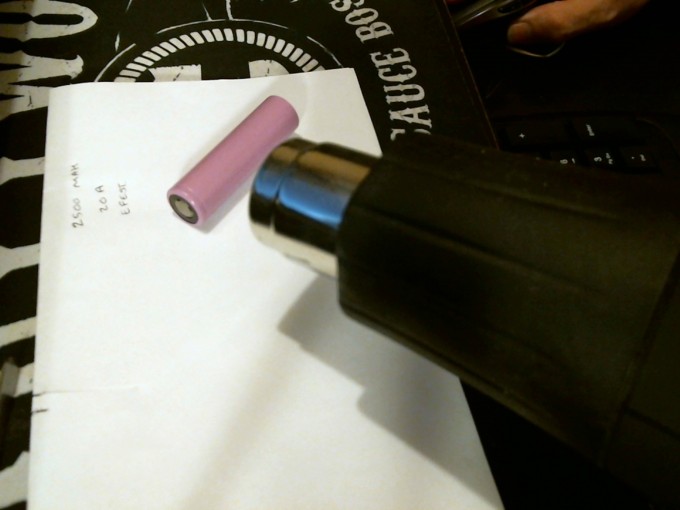
Time to turn on the heat gun / hair dryer. As you apply heat, use back and forth stroking actions to ensure all the wrapping is hit, turning it as you go. Be careful not to apply too much heat to any one spot as you may inadvertently melt it and have to start over, and most importantly make sure you don’t accidentally set your fingers on fire. You should be in no danger of damaging yourself or the battery with too much heat as to shrink the wrap should only take a few seconds. The ends should bend themselves over the faces, make sure you put the positive insulator ring in the right spot and the wrap will hold it in place.
The final step is to make sure you put the original markings back on the outside of the battery. The mAh, Amp limit and the date of purchase should always be visible on your 18650 batteries, and if this is part of a pair they should have a name and number on them as well.
Now you have completed your first re-wrap, you can go on and make its partner match. If you feel the need, you can now change the sleeves on all your batteries and those of all your friends. The styles and colors of wrap you can buy are numerous, so have fun and be creative.
Conclusion
Your 18650 batteries should always be in good condition as all it takes is a little nick to cause a potential short. Check you batteries often and thoroughly to keep yourself and your devices safe. If you find a small tear or find yourself holding a cell with its wrapper hanging off, you now have the skills needed to fix it quickly and easily at almost no expense.
As always, enjoy your vaporizer and vape safe!


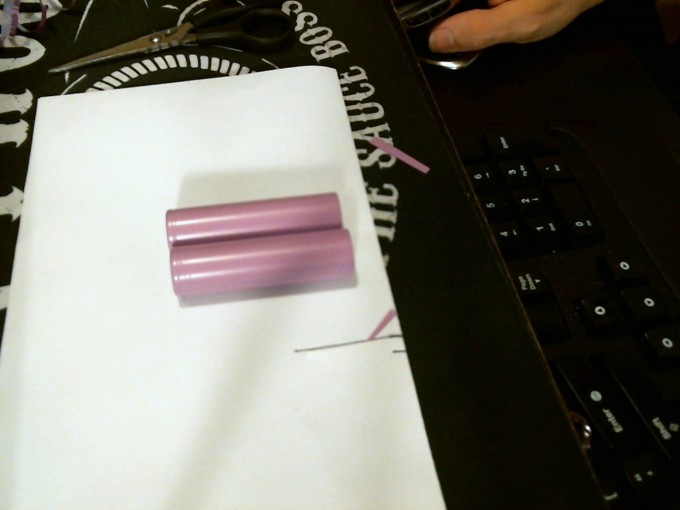


Thanks Daniel… proving even a dummy (like me) can re-wrap batteries LOL
I doubt that you’re a dummy. Cheers.