

Are you looking for information on how to rebuild the Sub Tank Mini atomizer? While, to some, it may not be seen as the greatest Sub Ohm tank on the market, I find myself drawn back to it from time to time. Not so much for the pre-made coil systems but for the build deck. It’s simple to use and once you have figured out the quirks, not a bad system. Sit back, relax and I will do all the work: let’s get the Sub Tank mini atomizer built.
Safety First
As I always state with any build, know the limits of your equipment. Most vaping related accidents occur because of user error. Take the time to learn the Amp limits of your batteries, especially if you are using a single cell mechanical mod. If you don’t want to end up in the local hospital use a coil calculator – steam-engine.org is my personal favorite – and ALWAYS check your build on an Ohm Reader before you attempt to fire it. It isn’t just about knowing if you have got the coils right. Using an Ohm reader may see something that you didn’t, such as a small piece of wire that has dropped onto your deck causing a short. If you had hit that without checking, the possibility of damaging something is very real.
Starting The Build
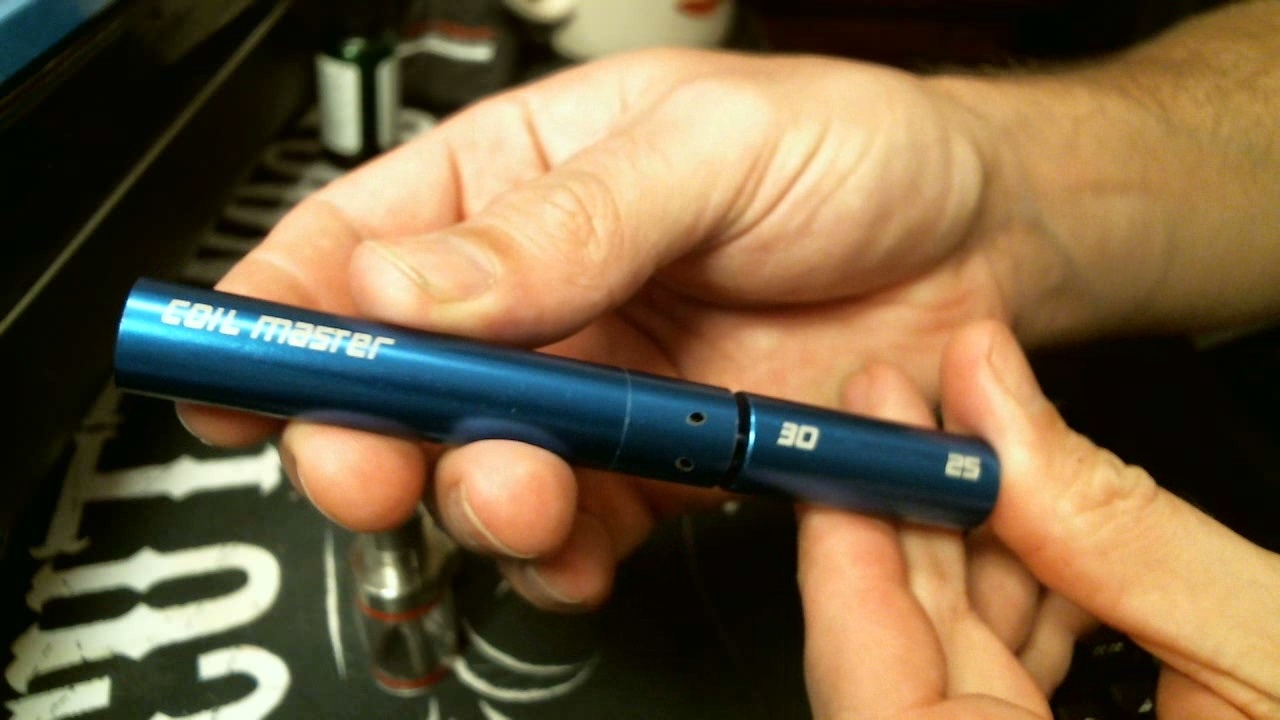
- Coil Jig / Screw Driver with the correct diameter for the coils you will be building – I will be using the Coil Master Coil Jig V3 3 mm
- Wire – I will be using UD twisted 4 strands 30 gauge
- Wicking Material – I will be using Japanese organic cotton sheets, 2 x 2 inches
- Wire Cutters
- Screw Driver – Philips’ head
- Ohm Reader – I will be using an IPV3 Li as the Ohm reader is the most accurate I have personally found
- Tweezers – If you are using metal ended tweezers, do not attempt to pulse the coils while holding them, as this will cause a short
- Scissors – To trim and shape the wicks
- Vaper Towels – paper towels, you should always have them handy while building
Step 1
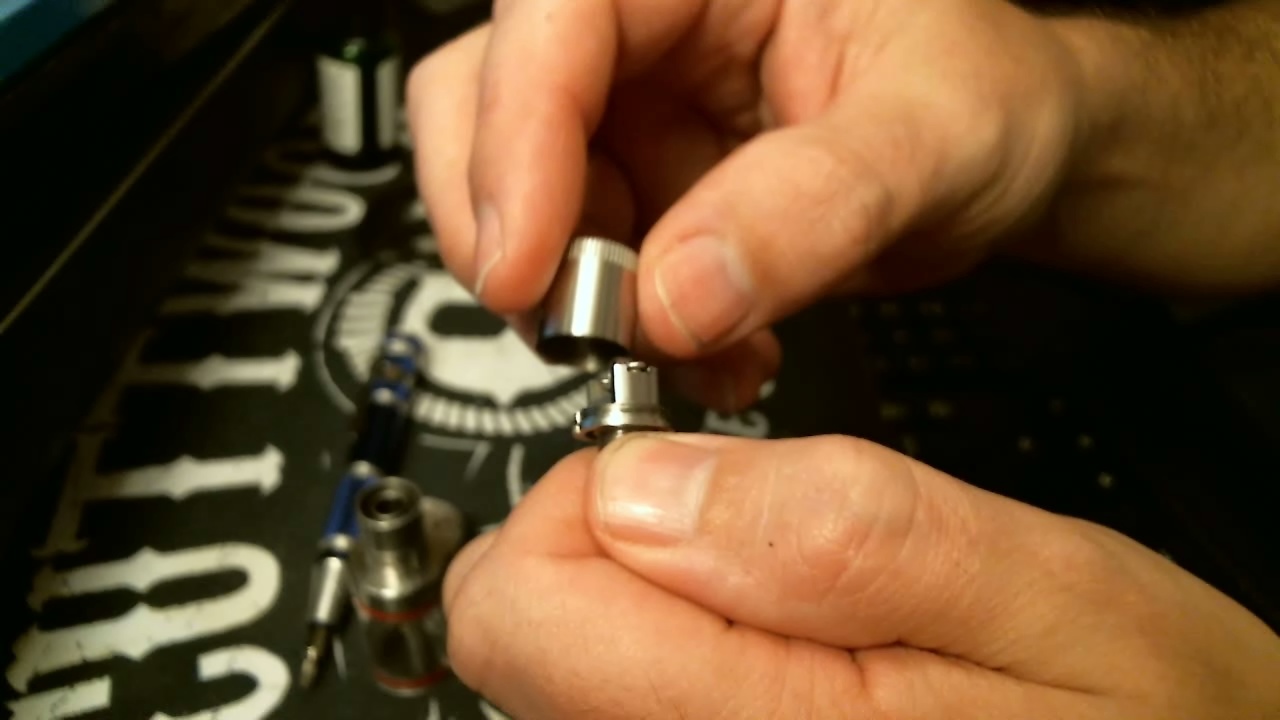
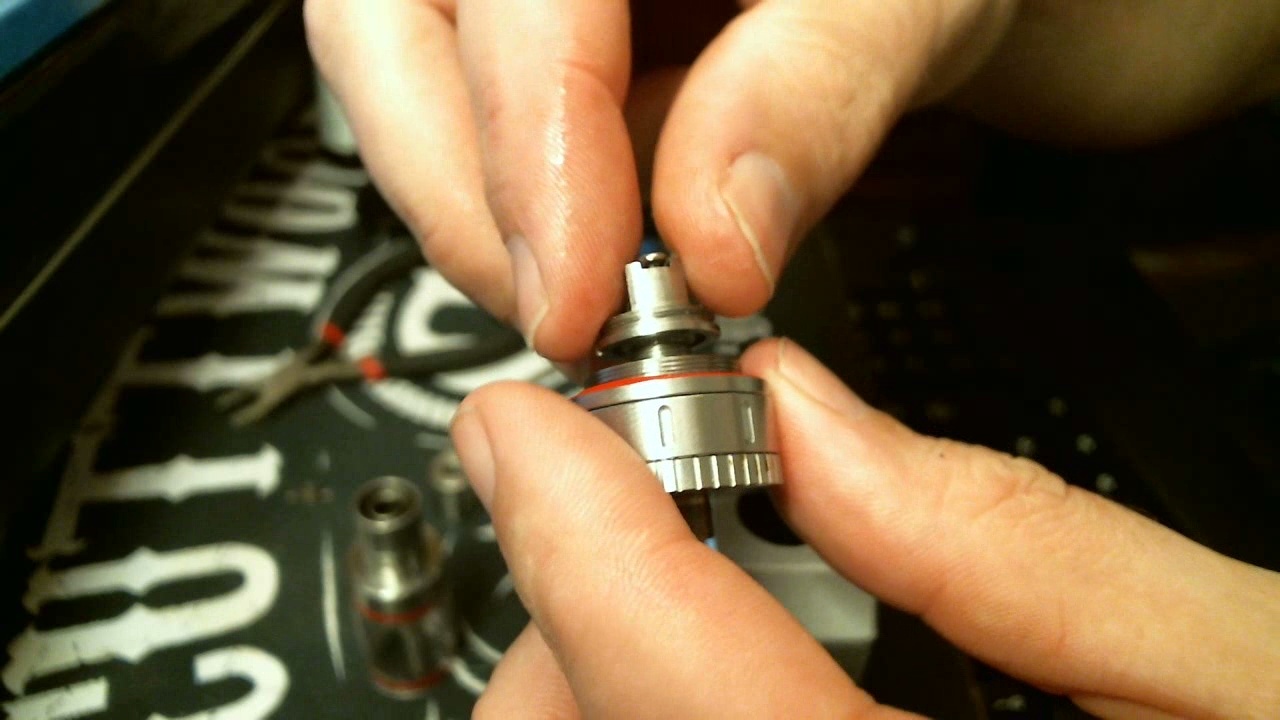
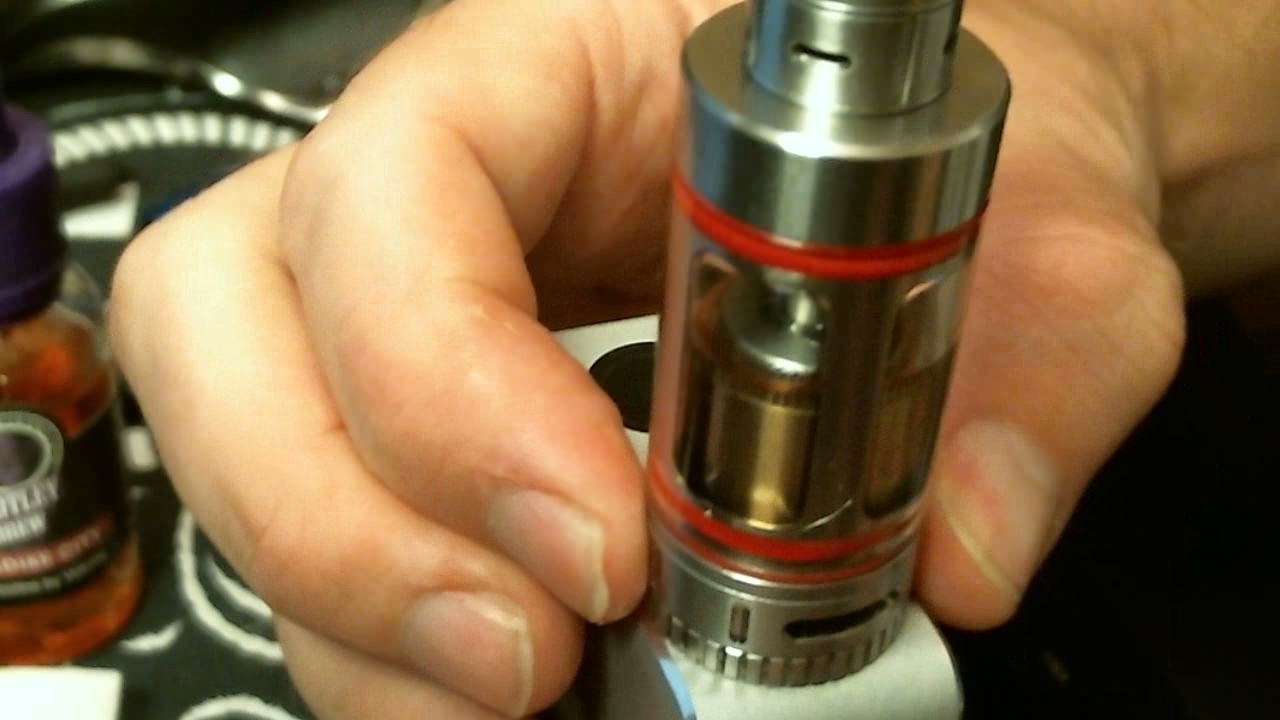
First things first, disassembly time. If this is the first time you have used this deck, it should be clean and shiny. If there is a coil in there already, we will remove it with the Philips’ head screwdriver and tweezers. To disassemble the atomizer, you simply unscrew the top collar. If you remove the top plate as well, it is no big deal, just put it safely to one side for later. Make sure that the deck is clean, free from old e-liquid or any other nasty messes that may have built up.
Step 2
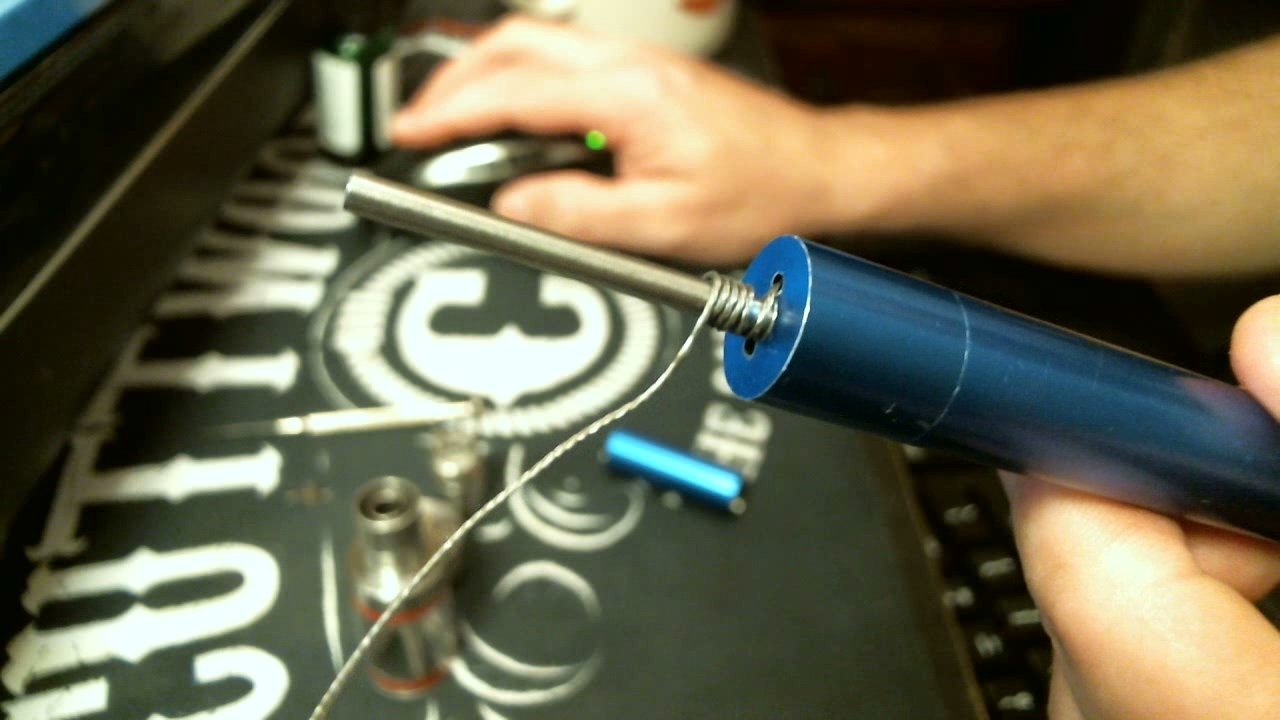
Next we will build the coil for the deck. After consulting with Steam Engine and looking at the size of the deck I would be working with, I decided to run with a twisted 4 strand 30 gauge wire from UD that I have already heat-treated, running a 6/5 wrap at 3 mm. This will give me a coil of approximately 0.5 Ω. Knowing the variables caused by twisting the wires, I know that I will end up at around 0.7 Ω. Let’s wrap those coils and prepare to install them.
Step 3
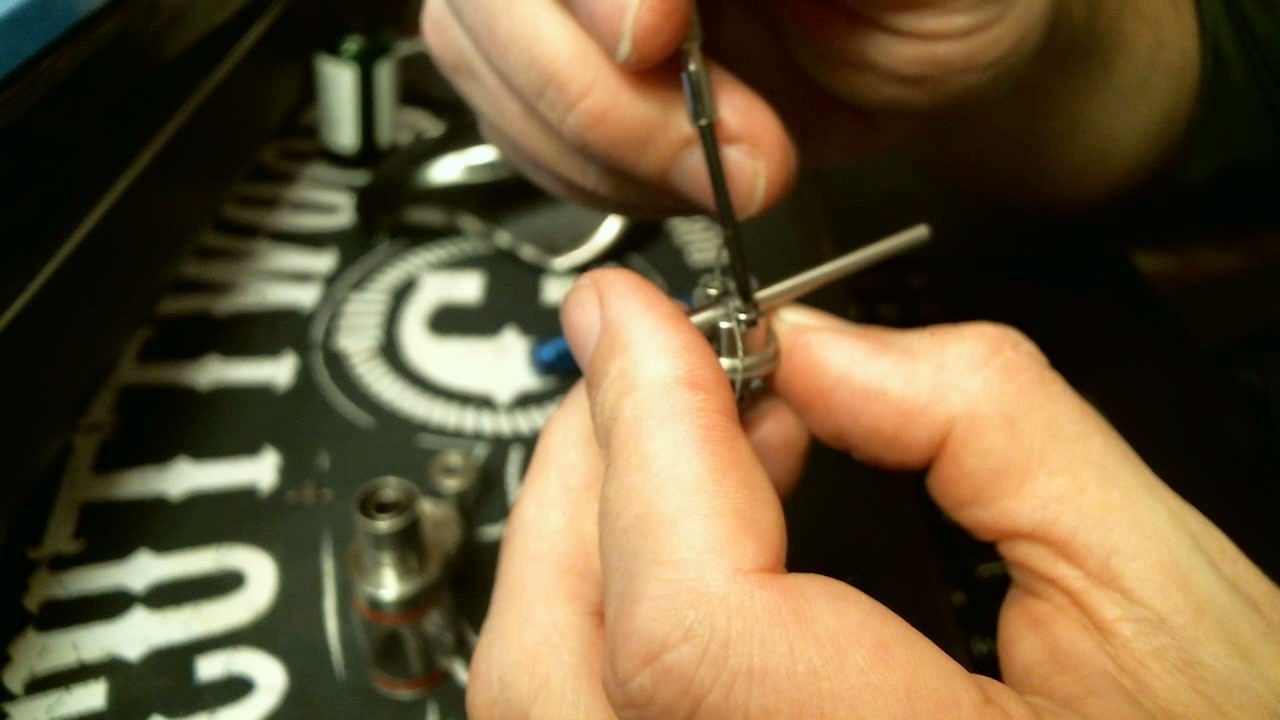
Installing the coils can be tricky at first, but after you have done this a few times the process will be easy. While the coil is still on the screwdriver / coil jig, place one lead under one of the screws. If the wire will not slide straight underneath, you may have to loosen the screw a little more, just not so much that it falls out. When the wire is sitting under the screw head, tighten it down. Making sure that the coil is in the center of the deck, repeat the process on the other side.
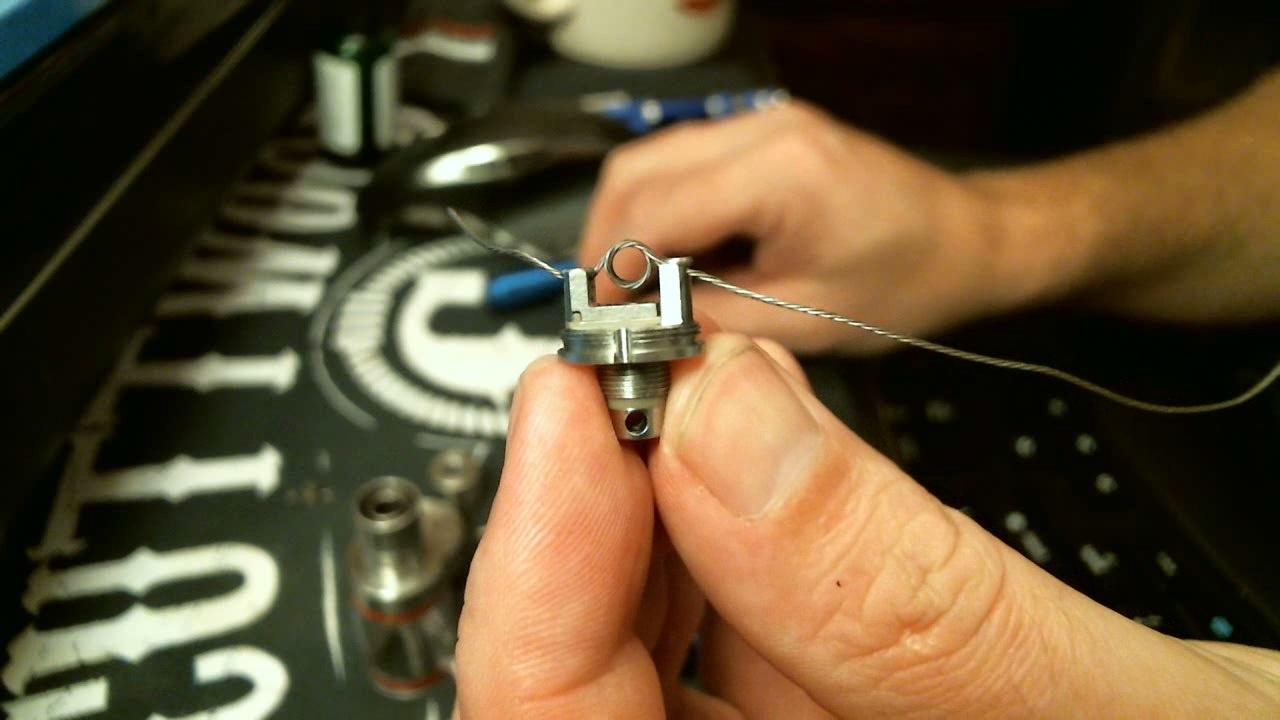
Step 4
Before we go any further, trim the leads with wire cutter’s, as close to the deck as is humanly possible. The inner diameter of the chimney wall leaves very little room for error. In my personal experience, I have found if I pull the wire tight before locking the screws down, trim it and then open the screw slightly to sit flush with the outer wall of the deck it works perfectly. Make sure that no part of the coil is hitting the deck anywhere that it shouldn’t and then put it on an Ohm reader to make sure that it is sitting around the resistance you want. This resistance check will also give you an indication if you have a short anywhere on the deck. It is always better to check everything rather than risking the health and well-being of your mod.

Step 5
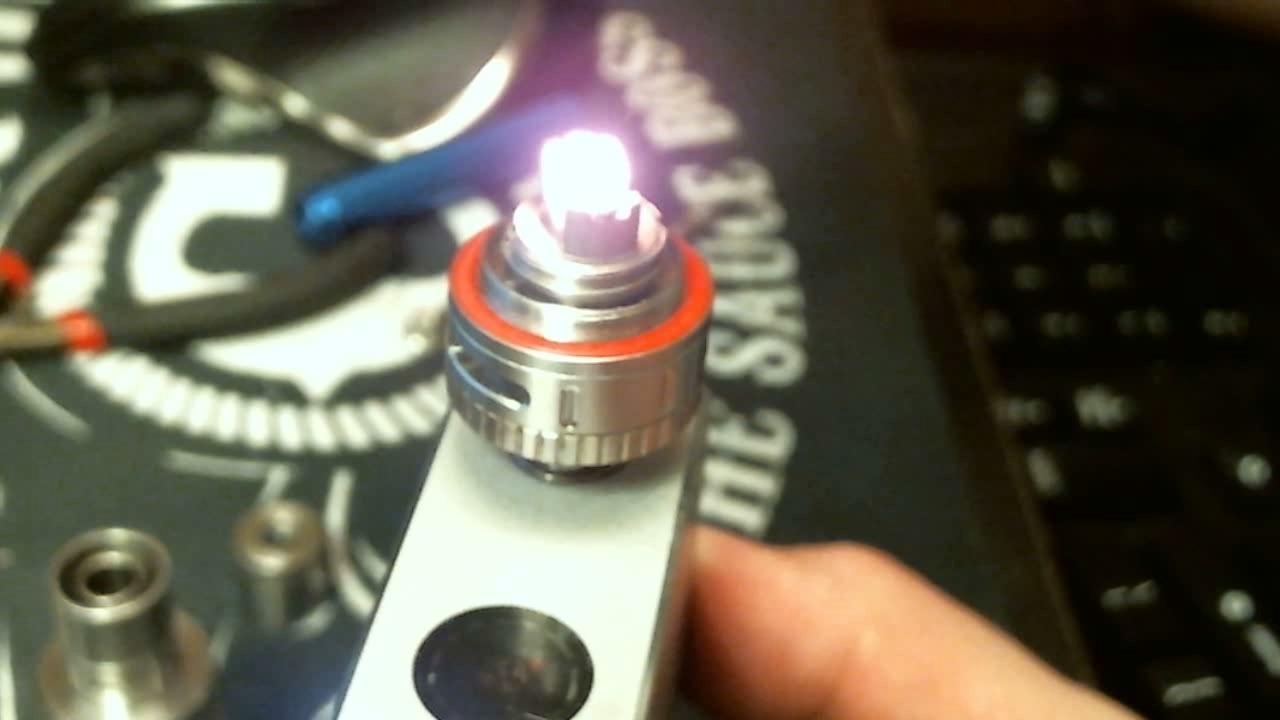
The next phase will be ensuring the coil is sitting in the correct position and firing evenly from the center to the outer edge of the coil. At low-wattage, pulse power through the coil to get an idea of how much you will need to adjust the coil. After pulsing, use tweezers to pinch the coils. As you repeat this process you will notice the coils begin to glow uniformly from the center of the coil to the outer legs, without any hot spots. After you feel the coil is perfect, tighten down the screws one last time, as sometimes during this phase the screws work loose. Check it on the Ohm reader again, if you are satisfied with where you are at, we can begin wicking.


Step 6
When I use cotton pads, I always split them in half. By halving the thickness, I have found that they work well with 3 or 3.5 mm coils. So after splitting it in half, I then cut it straight down the middle as this thickness will be perfect when rolled. Roll the cotton, keeping the fibers lengthways so they act as tiny drinking straws to suck up the e-liquid. Tightly twist one end to help ease it through the coil and then gently pull and twist the wick through to roughly the center.

Step 7
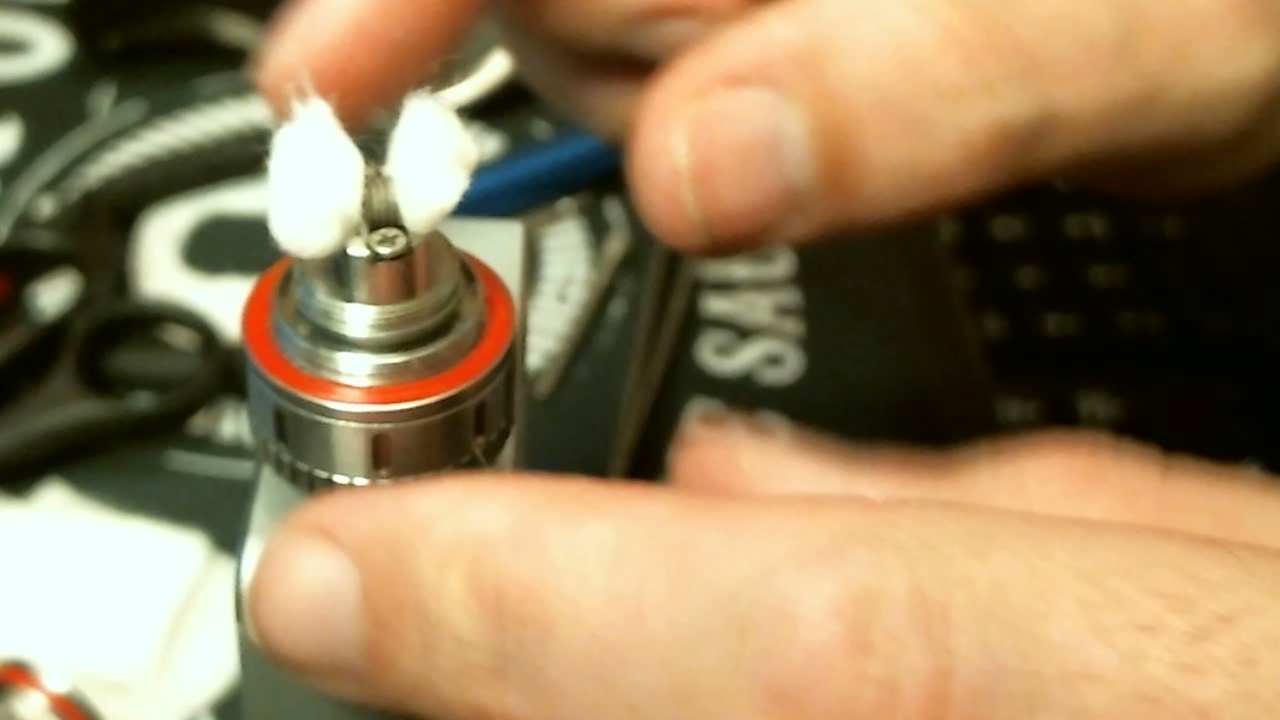
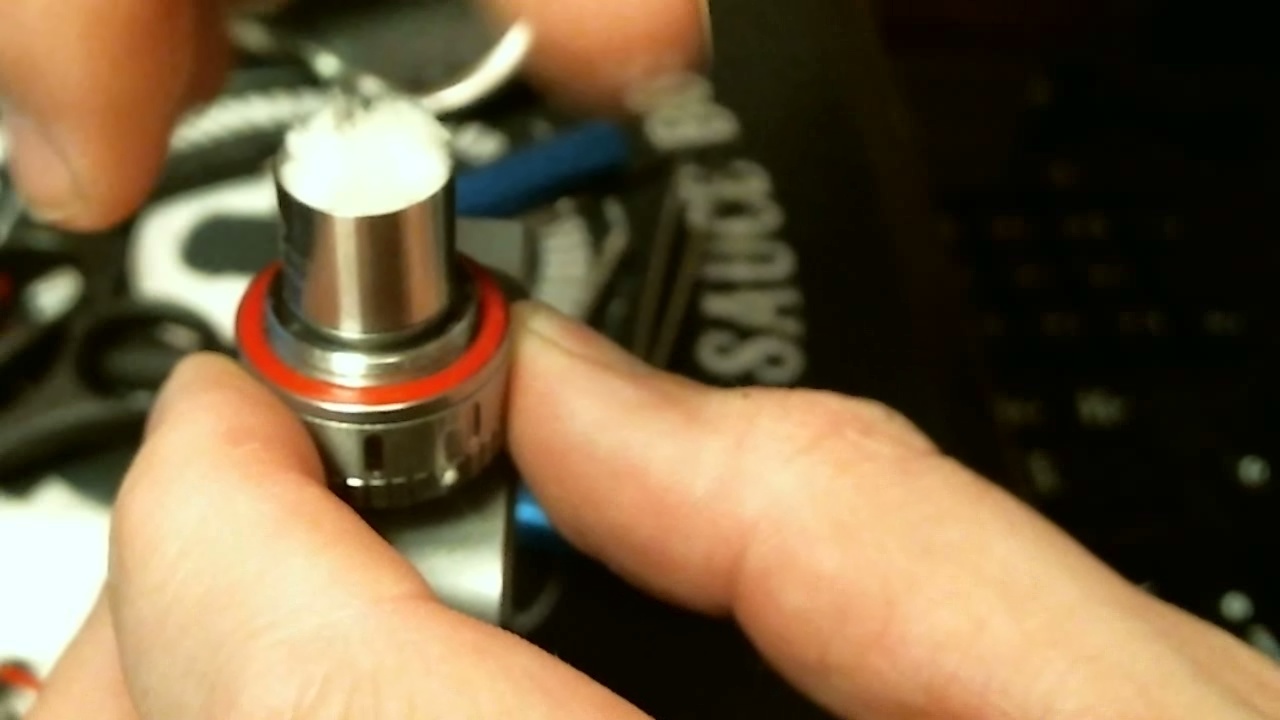
Using the chimney (metal outer wall of the atomizer) find where you need to trim your wicks. The process is extremely simple, just push the chimney over the wick and twist slightly. When you lift the chimney section, you will be left with marks on the wick, showing you exactly where to cut. After trimming, fluff the wick and lift them up over the coil, almost as if you are using a Bow Tie Wick.

Step 8
Making sure the chimney cap has been removed – if you didn’t do it during the disassembly stage earlier – place the chimney over the deck. You will notice that all the wick is now poking up through the top of your workspace, our next job is to position it correctly. Using tweezers, gently push the wicks down the side of the channel. By cutting them the way we did, we have ensured that they will not allow juice to leak into the area at will but will allow it to move freely enough to keep the wicks wet. You will know that the wicks are in perfect placement when you can see the airflow on either side of the coil and the deck is free of cotton, everything has been put into the juice wells.

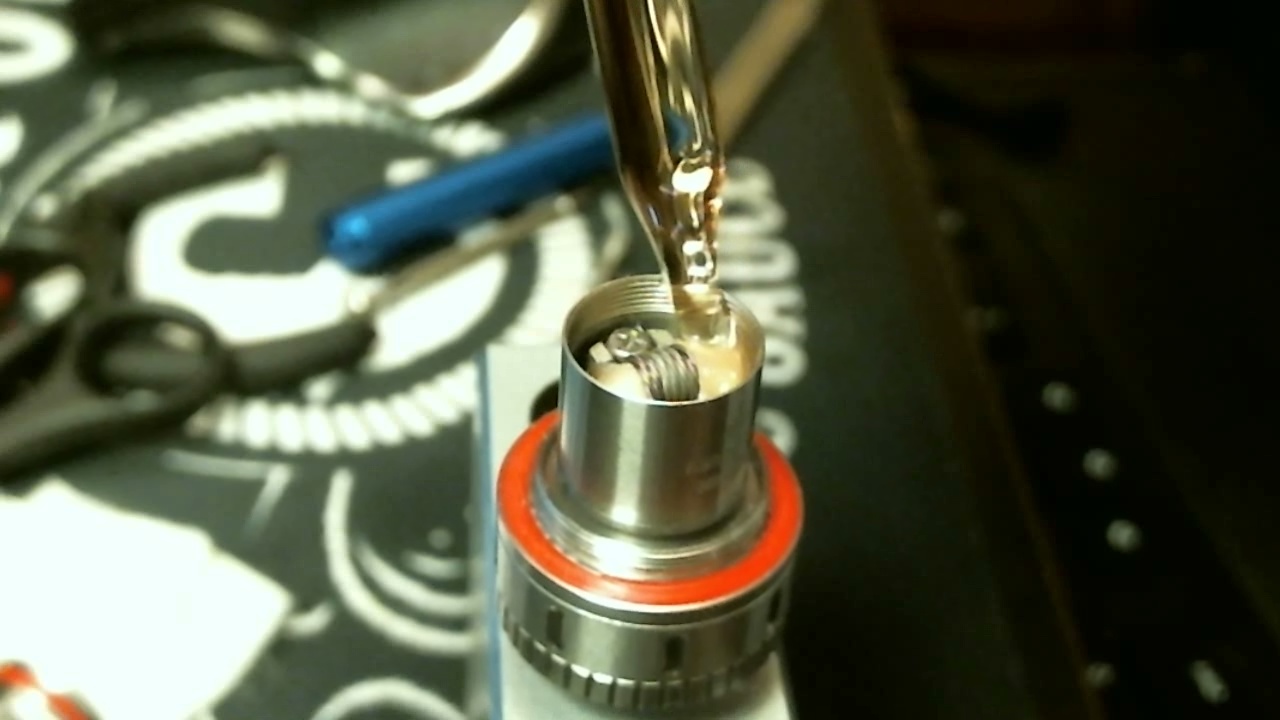
Step 9
Before going any further, saturate the wick. Before putting the cap back on the atomizer, before thinking about filling your tank, get the wicks wet. A few drops of e-liquid directly onto the coil can prevent dry burning at the outset, making sure you don’t have to pull it all apart in 5 minutes because the first hit was nasty. Pulse it a couple of times to pull the liquid into the wicks, then continue until almost all the e-liquid has dried. This will get rid of the new cotton taste. Add a couple more drops to the coil to get it wet again.

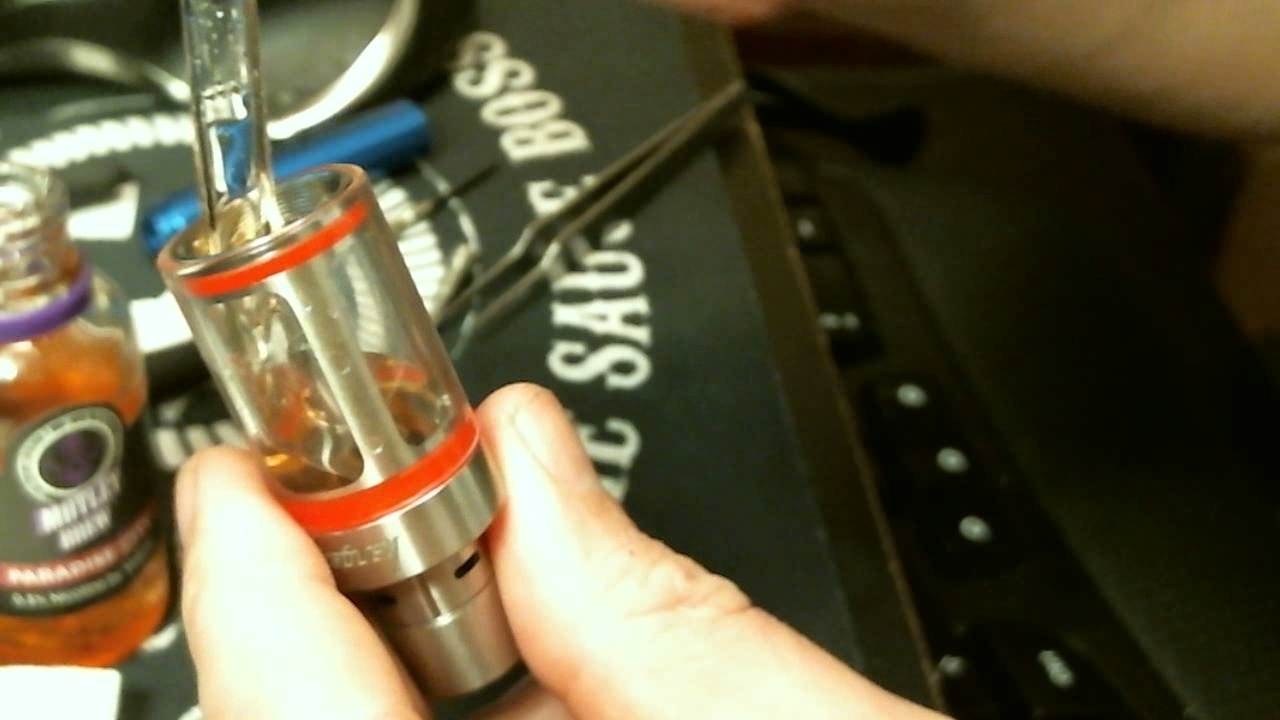
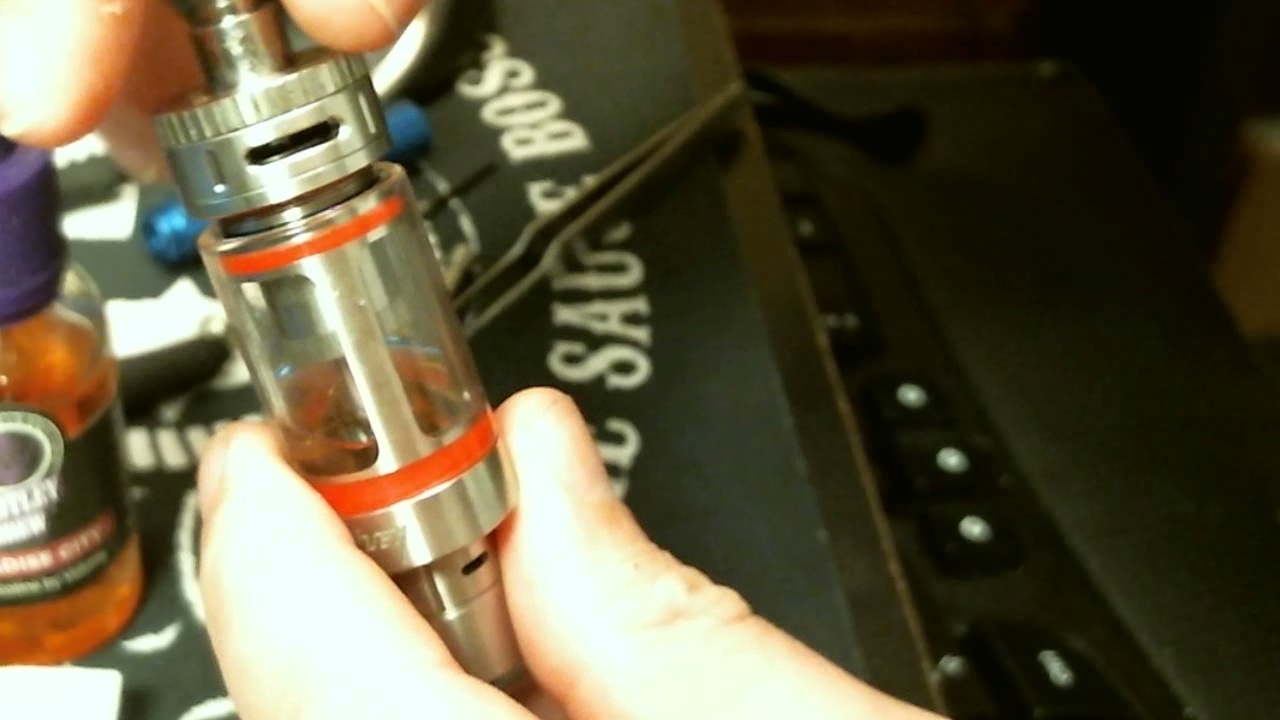
Step 10
Put the top cap on the atomizer, fill the tank and assemble everything. It is almost the moment of truth. Even though we wet the wick before assembly, it is best to allow the e-liquid in the tank time to find its way into the juice channels. We are now ready to hit it for the first time.
Step 11
Starting off at low wattage, take the first few hits. This is the same principal as buying pre-made coils, always allow them time to break in before ripping it at the maximum. Over time, you can increase the power to the level you see fit.
Conclusion
Now that you have rebuilt the Sub Tank mini, you will have less need for purchasing pre-made coils. The skills we have just discussed can be used on almost every build deck you will find when vaping, whether on Tanks or RDA’s. Have fun trying this for yourselves, and remember that while you may not get it perfect on the first attempt, over time you will become a master!
As always, enjoy your vaporizer and vape safe!


Wicking method — I’ve been rebuilding on the subtank mini for months and this method has been flawless.
https://www.youtube.com/watch?v=Yf-V0H4DnFo&feature=youtu.be
I take a cotton pad, rip off one of the compressed layers, stretch it out as the video shows, cut off the thick sections at the ends, then cut that in half. Roll a half as the video shows, trim it up as you mentioned and stuff the ends. Good to go.
I know this is a dated article but does anyone know any retailer who is still selling subtanks/toptanks? They have been my daily vape while I’m at work for many years but I stopped my last one yesterday and broke it. Any help will be appreciated!