
Here in the article I am going to walk you guys through every step I personally take when building a set of dual micro coils.
First up, all the supplies you will need to have:
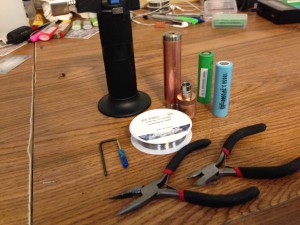 Torch of some sort, butane or propane will work
- Needle nose pliers
- Small flush cutters
- Whatever you decide to wrap your coil on. Something around 1/16th-1/8th inch in diameter
- A small precision screwdriver
- Your choice in gauge of Kanthal resistance wire, I will be using 24g in for this build
- Your dripper of choice
- A mechanical mod
- High discharge batteries, personally i use nothing but Sony VTC batteries, or Samsung 25Rs

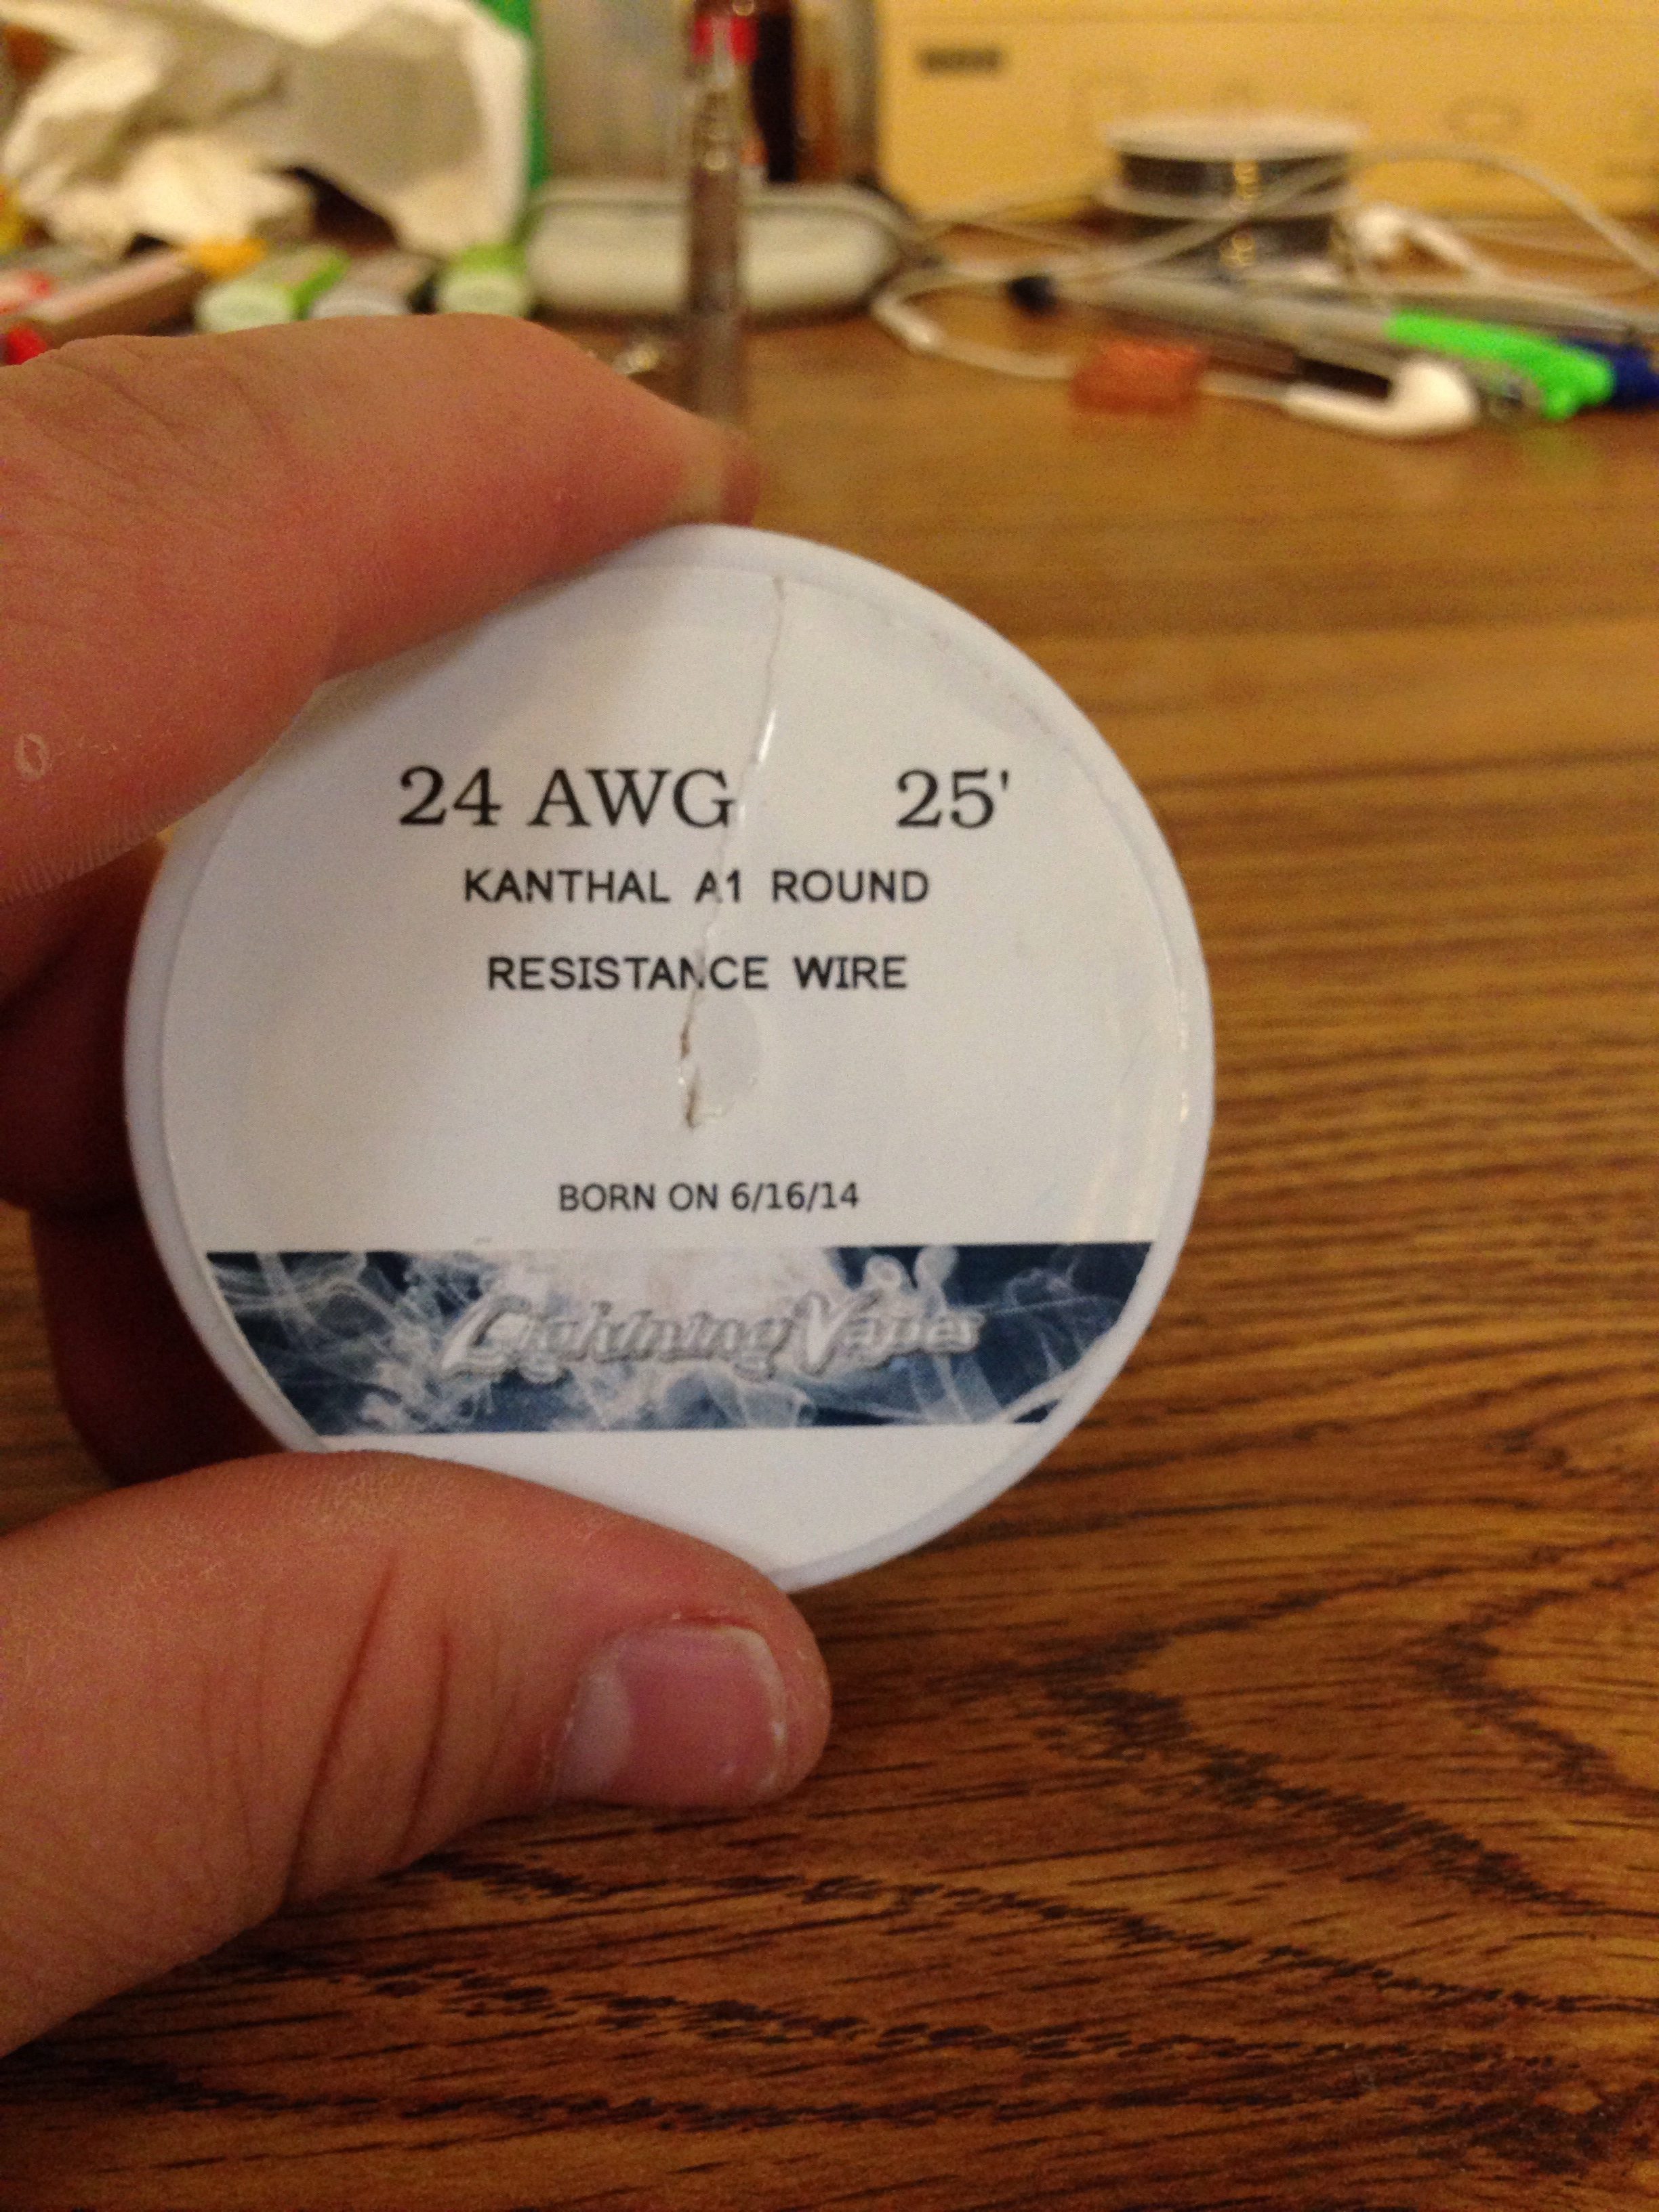 Here is what I will be using for wire. I get all of my wire from Lightning Vapes, But most e-cigarette stores and vendors will carry it. You will want to start with about 12 inches to give yourself with plenty of extra to work with.
You can use different brands of wire, but the gauge of wire you choose can heavily affect the results of your build. The higher gauge wire ie: 30, and 28 will heat up faster, and give you a higher resistance. Lower gauge wire such as 24 and 22 will take longer to heat up, give you lower resistance, but will increase your surface area, and give you a warmer vape.
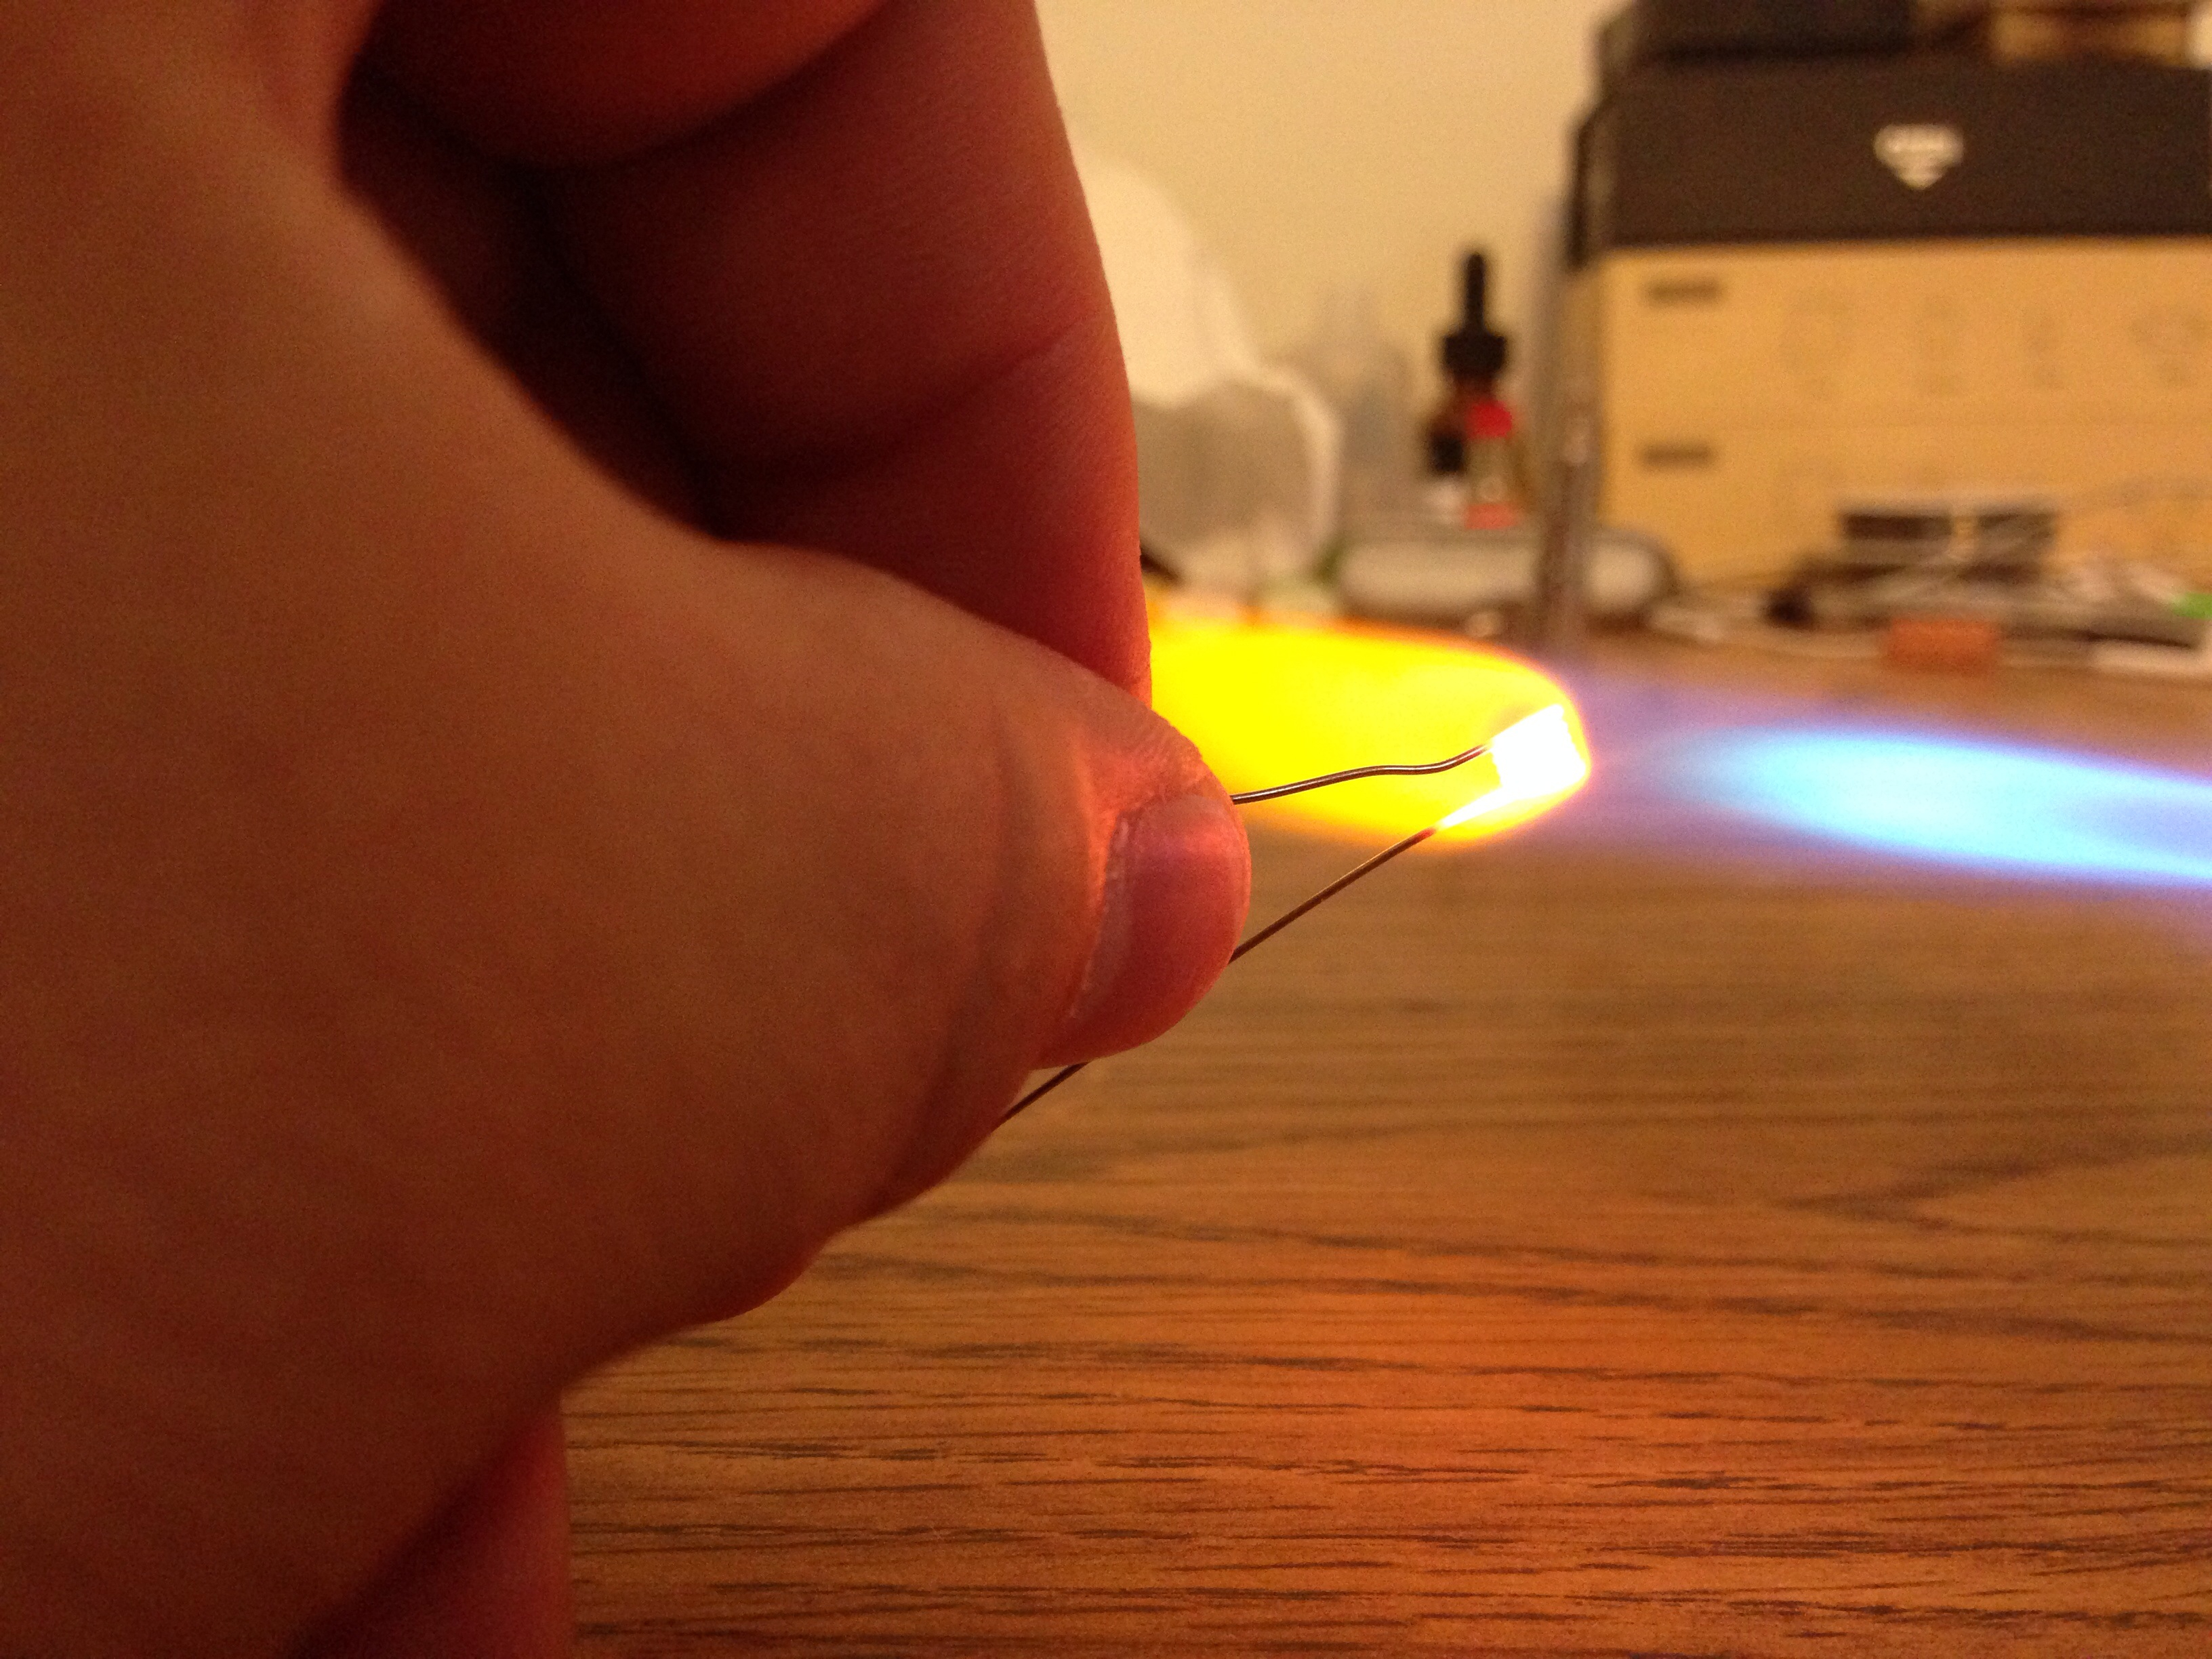
1. Oxidize The Wire
Start off by oxidizing the kanthal with your torch. By oxidizing it before trying to build your coils, it makes the kanthal is much more pliable, and easy to work with. This step can be skipped, but the wire will be very springy, and difficult to work with.
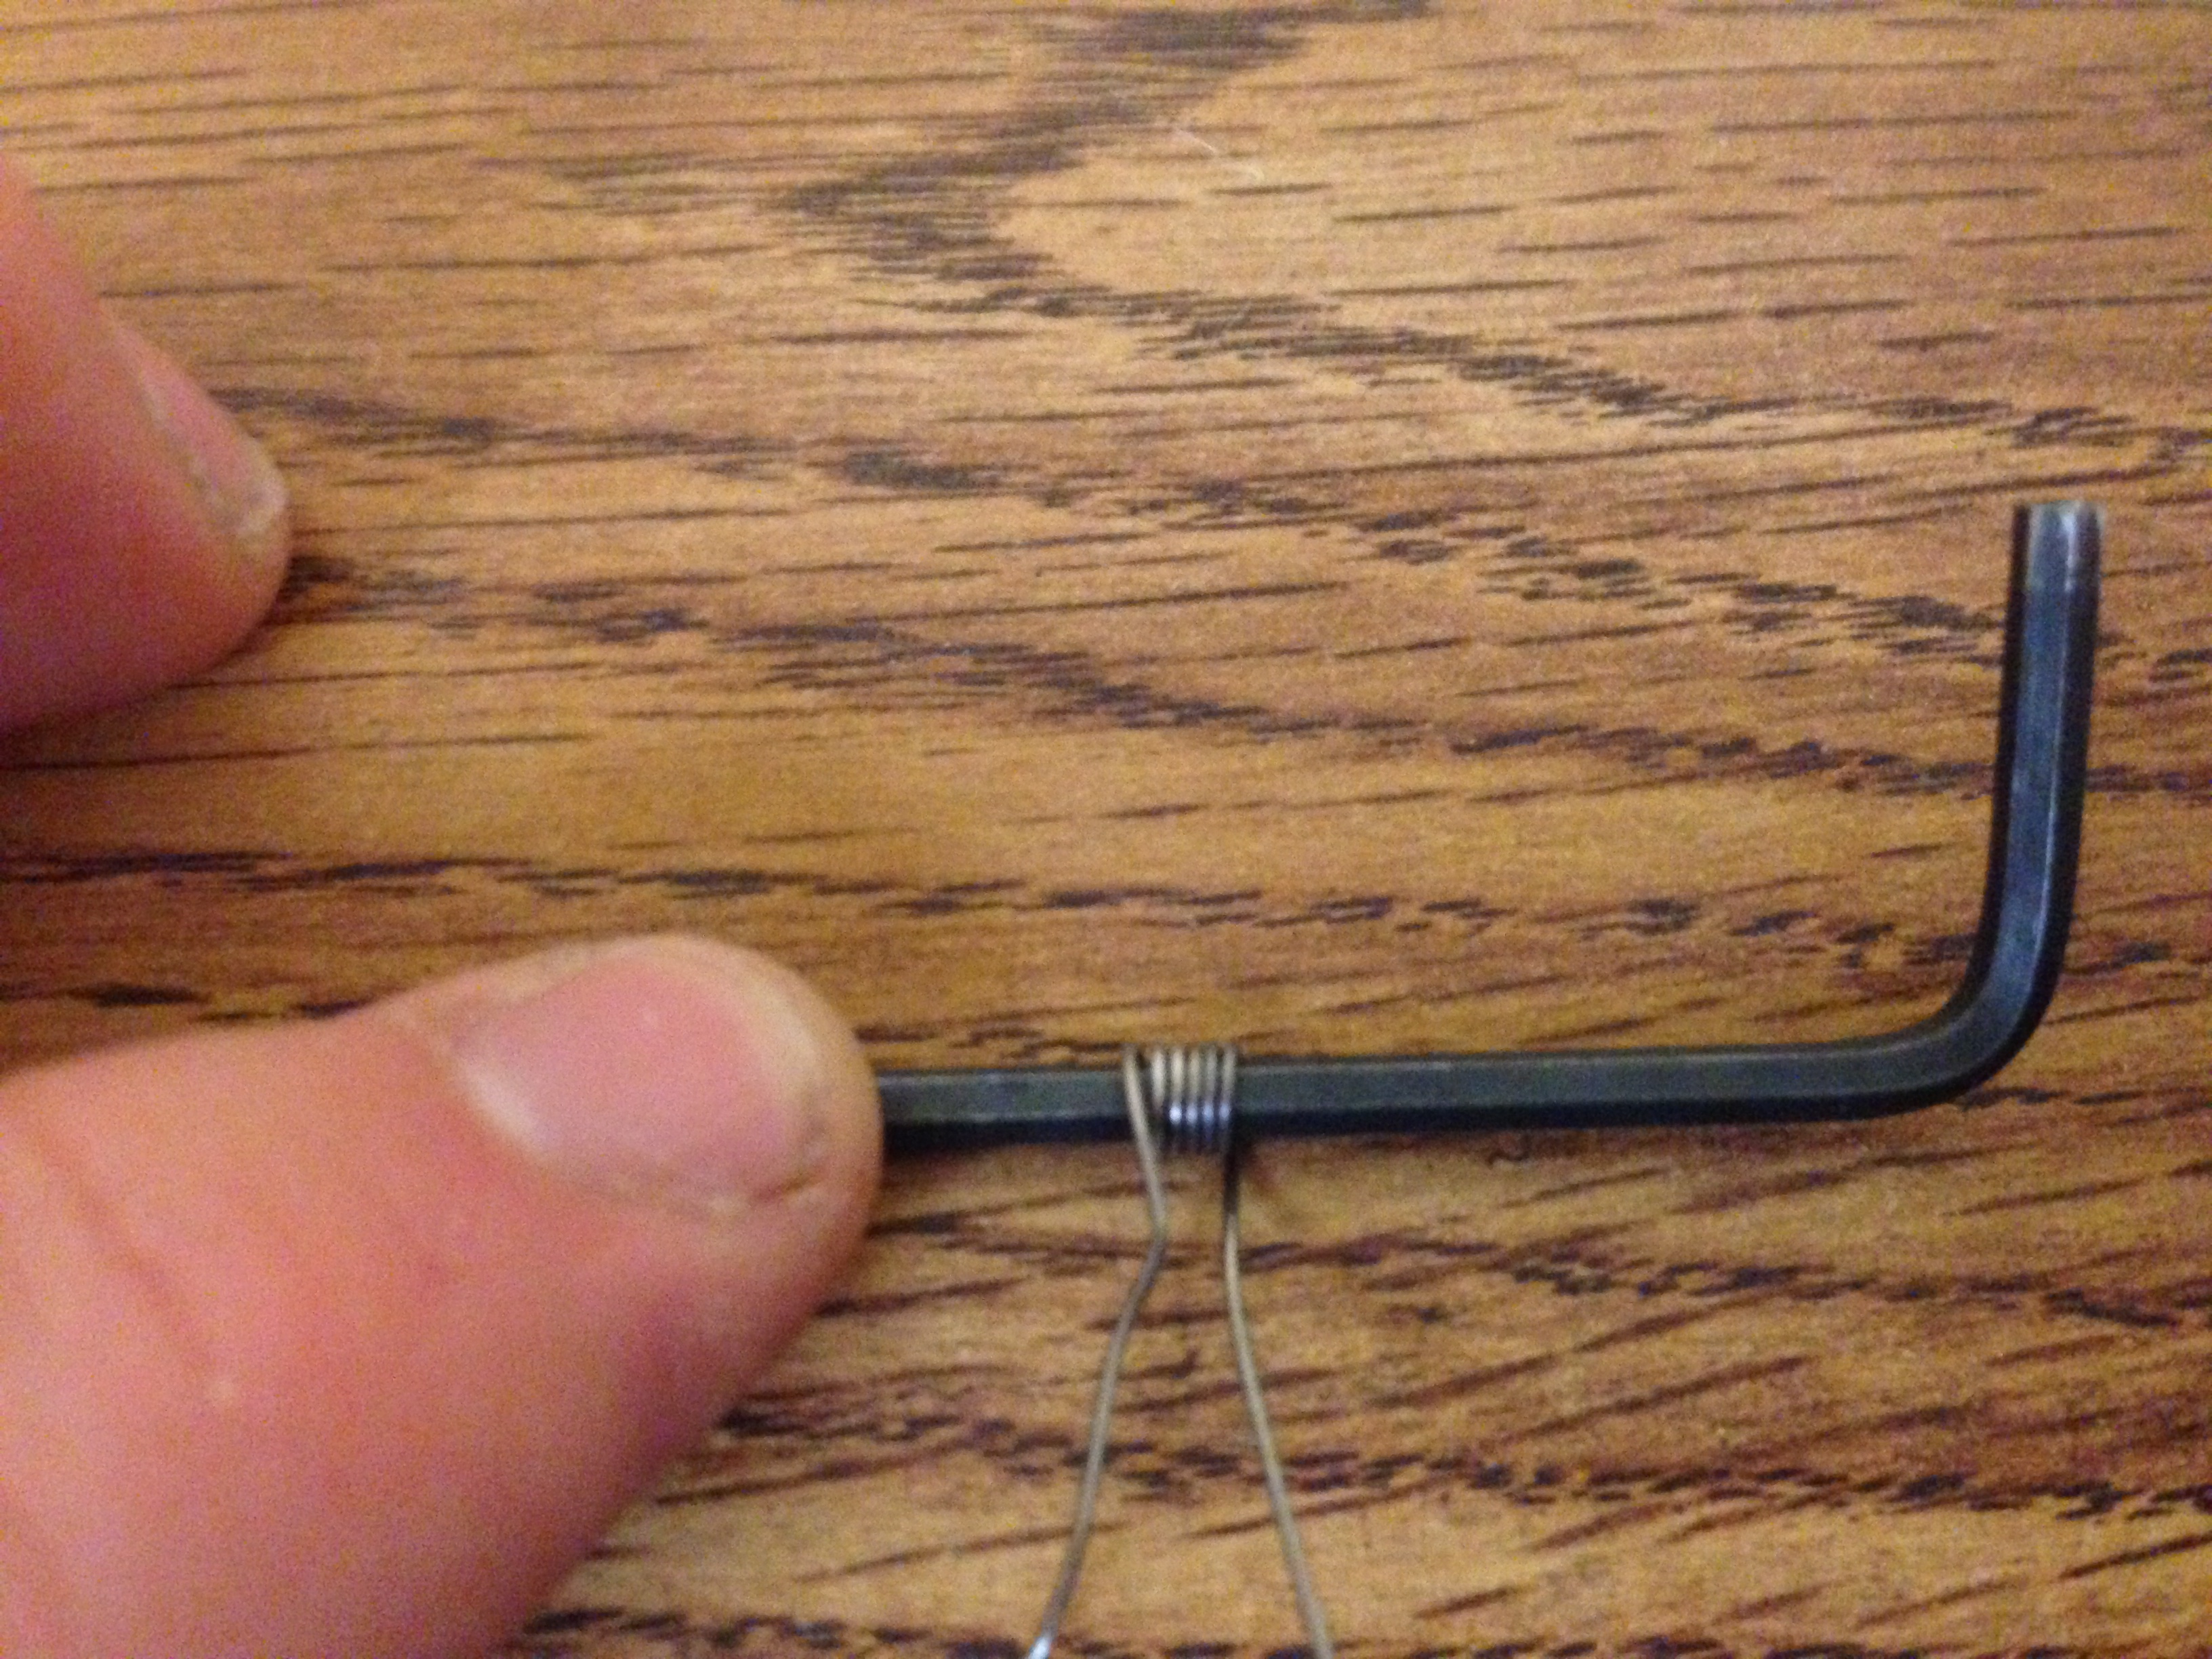
2. Wrap The Coil
Start off with your wire on top of whatever your wrapping, for this build, i will be using a 3/32nds allen key. Choosing diameter is very important. Larger coils will give you more room for wicking and juice, but will take longer to heat up and start producing vapor.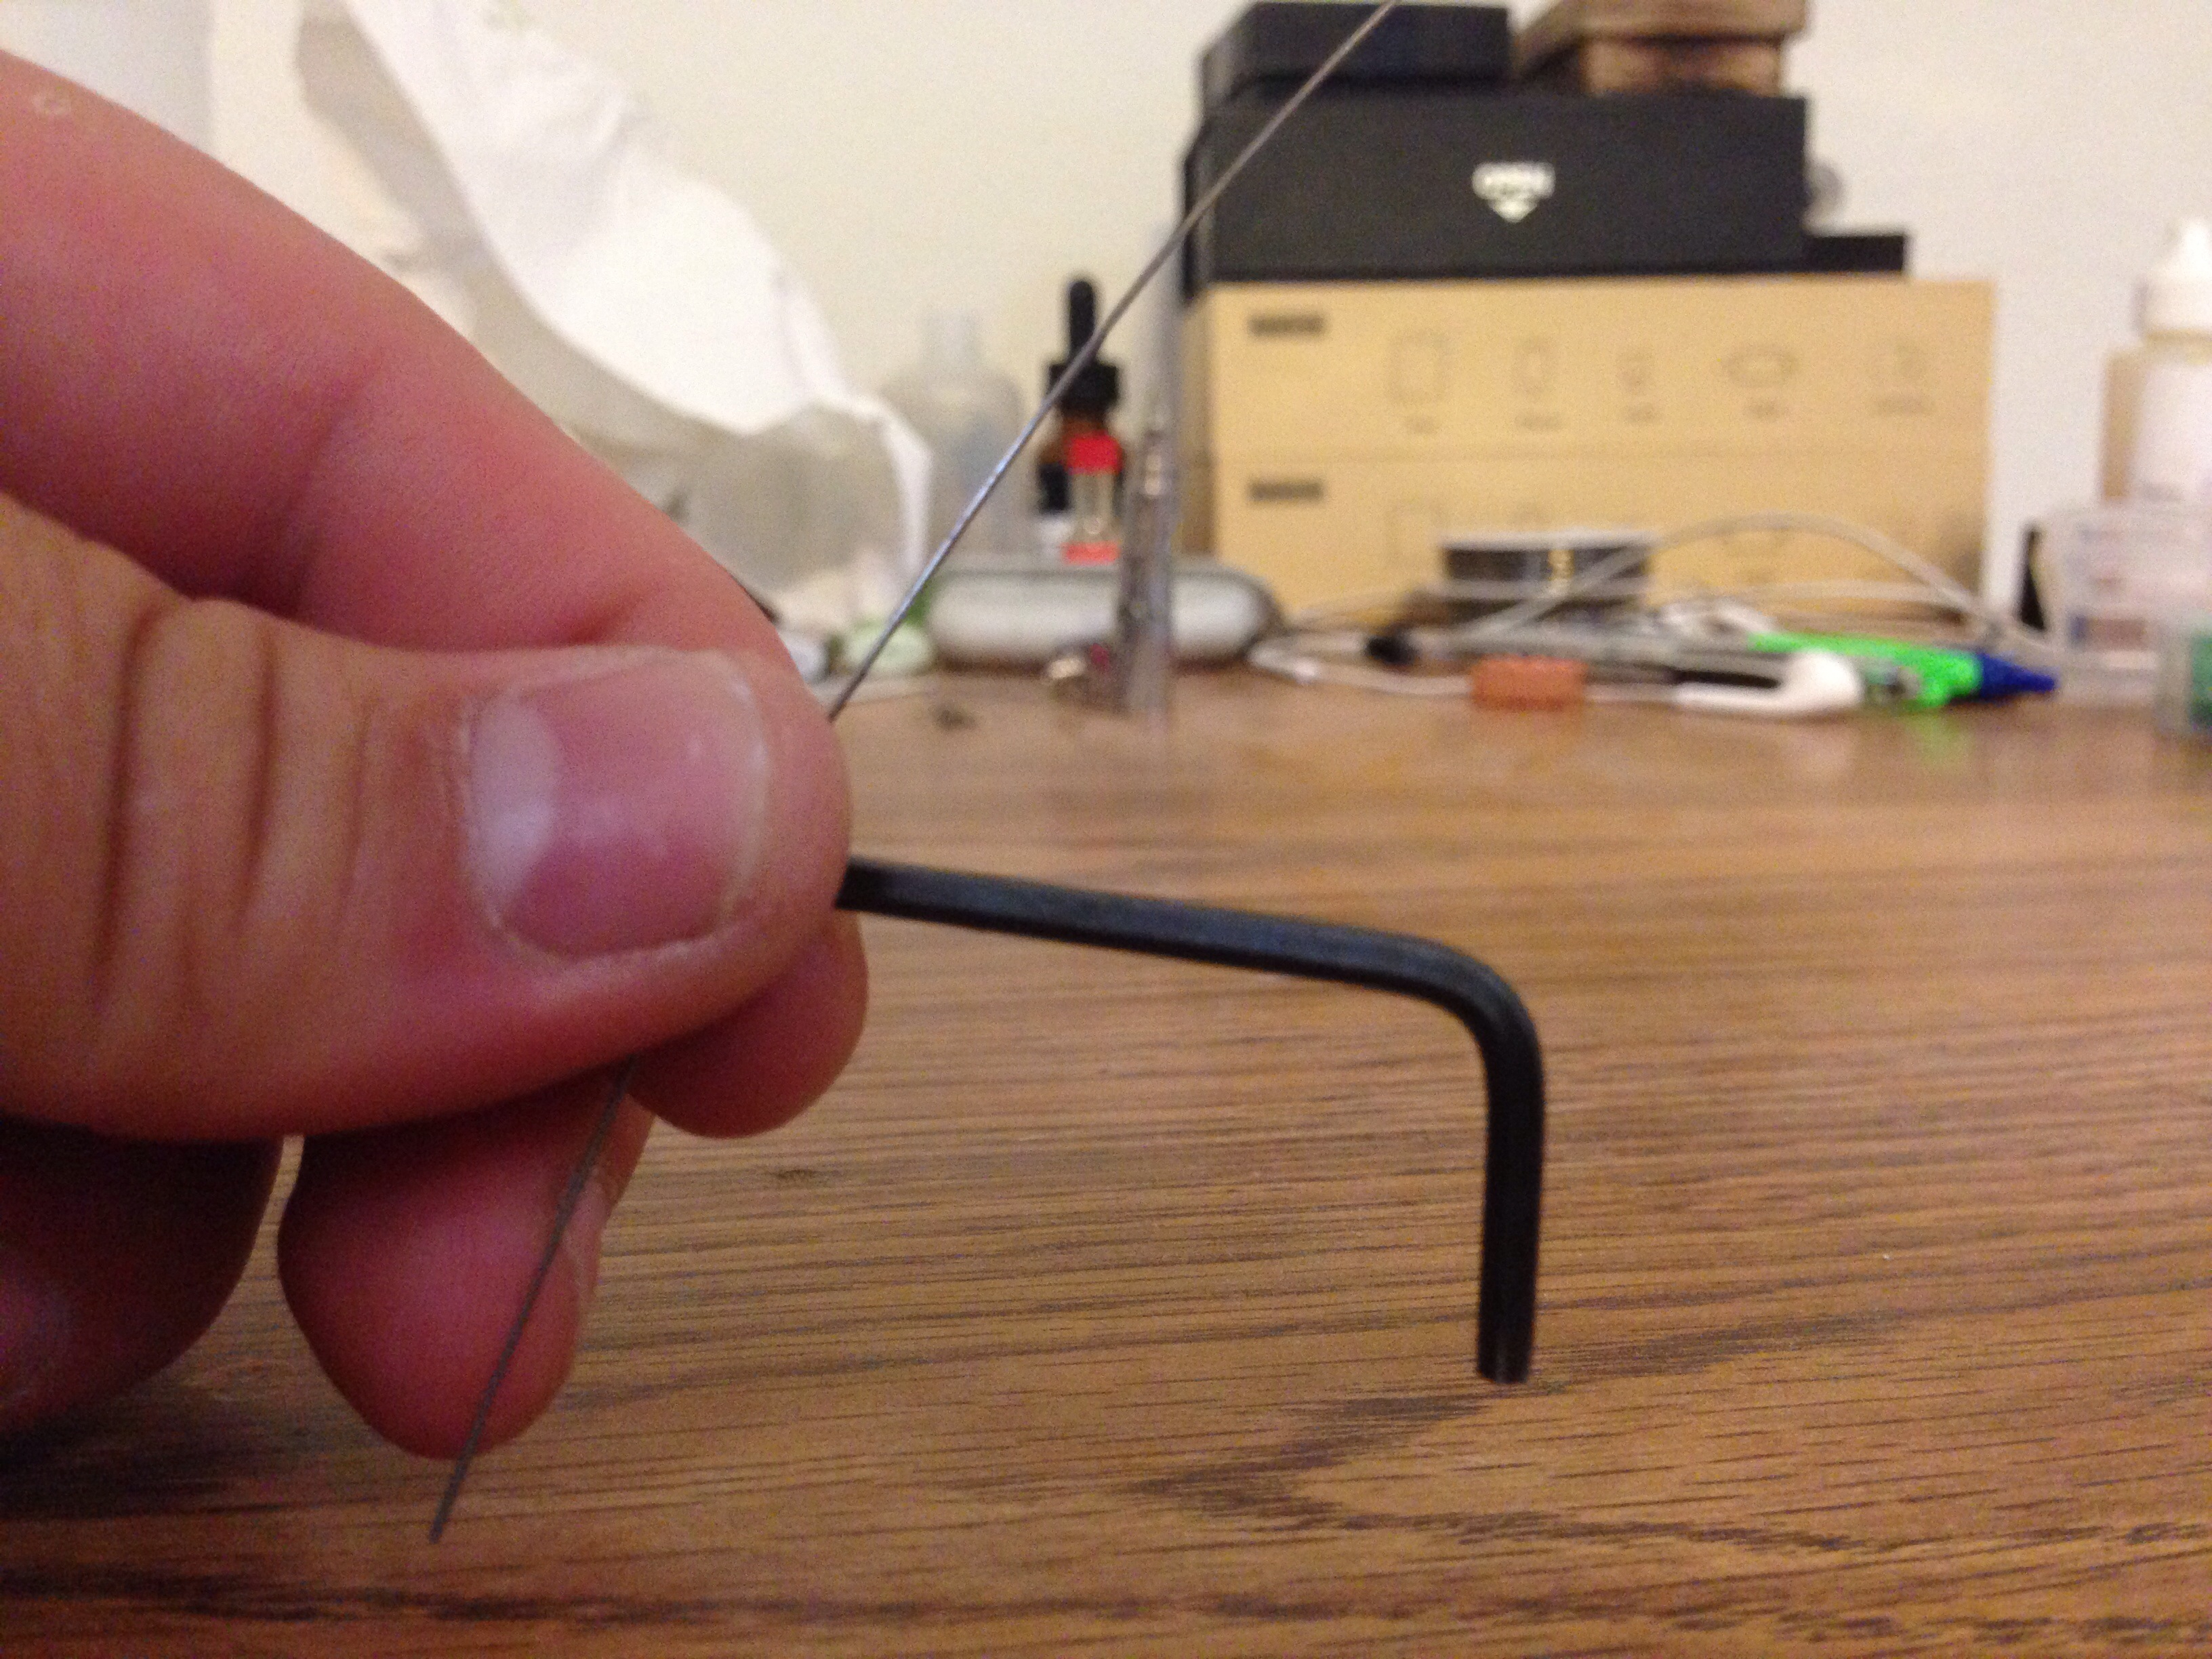
3. Tight Wraps
Once you start wrapping the coil, try and keep them as tight and close together as possible. Doing this will make all future steps much easier. Also make sure to keep track of how many times you wrap your coil, and remember it, as you want your second coil to be identical to this one.
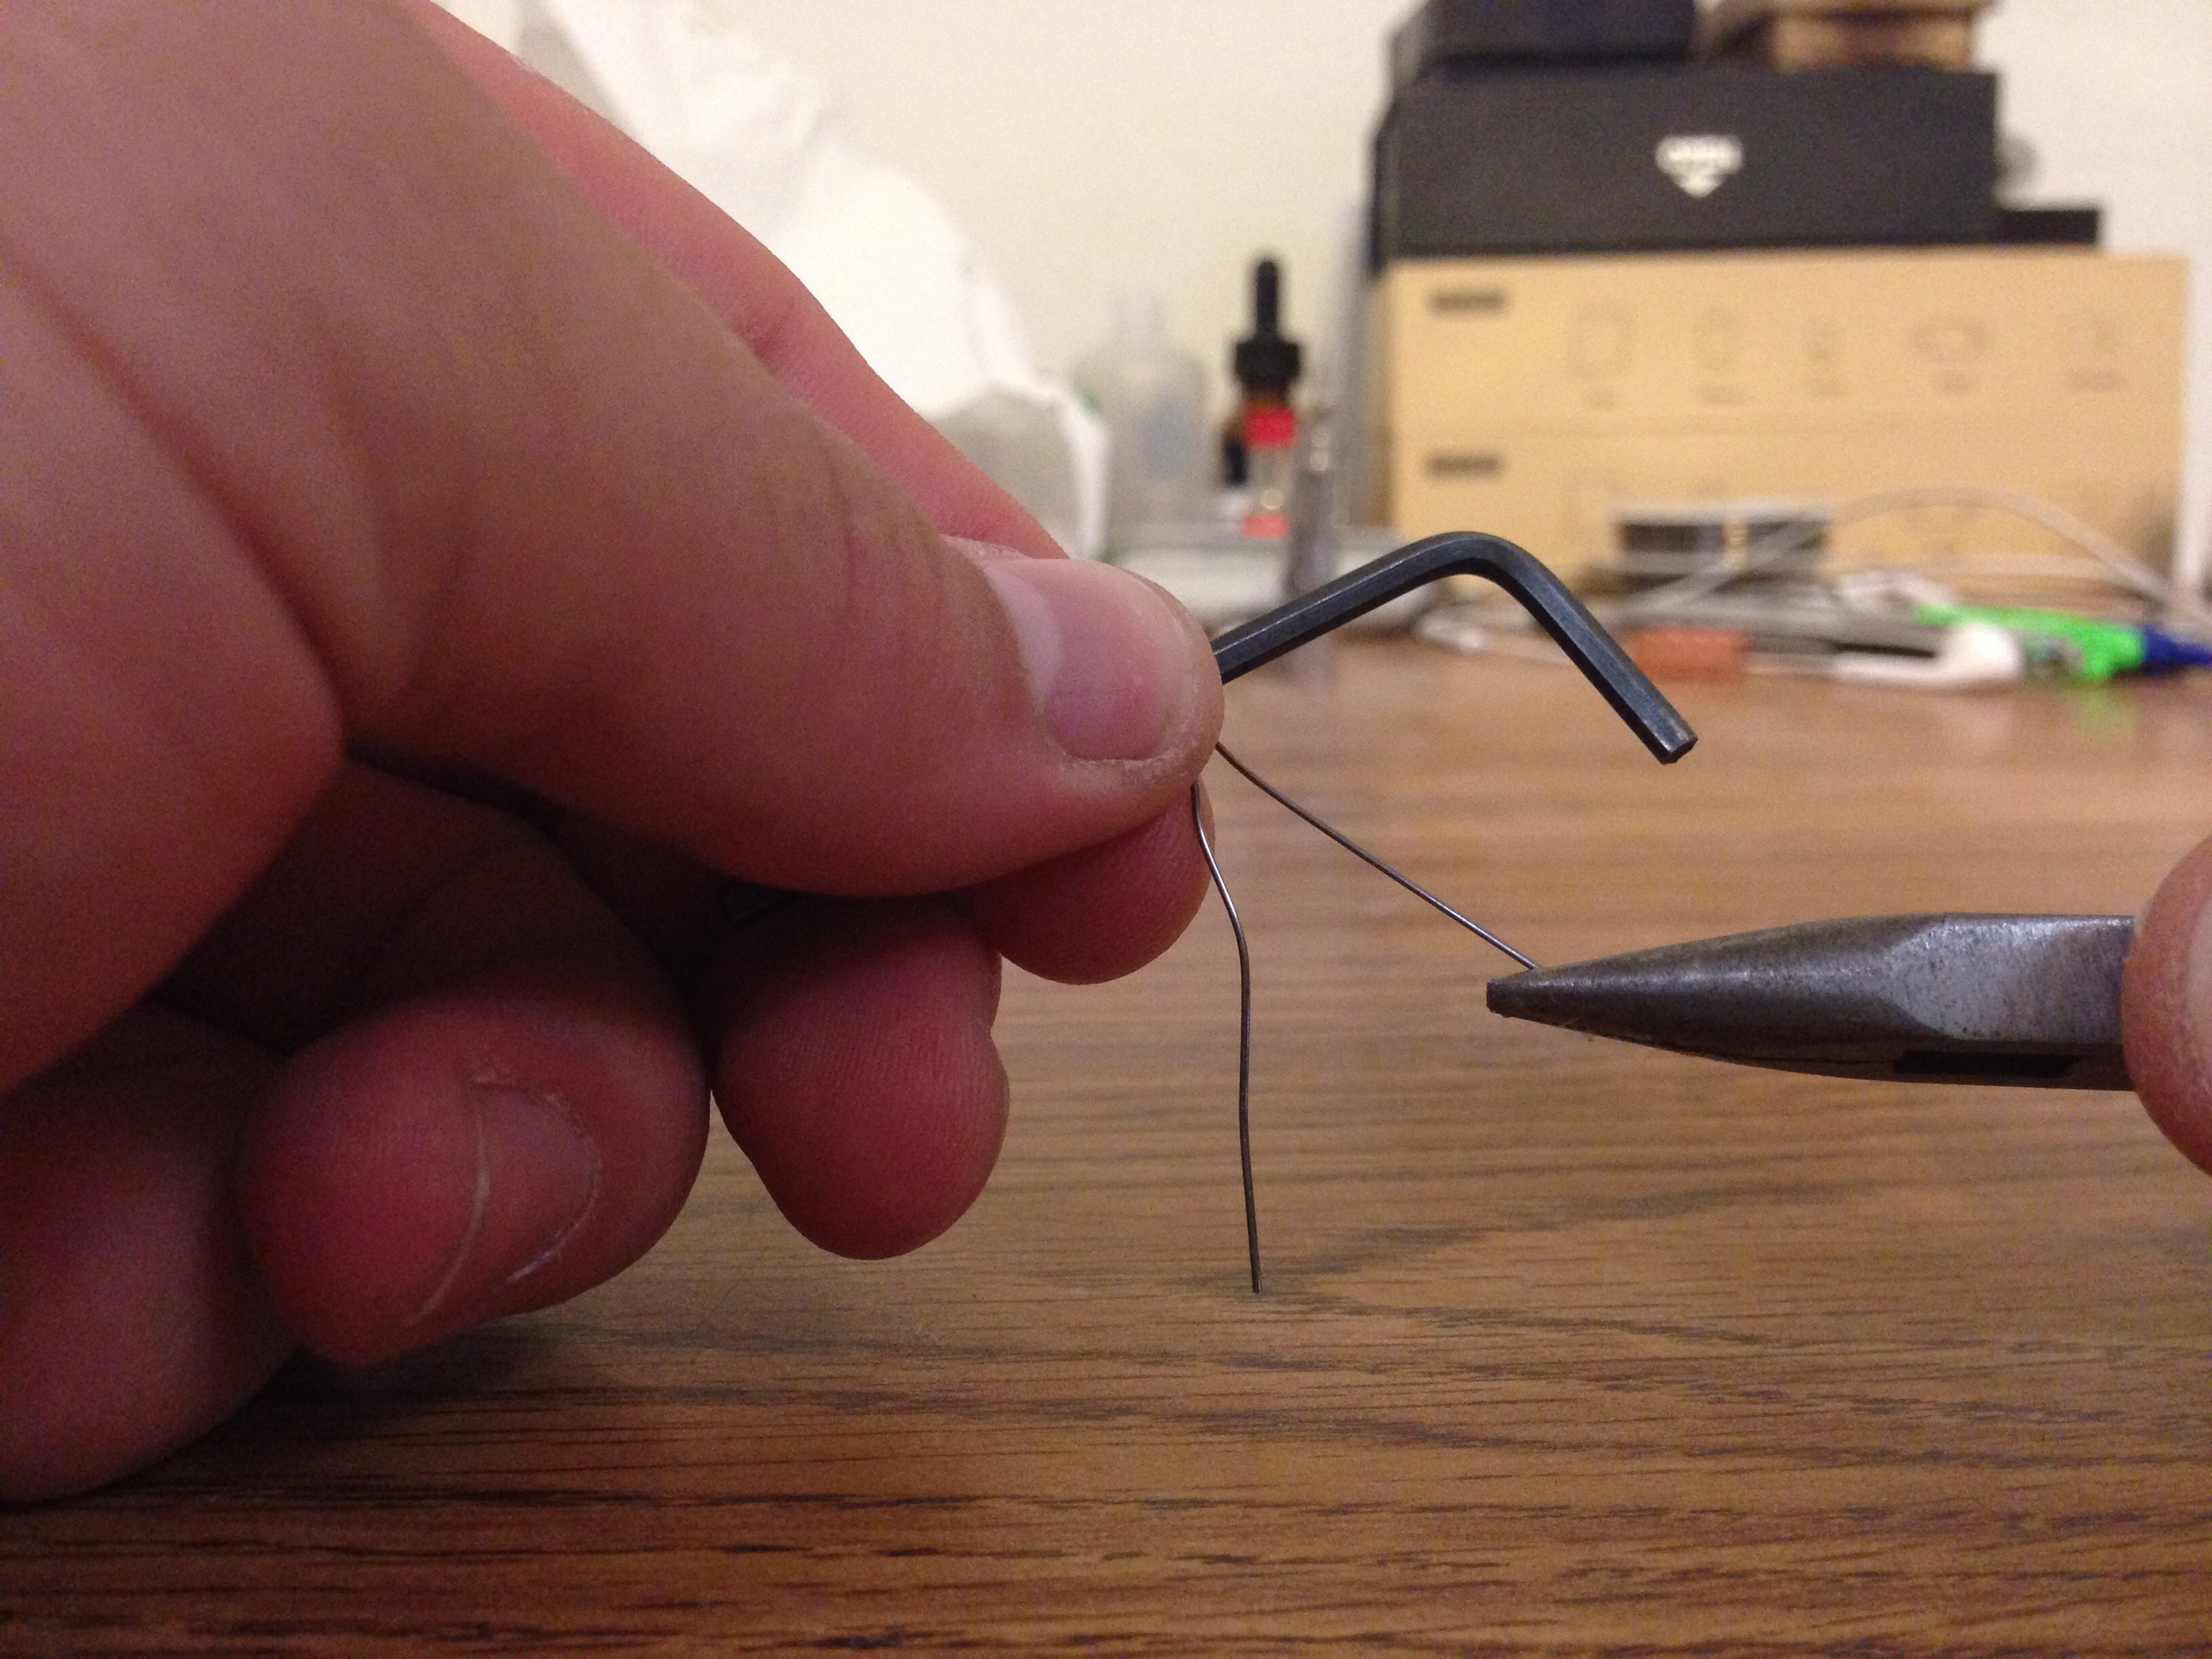
4. Remove Slack
Once you have acquired your desired amount of wraps (for this build, I decided on 7 wraps) hold onto your coil on one end, and grab the other end with the pliers. Make sure to pull pretty hard on your lead to take out any extra slack and make your coil uniform.
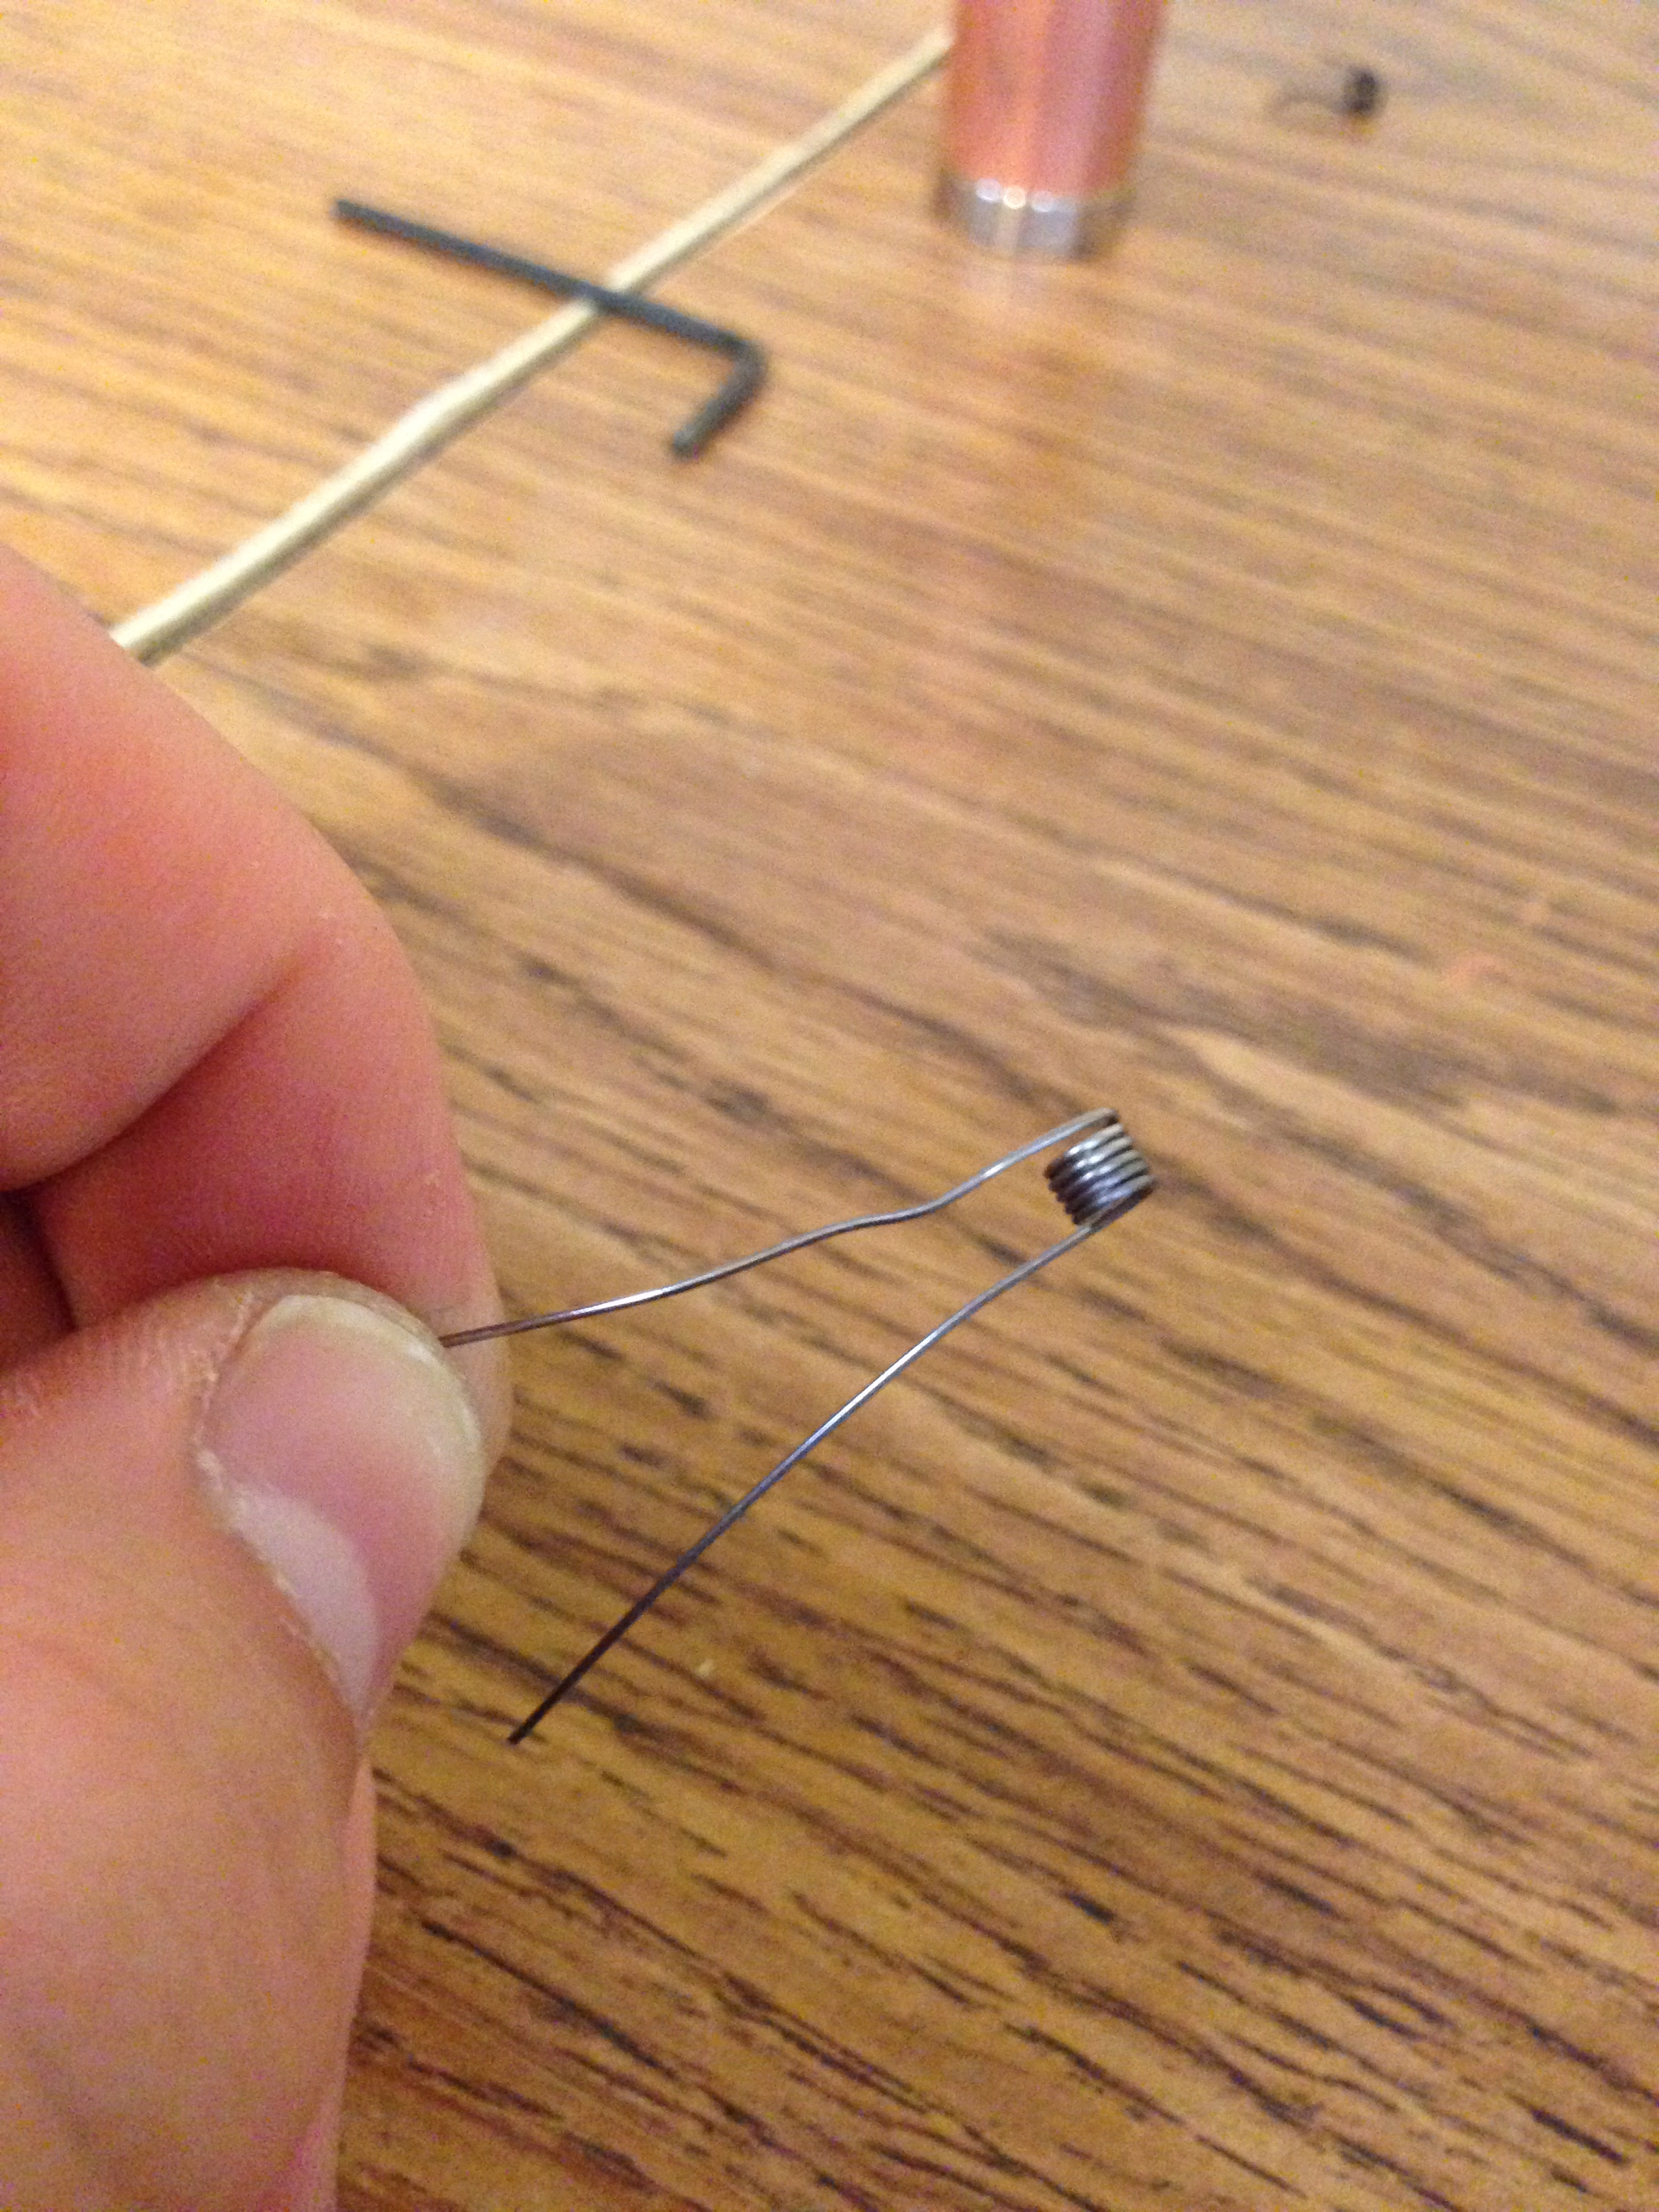
5. Your Coil
This is how your coil should look after sliding it off the allen key.
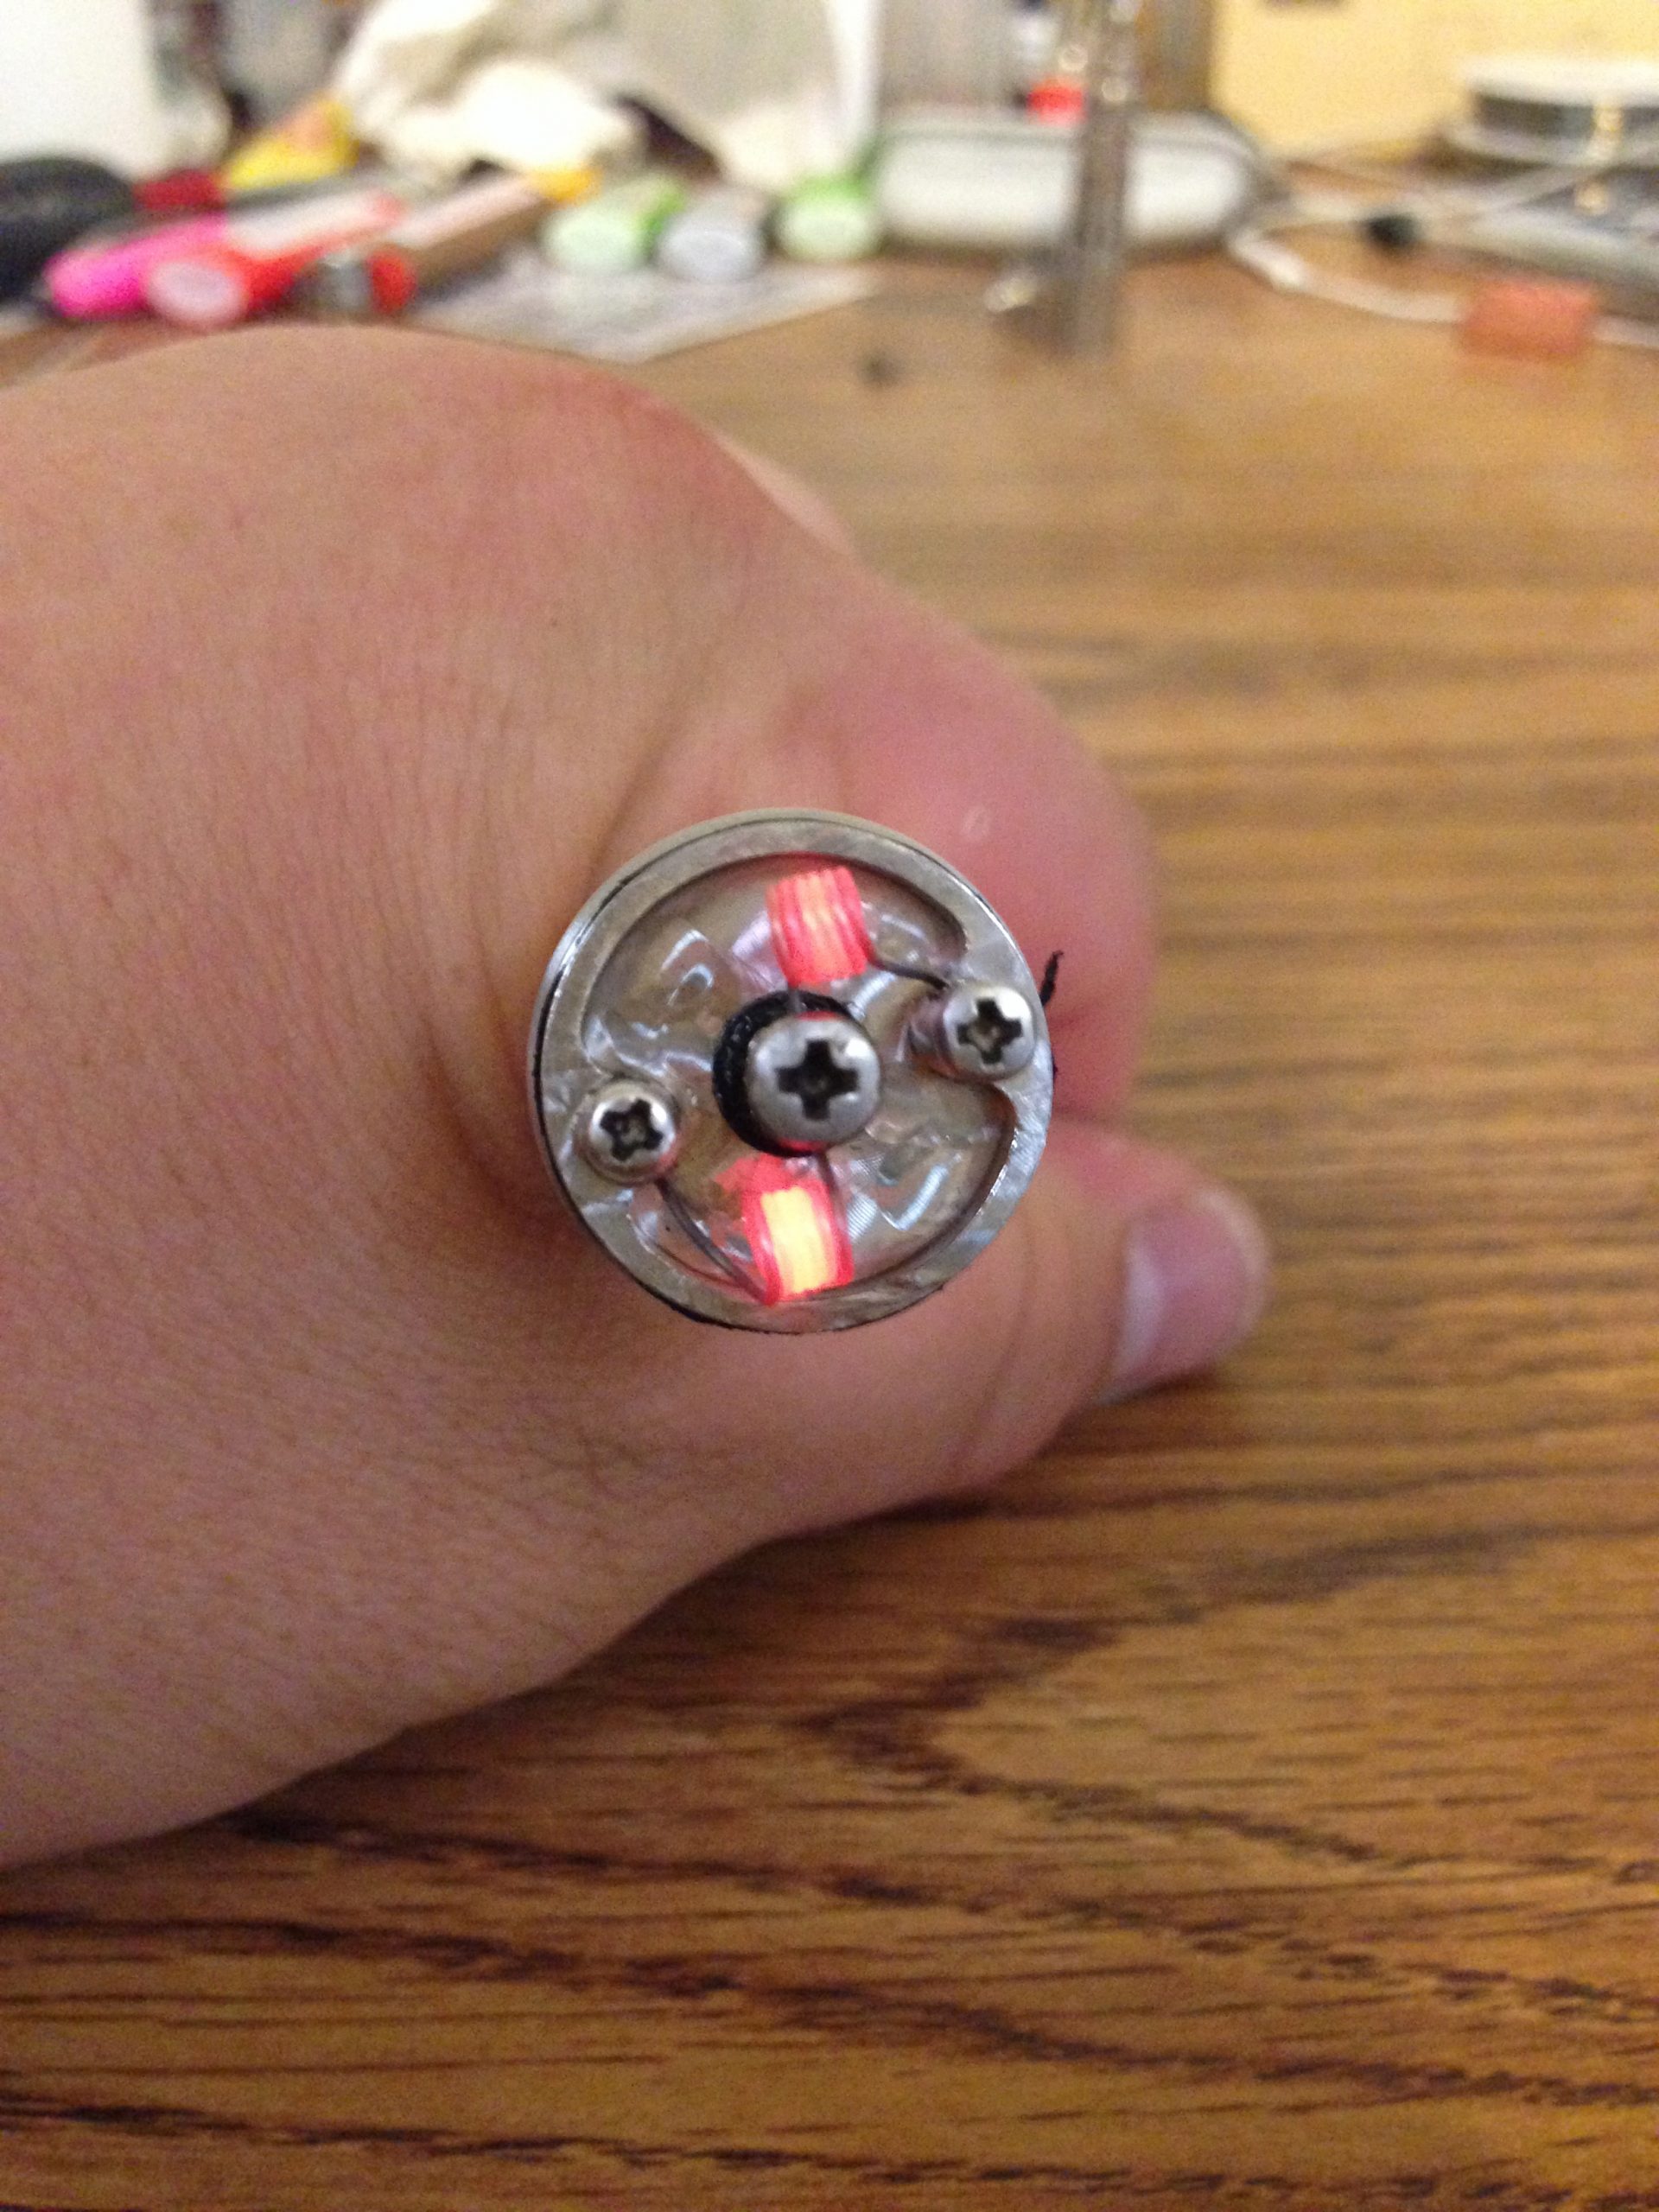
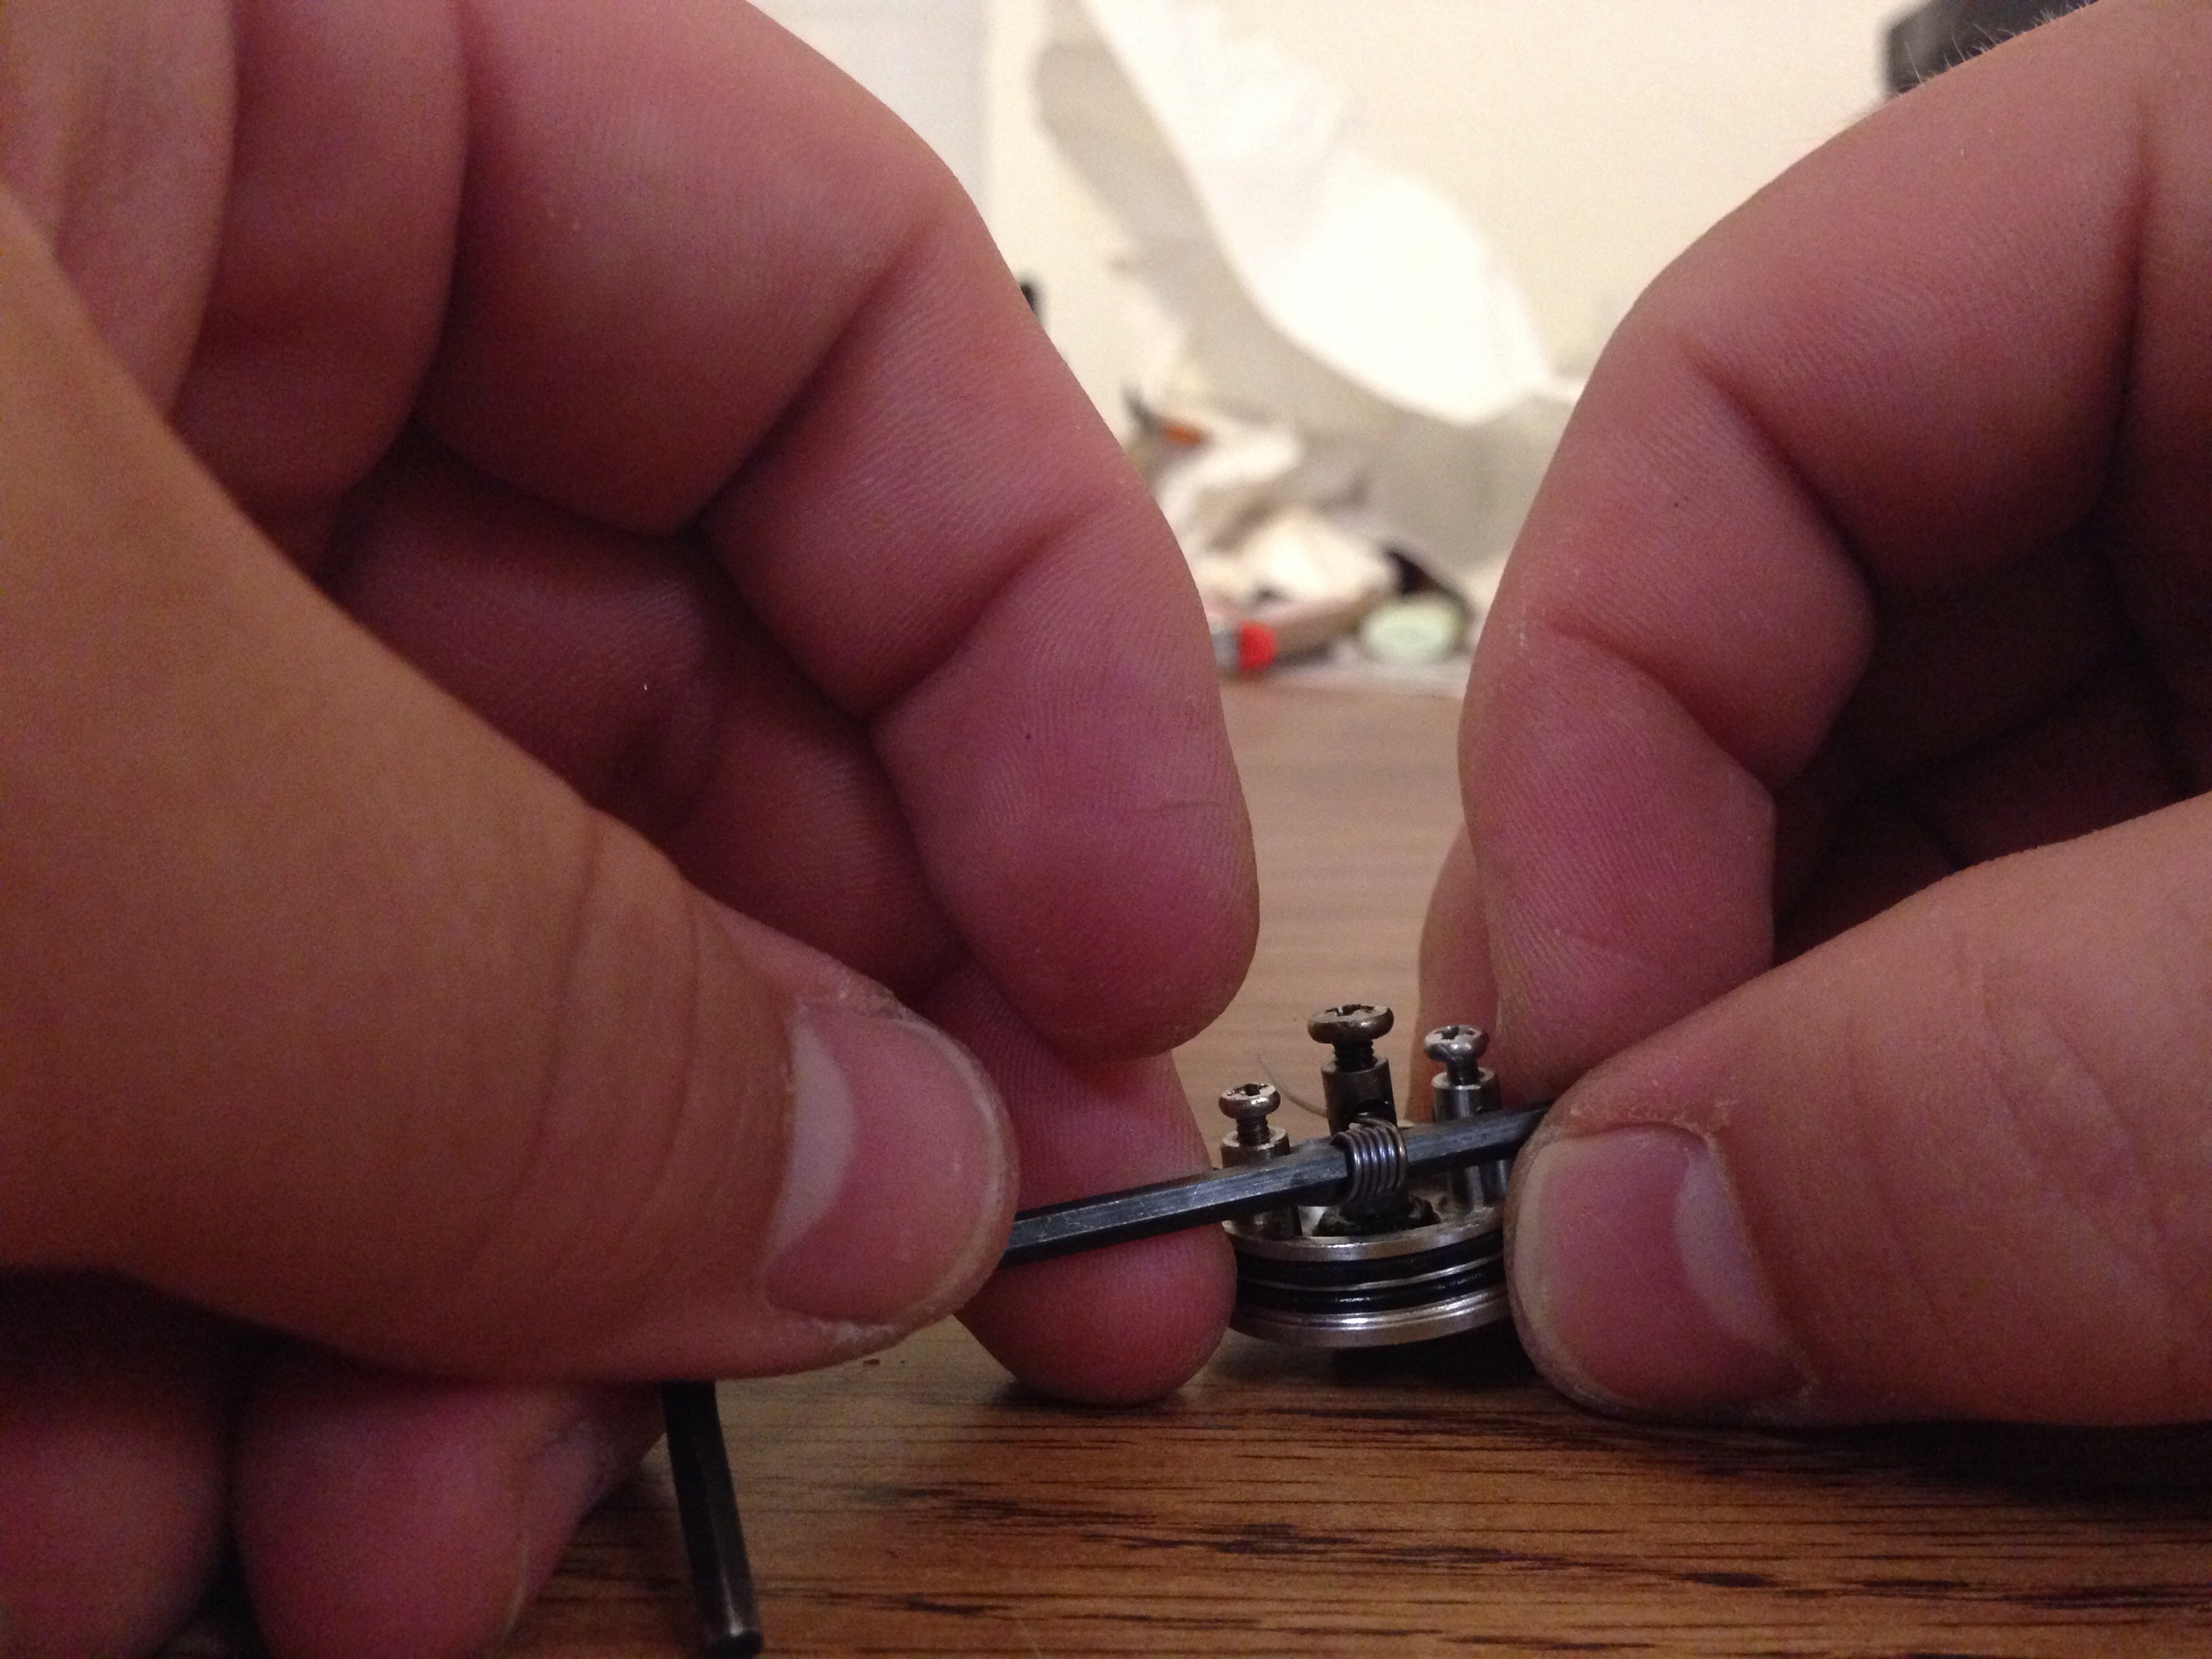
6. Insert The Coil
Slide each lead of your coil into your RDA, one lead in the positive post, and the other into the negative post. Make sure and leave your leads a little bit long and then tighten down both of your posts.
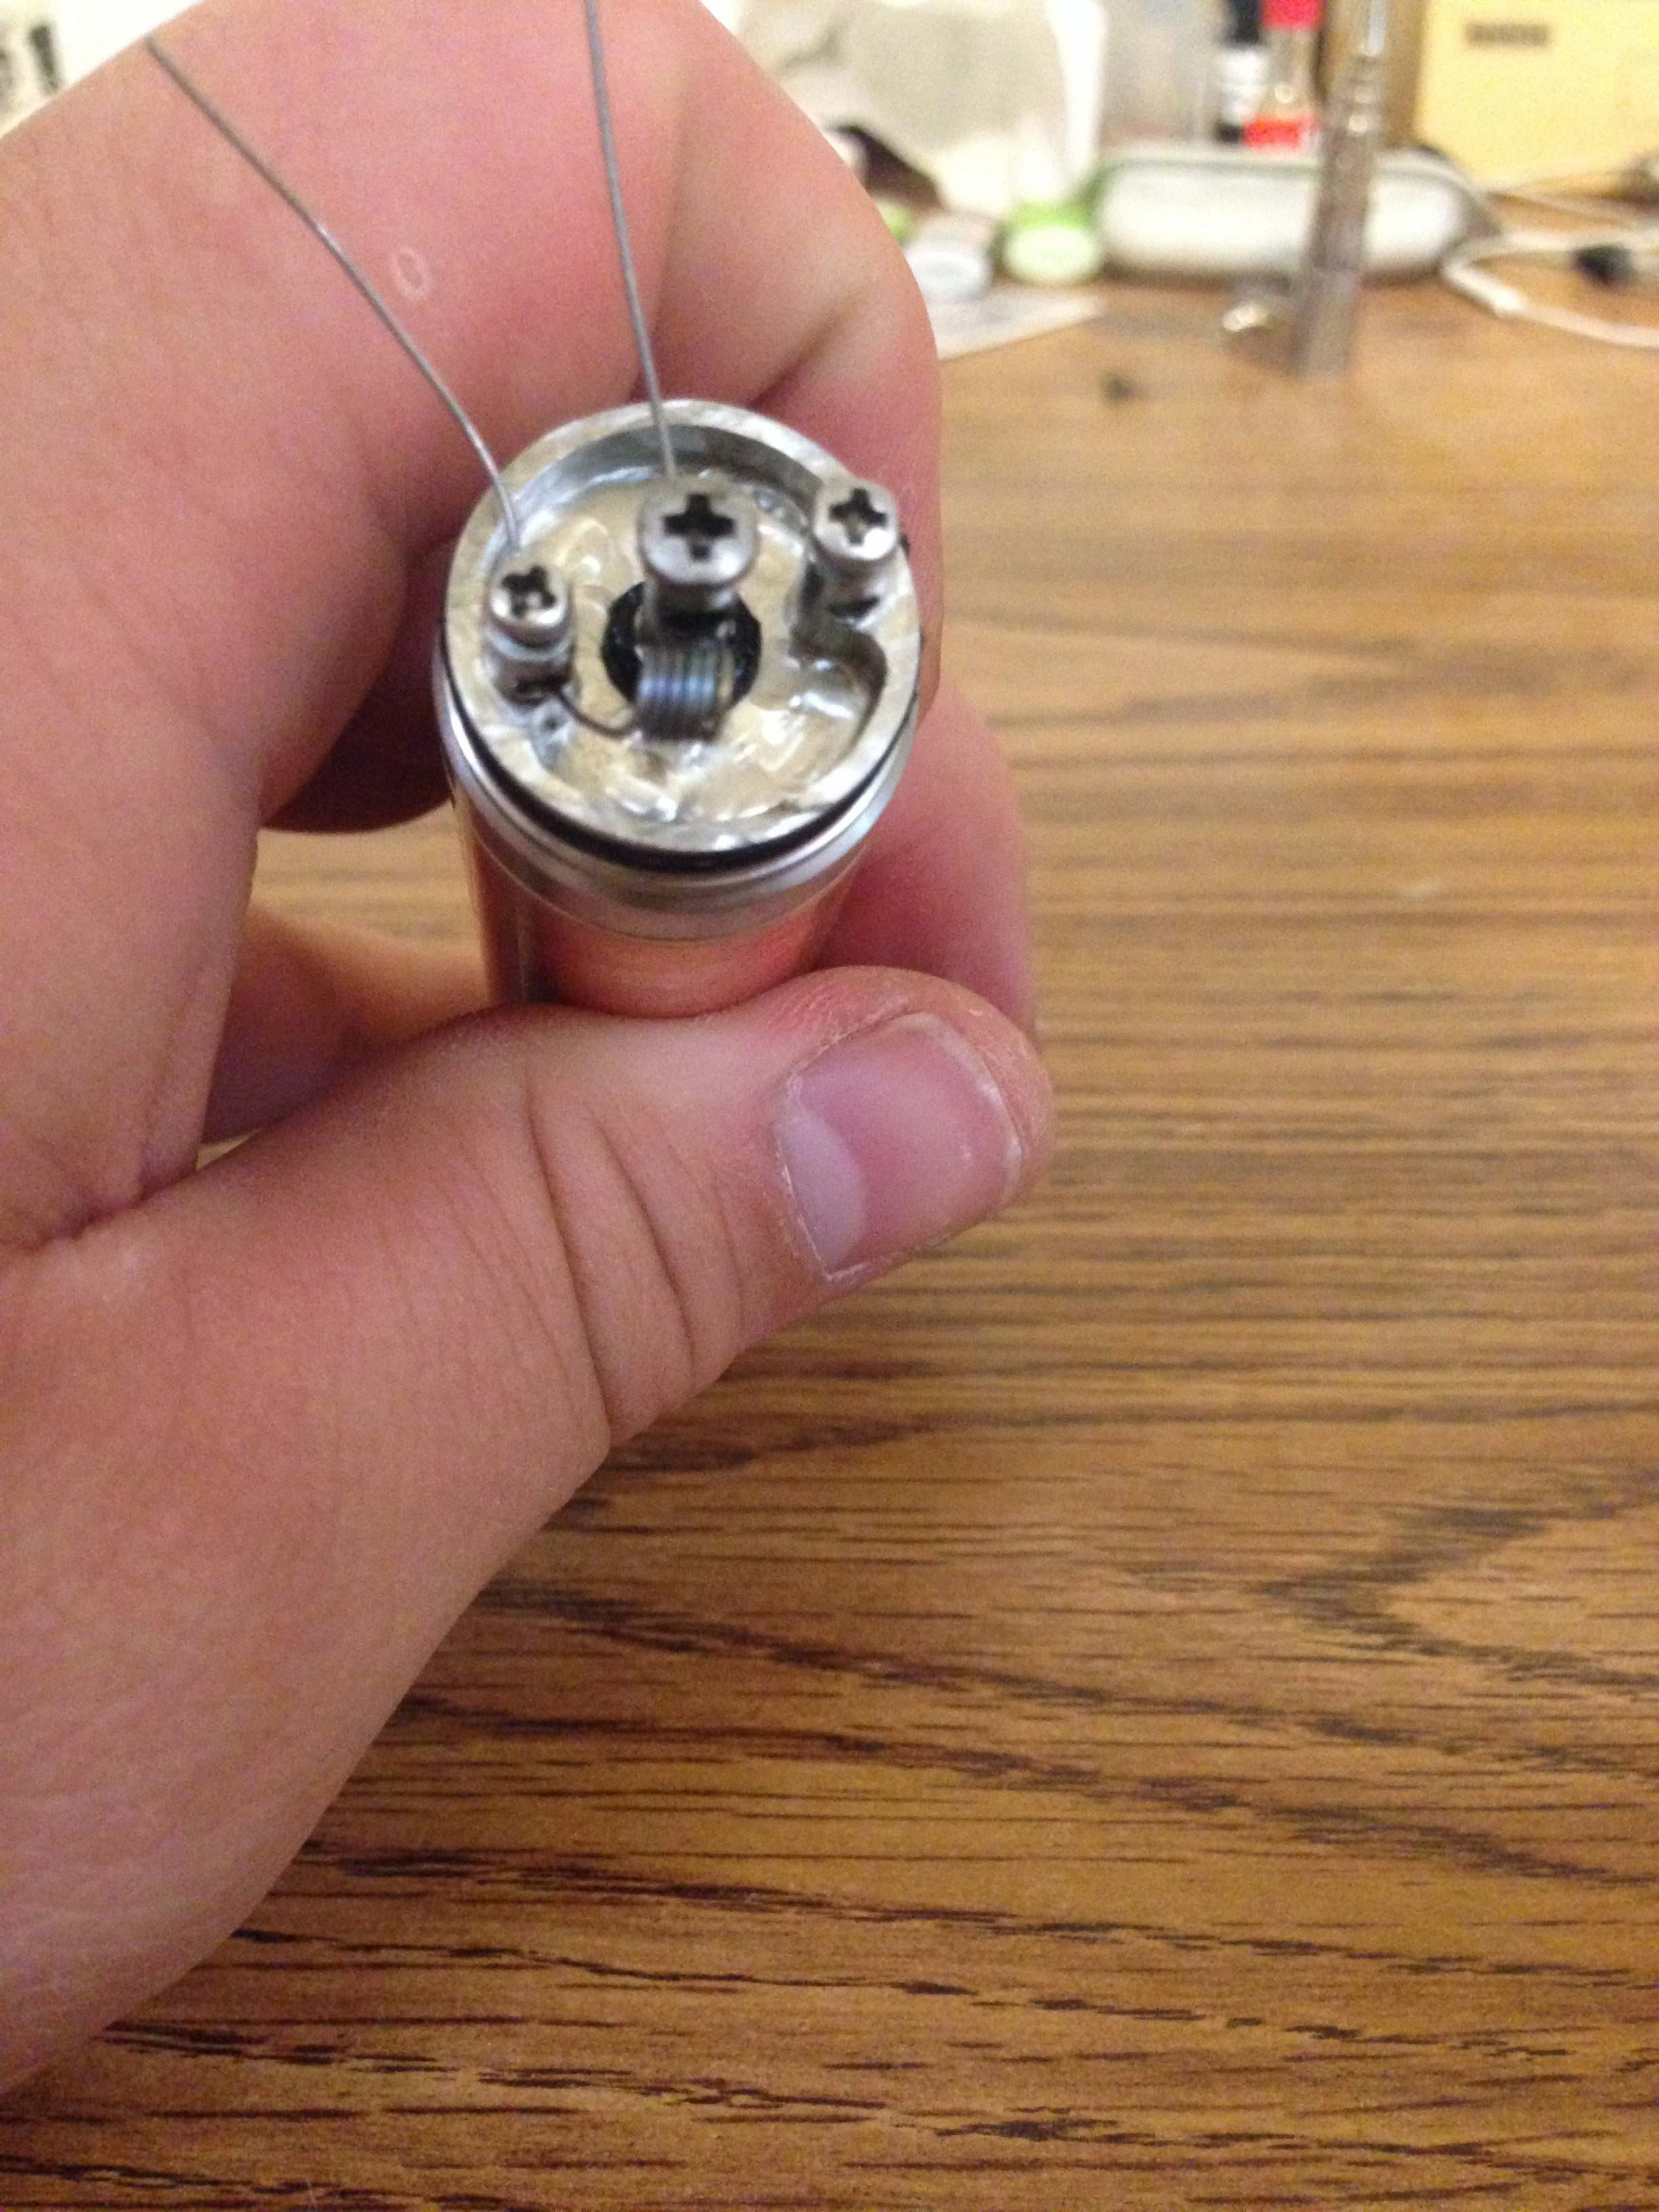
7. Position The Coil
Now, with the allen key still in the coil, center the coil over your positive post, and raise the coil up. Personally, I like my coils to sit at about the top of my positive post.
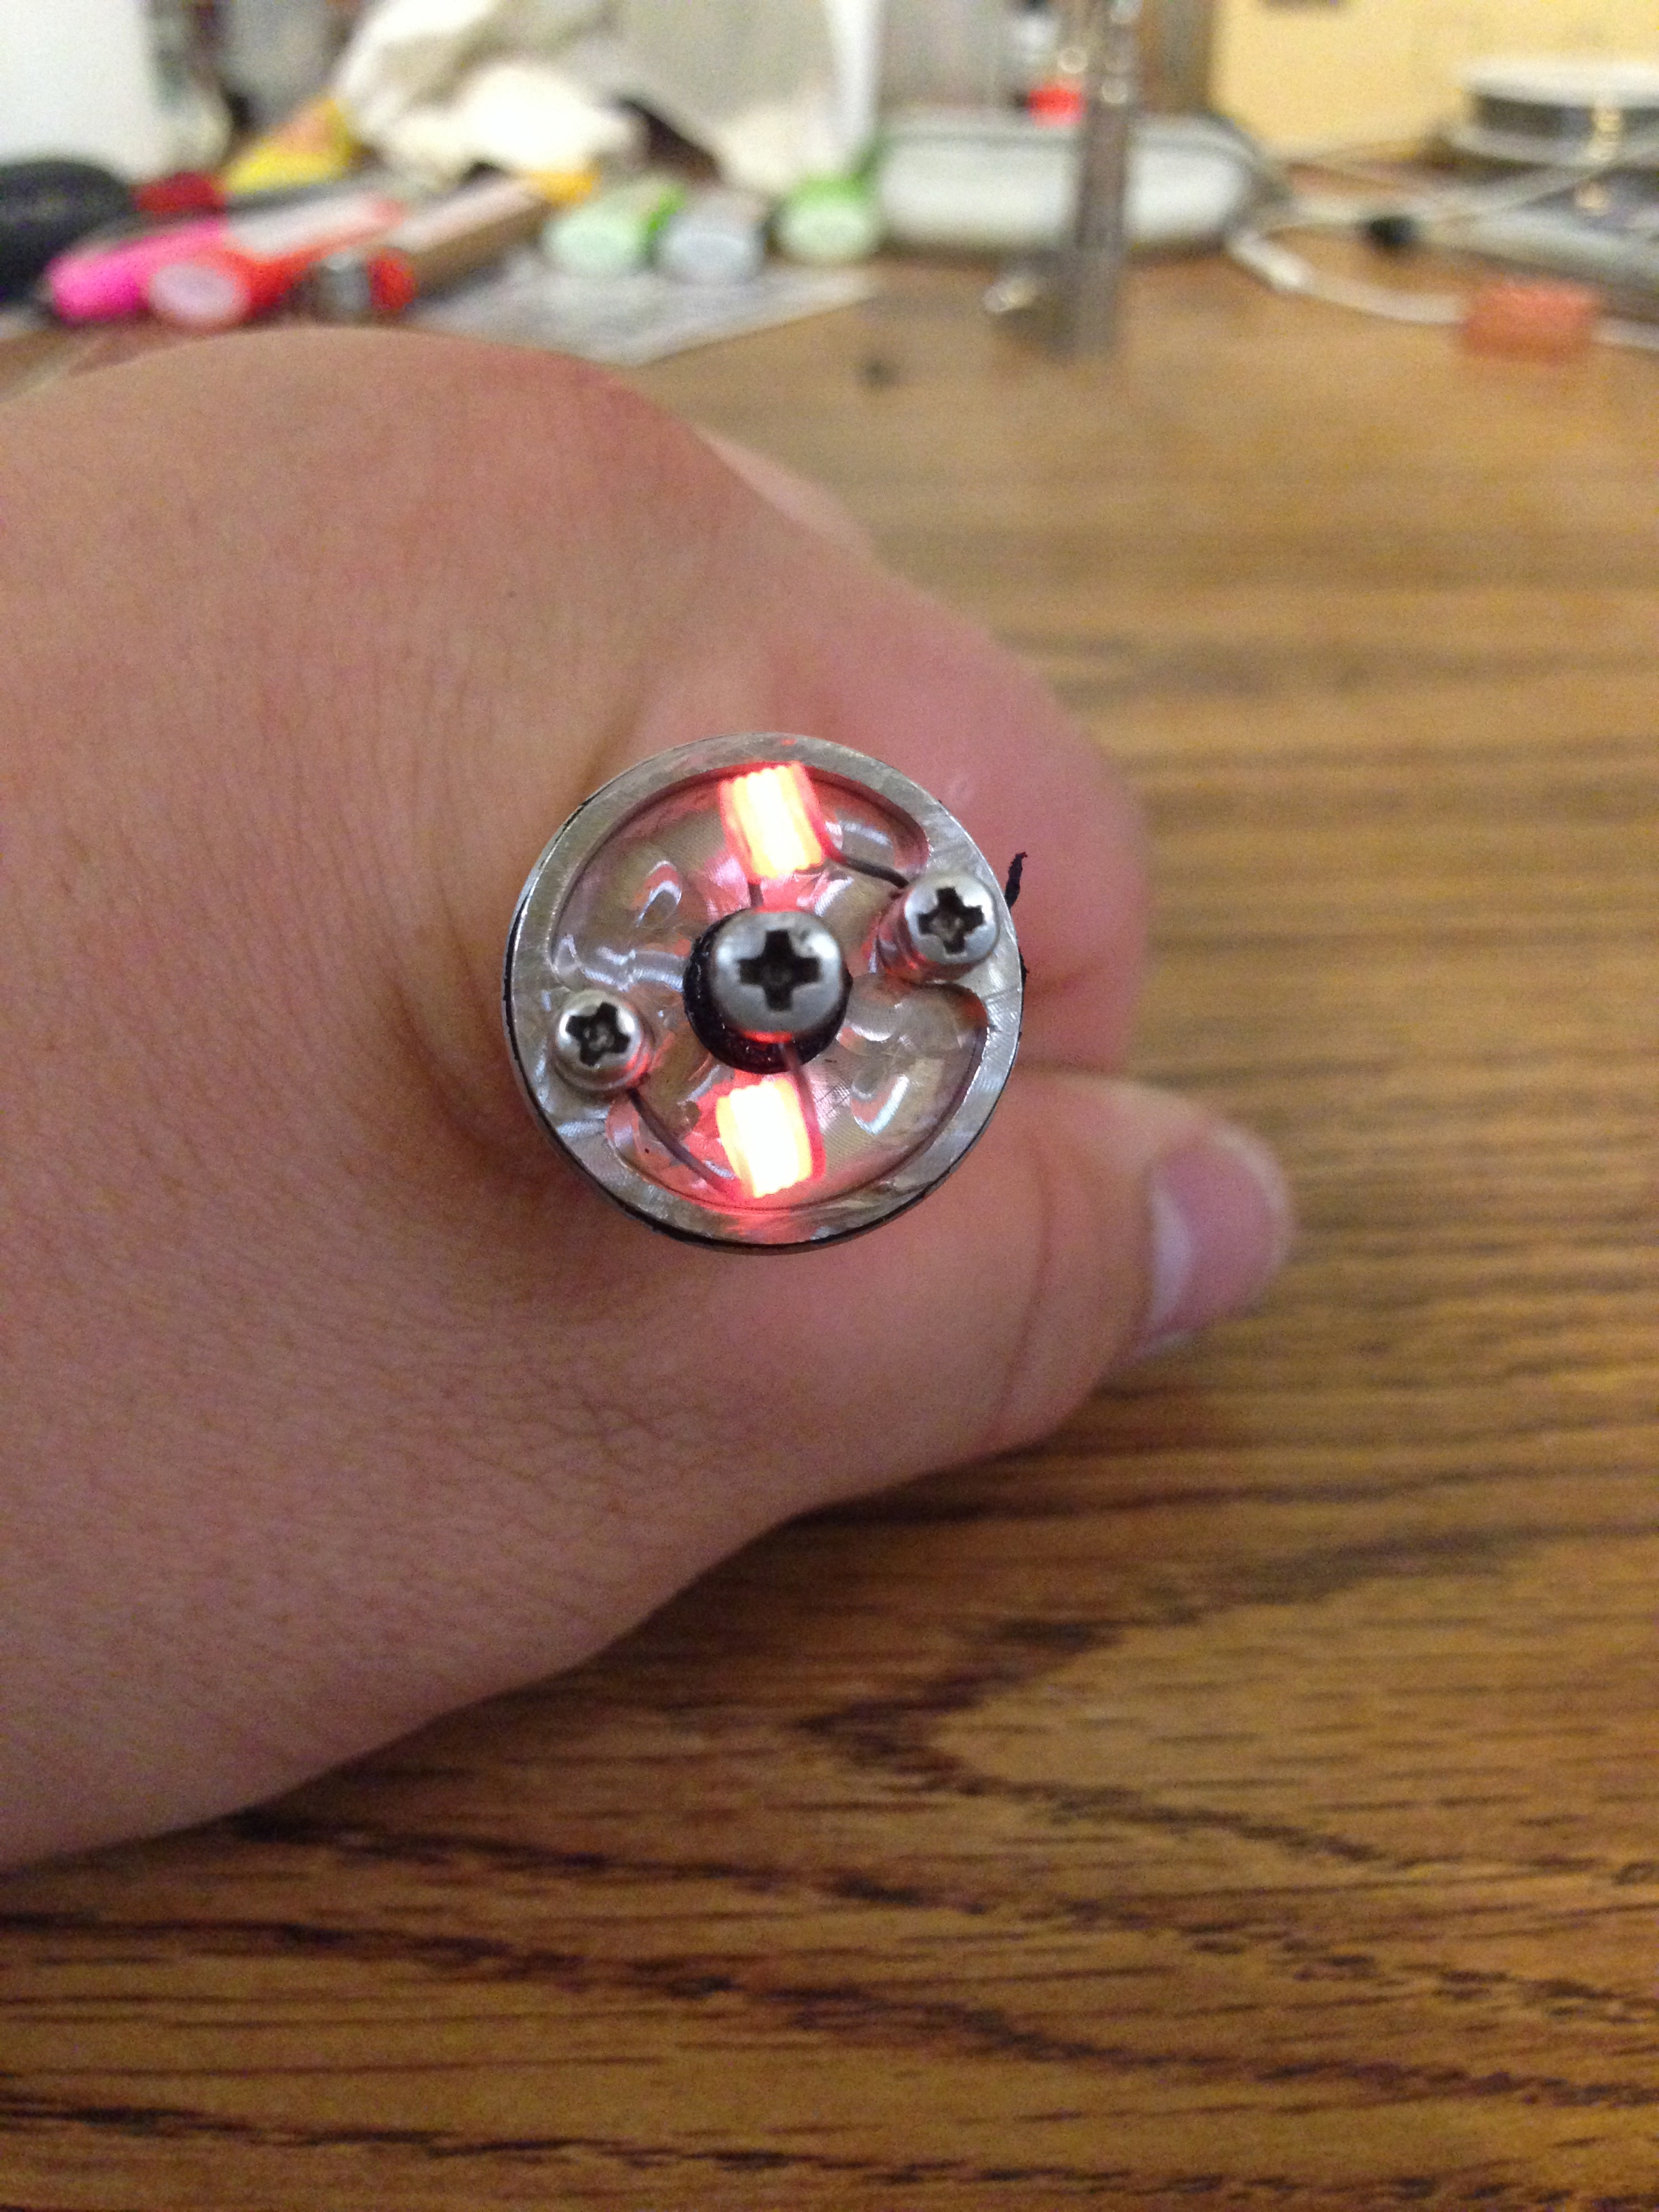
8. Test The Coil
Now test fire your coil. There are going to be three things you are looking for – The first is most important thing is to make sure your coil heats from the center out. Second is to make sure your coil is heating evenly, and reaching the edge at the same time. Third is to make sure your leads aren’t heating up, if they are, pulse your mod a few times to see if they go away. if not, loosen and tighten up your posts.

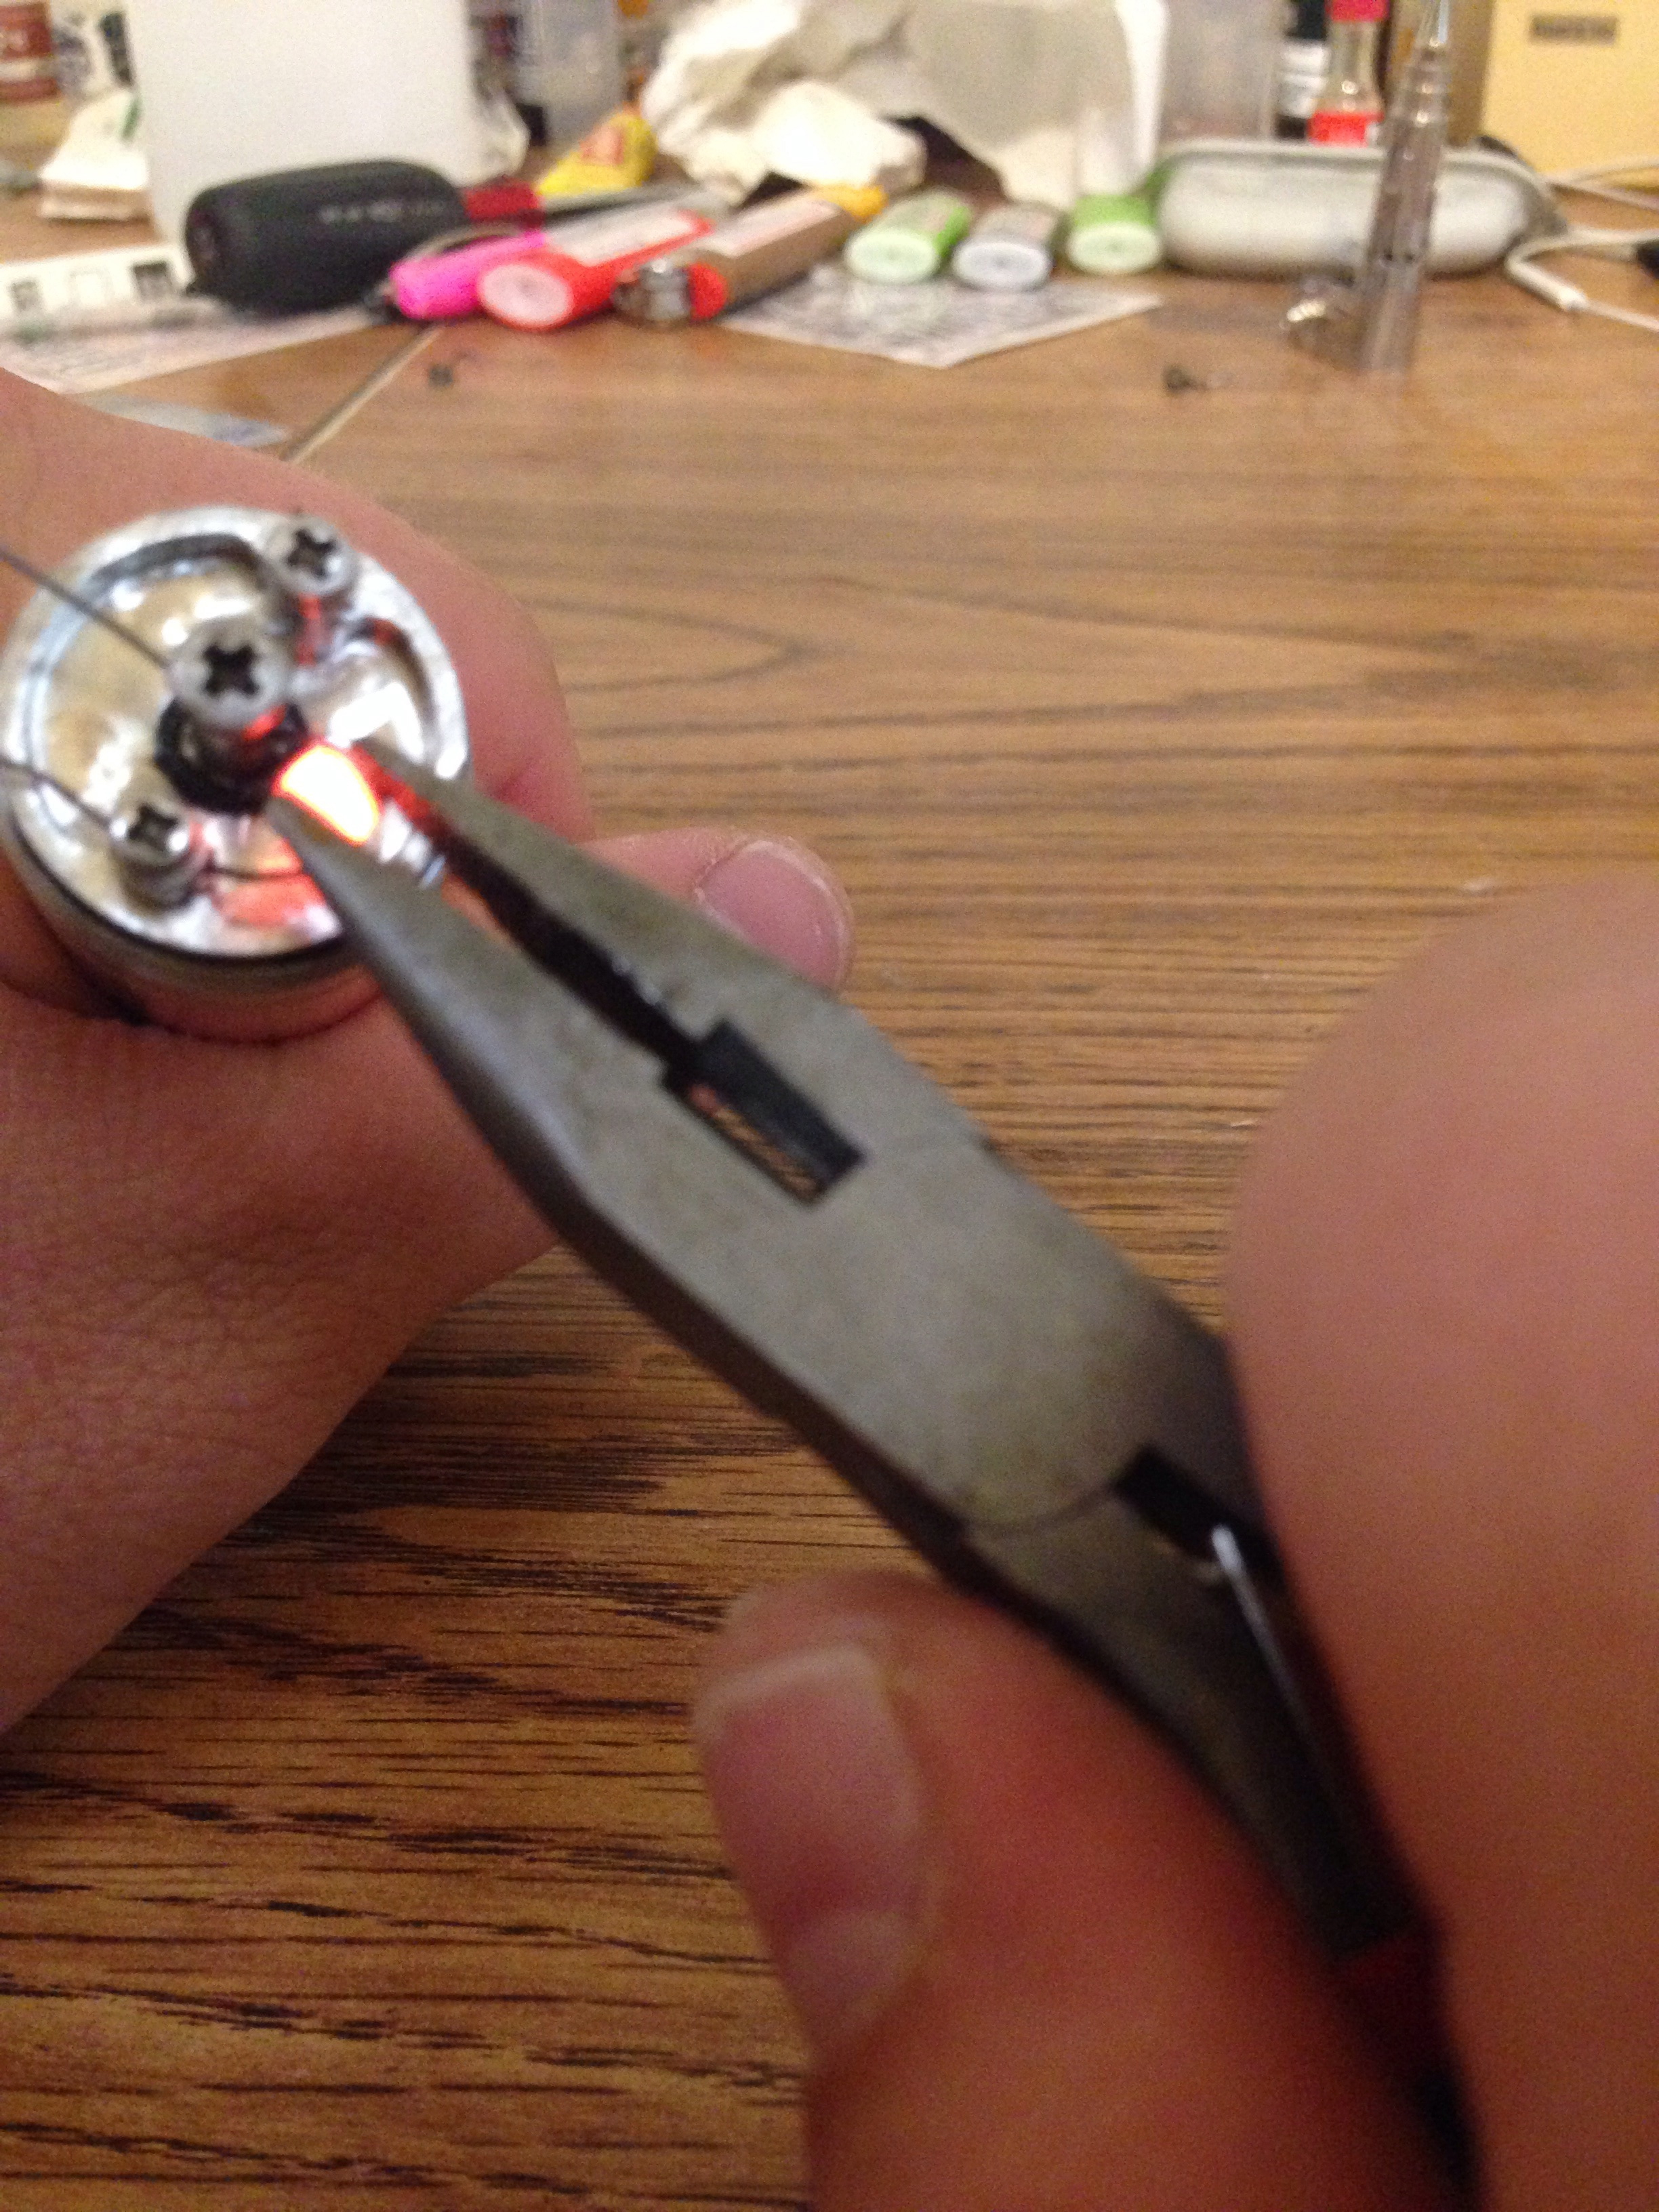
9. Heat The Coil
Then you will want to heat your coils until they are bright orange, and then squeeze them with your pliers. This will help with hot spots, and make everything uniform.
10. Level The Coil
This is about how high up you want your coils. Directly level with your airflow.
11. Repeat The Process
After you have completed your first coil, repeat everything with your second coil, and make sure they are identical.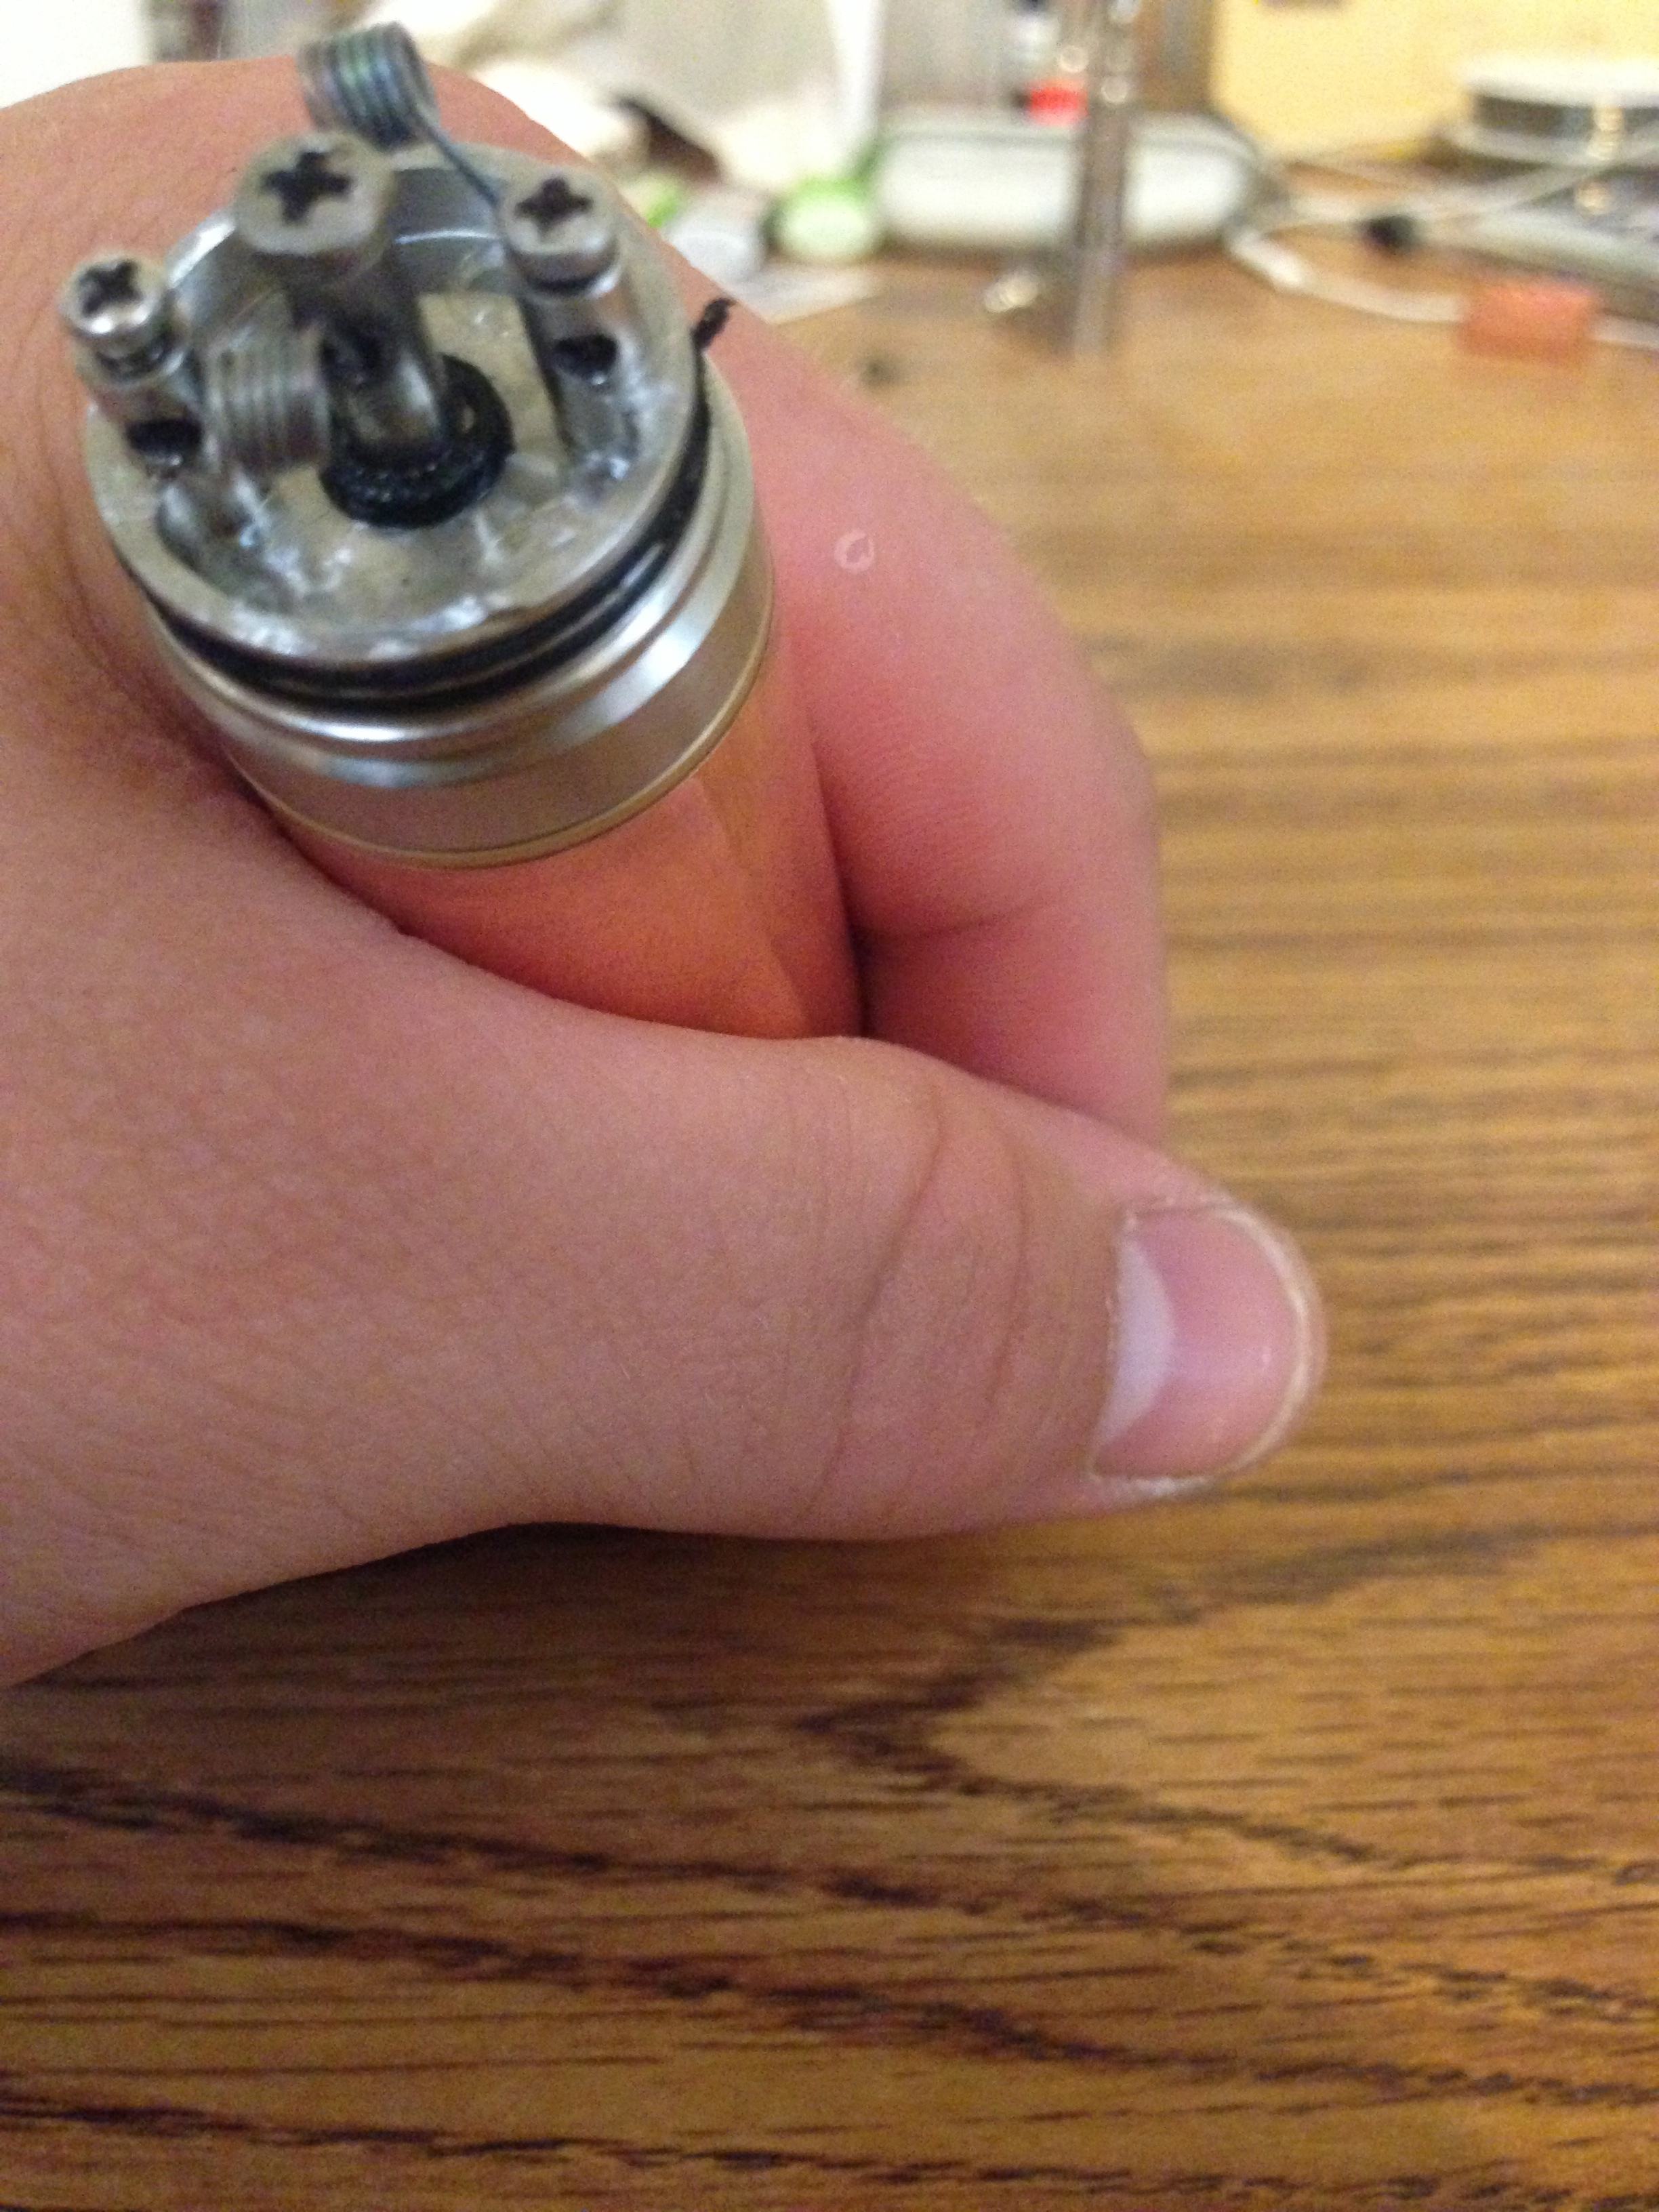
12. Recheck The Coils
Fire your mod, and make sure both of your coils are heating from the middle out, and heating up at the exact same time.
13. Completion
This is how you want your coils to fire and look when you are done.
In my next post, we will talk about proper wicking materials, and techniques.


Thanks to a correction from zombiemann from r/electronic_cigarette, the following information was provided:
“Not a bad tutorial, but I have to offer one minor correction. Heating the Kanthal with a torch doesn’t effect the springiness through oxidation. In function it is similar to heat treating steel. The heat effects the molecular structure, but oxygen has nothing to do with the process here.”
So step 9.. any old metal pliers will do? Because I’ve tried this several times and every time I hit the button with the pliers that look just like yours squeezing thr coils. The coil heats up really fast makes a funny smell and melts on me.
Can’t I just put some rubber gloves on and squeeze the coils like that? Pretty sure it would work better tan clumsy pliers
When you’re trying to form the coils and remove any hot spots, it’s recommended that you use ceramic tip tweezers, but anything will do honestly. You heat up the coils, then let the fire button go, then as they begin to coil down you mash the coil together and let go of the coil once the heat (red) fades away.