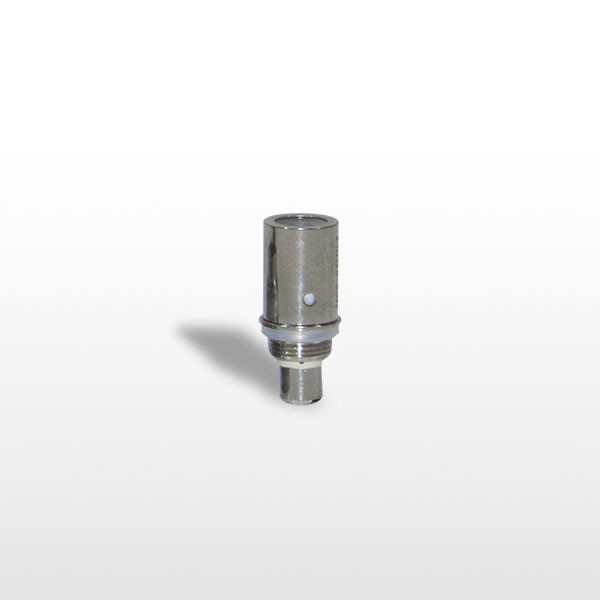
Many times when you purchase a new clearomizer or replace your existing coil with a new one, the coil will need to be broke in to allow it to work properly. Sometimes without breaking in the new coil or preparing it before use, the clearomizer will function properly without problems. However, it doesn’t always work out the best and if the coil isn’t broke in like it’s needed, you’ll be stuck with many issues and questions to follow.
With that said, here’s a how-to break in a new coil guide. Use this quick guide for yourself or share it with a new vaper to save them future hassle.
1. Filling The Clearomizer
You’ll want to begin by filling your clearomizer to its fullest capacity. Completely filling the clearomizer will ensure that once the e-liquid begins to enter the coil’s wicking area, that you’ll maintain a proper level when breaking in the coil.
2. Priming
Now that you’re ready to begin priming the clearomizer coil, you can start taking dry hits. A dry hit is when you take a pull from your clearomizer without activating the battery. The suction created will force the e-liquid into the coil’s wicking area and allows the wick to become saturated with e-liquid. Take around 5 dry hits, but do not exceed that amount. If you take more than 5 dry hits, you’re taking a chance of flooding your coil with e-liquid or sucking e-liquid into your mouth. Many vapers refer to this portion of breaking in a coil as priming the clearomizer.
3. Quick Hits
The clearomizer coil should be primed and ready to go. However, many vapers will jump the gun by applying too much power to the coil right after it’s primed. My advice would be to start off using a low voltage, like 4.2v to 4.4v and begin to take quick hits. A quick hit is to take pulls from the clearomizer very quickly without inhaling any of the vapor. It’s a quick hit, blow out, quick hit, blow out… you can do this about 5 times and the clearomizer should work flawlessly.
The clearomizer should be functioning properly. By doing this, you’re avoiding any future issues you could have run into. I have personally used this method ever since I started using clearomizers, and each and every coil I use works great. Many believe that these bottom coil’s are hit and miss, but I’ve never encountered much of an issue with any of them. As long as you’re following this method, I doubt you’ll experience any issues either. Enjoy!


Thankyou soo much for that advice as I was starting to get a little annoyed by people saying it had to be done but not telling me how properly, your way is perfect 🙂 x
Do you have any suggestions for cheap disposable clearomizers? I live on the road so I can’t get to a vape shop often
Good tip! Noticed that if you get a burning taste, sometimes by lying your vape horizontally, the liguid leave the coil, causing it to dry up over night. Prime and go and the burning taste is gone! I’d practice priming it 2-3 pulls after long periods of time to prevent the nasty coil burn
Best advice ever! Specifically the quick hits, I went through three coils burning them every time even after priming for 25-30 mins. The last one I primed, did the dry hits then let it set for an hour. Seemed to work as far as not burning my coil, but the vape was pathetic and I couldn’t taste the juice at all. As soon as I did the quick hits, even after having been using it for a few hours its working like a pro! Thank you so much, you have no idea how close I was to buying a pack of cigs.
Awesome! Glad ya got it working good. You don’t have to “wait” any time you prime a coil. The whole idea is to make sure that cotton is soaked so that when your coil heats up it doesn’t burn the cotton. The cotton has to be wet at all times. So, simply make sure the cotton is wet, and it helps to do those quick hits on first use and doesn’t hurt to do it every once in a while to make sure that e-liquid is being sucked into those juice holes good.
Thank you so much. Thought I was going to need a whole new setup.
Thanks for these tips! The dry hits and the quick hits help me get a good first “real hit” almost every time on a new coil!