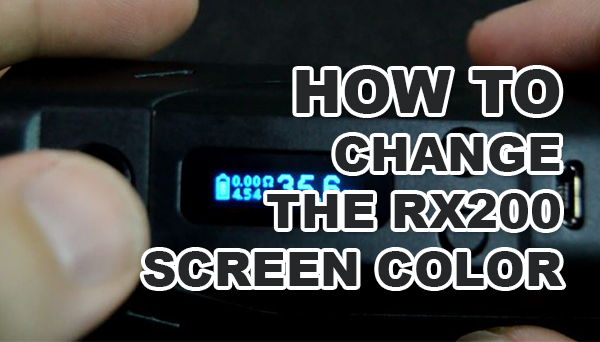

Follow this tutorial to learn how to change the Reuleaux RX200 screen color. As a note, you can also change the screen color on the Reuleaux DNA200 as well. Changing the screen color can be done in two methods, by using colored divider tabs or colored tint. For this tutorial, I’m going to show you the color divider tabs method.
Note: Thanks to Kanger Subtank Users on Facebook for sharing this information.
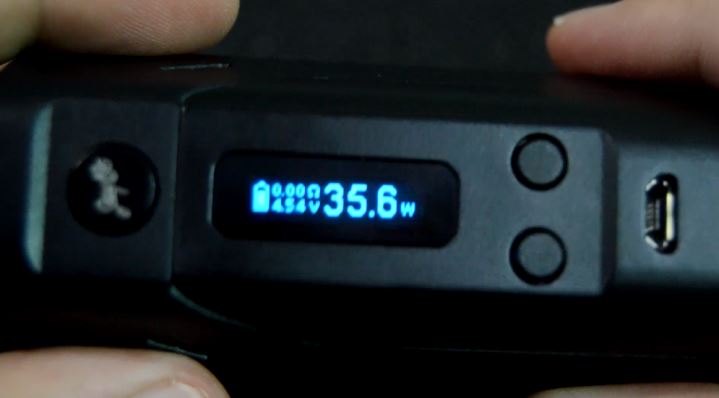
Using colored divider tabs, you can cut the tabs and tape them down over the screen lens on the RX200. Now, you’ll need to remove the front face plate to the RX200 so that you can access the back of the lens. Once you do that, you’ll be able to tape the tabs down over the lens, then reattach your front face plate back onto your RX200. That is the quick version of this process, but if you would like a detailed tutorial, follow the steps below and I’ll help you change your RX200 screen to look like this:

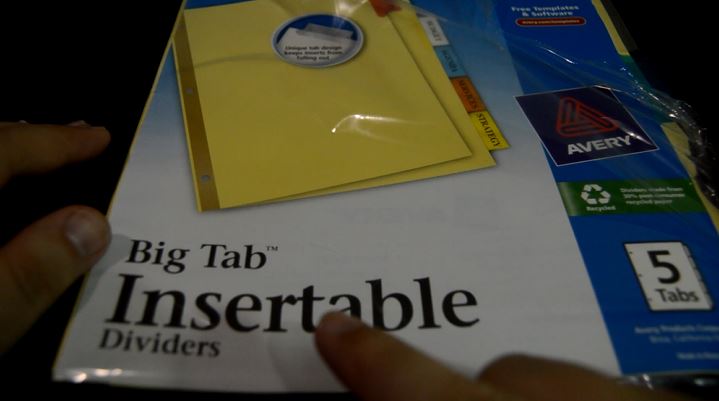
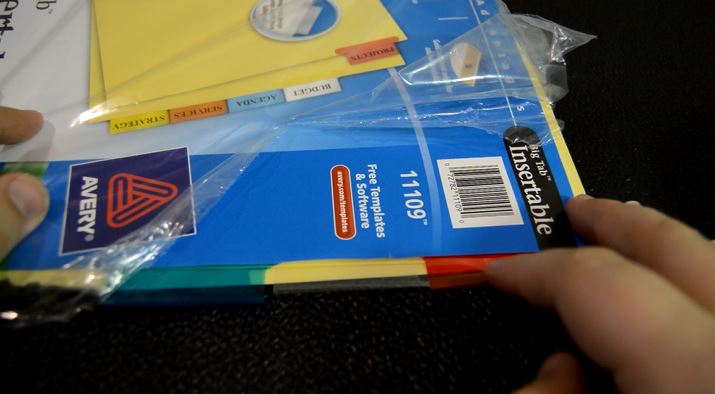
1. Purchase Big Tab Insertable Dividers
These are the tabs that you’ll use to cover the lens. Be sure that when you purchase this pack of dividers that you get a pack with the colors that you’re wanting to change your RX200 screen to.
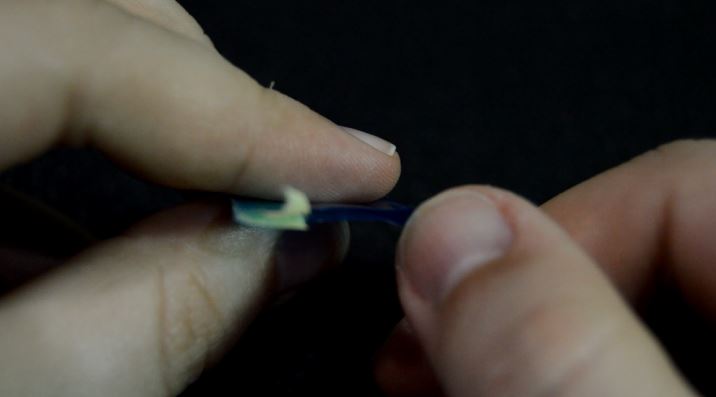
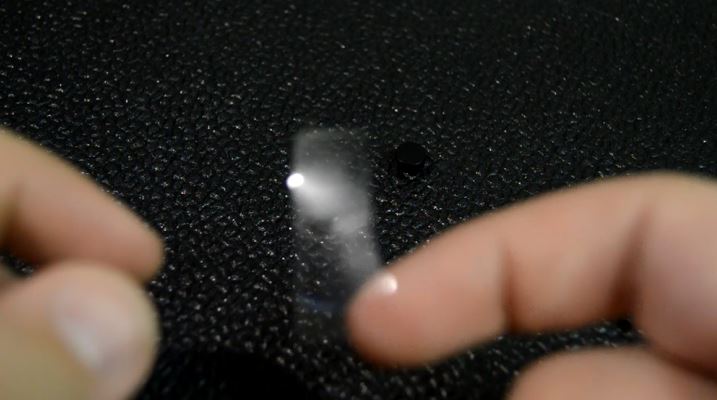
2. Pull The Colored Tab Off
Choose the color tab you want to use, then pull it off of the paper. Some of the paper will stick to the tab, but don’t worry, we’ll cut that part off.

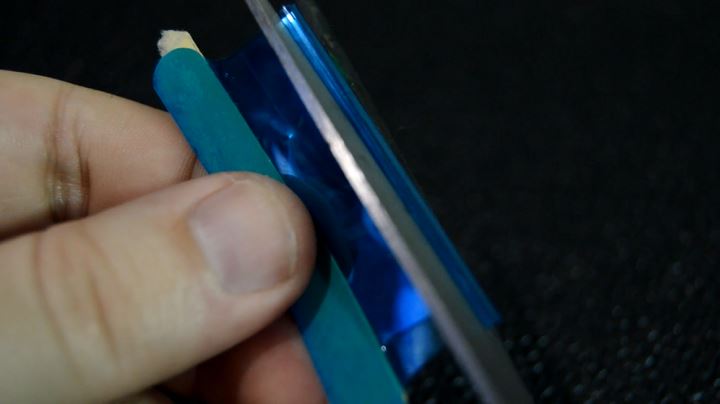
3. Cut The Tab To Shape
After you’ve pulled the tab off, there’s going to be a little hump on the tab where it bends over. We want the tab to be flat when placing it onto the lens.
Go ahead and cut that hump off of the tab so that you ensure it’s flat when placing it onto the lens of your device.
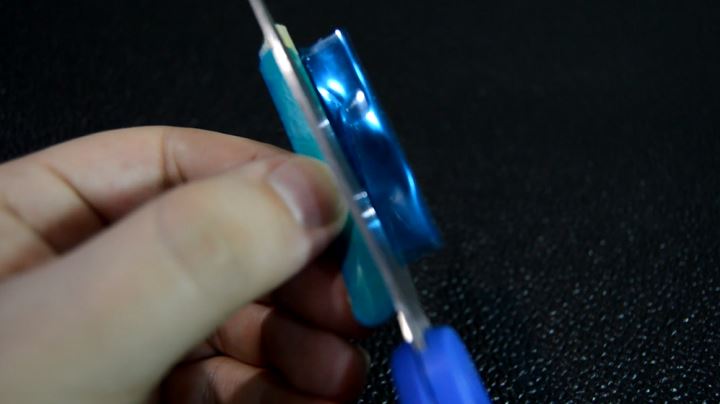
While you’re at it, go ahead and cut off the other side of the tab too, so that there’s no paper on your final cut tab.
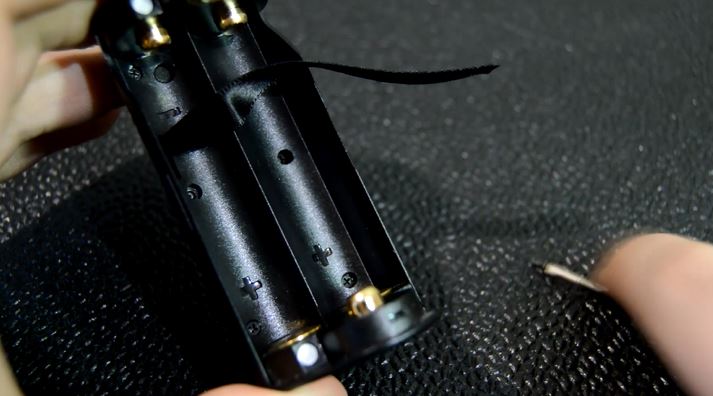
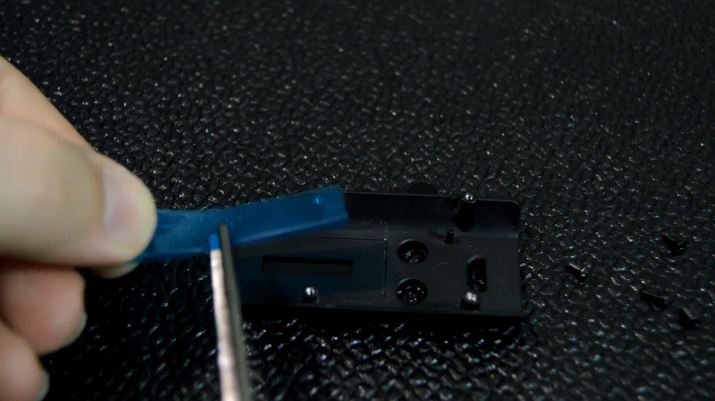
4. Remove The RX200 Face Plate
Now, you’ll want to remove the face plate from the RX200. If you remove your batteries from your device, you’ll notice 4 screws towards the middle and bottom. You’ll need to unscrew those 4 screws, which will allow you to detach the face plate.
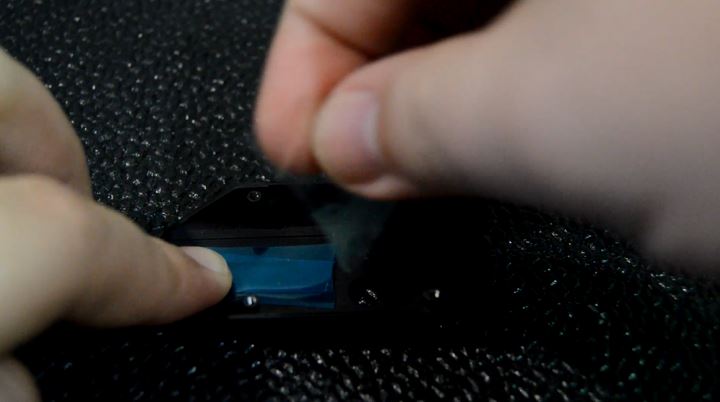
5. Last Tab Cut
Put the two colored tabs over the lens and see how long they need to be. Once you see how much it will take to fit over the lens area, then make your cut. Remember, the tabs just need to be a bit larger than that lens hole.
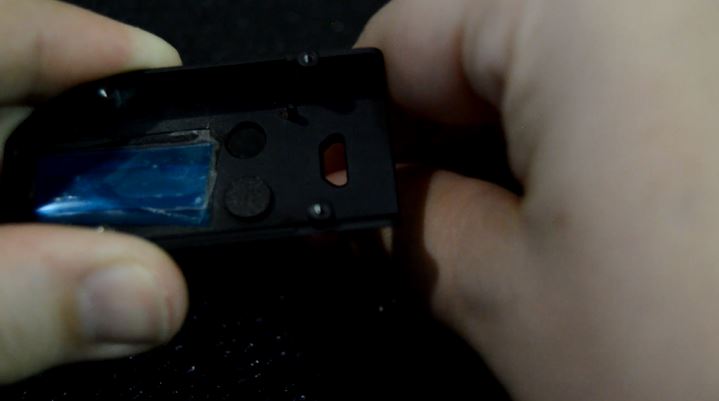
6. Cut A Piece of Tape
Now you’ll want to cut a piece of tape. You’ll need to cut the tape just a bit larger than your colored divider tabs. By doing this, when you place the tabs over the lens, then the tape over the tabs, it will stick to the tabs and the metal surrounding the tabs.
7. Tape The Tabs Down
Next you’ll want to place the tabs over the lens hole on the face plate, then place tape over them to hold them down. Be sure that your tape also goes onto the face plate so that the tabs stay in place.
8. Make Sure Your Buttons Are Back In
Chances are when you took off the face plate, the buttons may have fallen out. Those buttons are your adjustment buttons to control your RX200. If those fell out by chance, use this step to ensure that you’ve put the button back into the holes they fell out of.
9. Reattach the Face Plate
In this step you’ll want to reattach the face plate back onto the RX200. Just line it up with the conformity of the device, then screw the screws back in while holding the plate in position.

10. Insert Batteries and Enjoy
Now you can finally insert your batteries and enjoy your screen color change on the RX200!