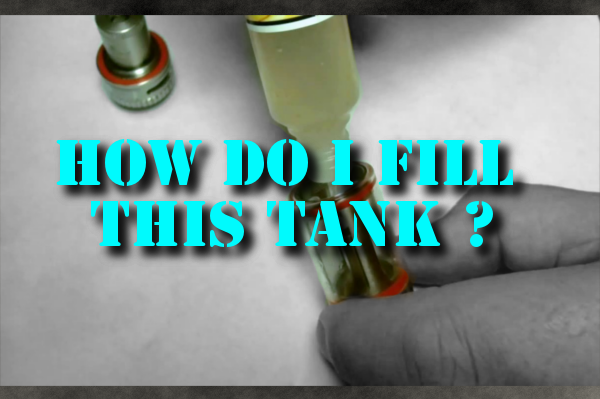

Do you know how to properly fill your tank with E-Liquid? The most basic principle of using vaping devices is the one the many people get wrong. Whether using a small clearomizer with a starter kit or a high-end Sub Ohm clearomizer like the TFV4, there are some simple principles that you should always remember to get an optimal vaping experience. There have been so many times that I have received emails from people asking me why the brand new coil they bought tastes burnt after 2 hits it isn’t funny. Two minutes of education could keep people vaping rather than having them believing that it is an expensive alternative that tastes no better than cigarettes. I am going to take the next minute or two to pass along some information that you may have missed, information that is given at many Vape Shop’s. Unfortunately with the market growing outside of dedicated locations, via website’s and convenience stores, many new vapers aren’t receiving the most basic information about their devices. Kick back, relax and get your reading glasses on: We are going to go through the basics of filling a tank!
Did You Pre-Drip Your Wick
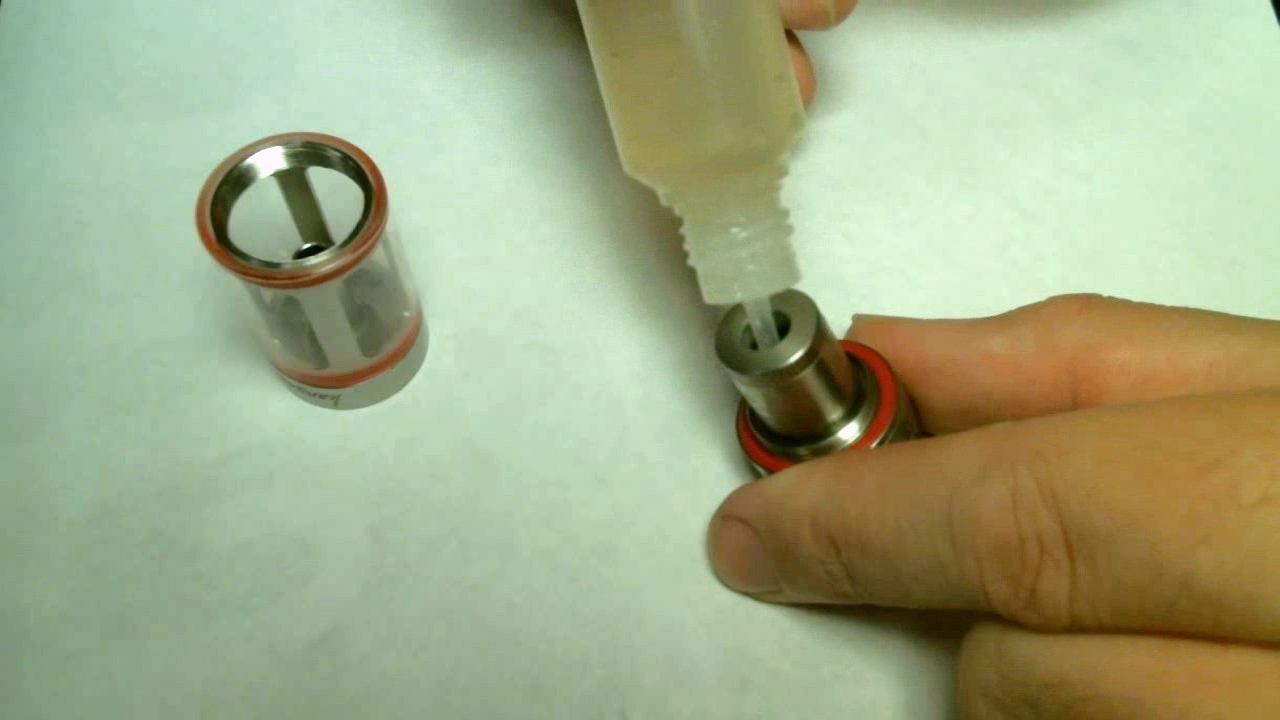
The most common reason for the dry hit blues on a fresh coil is simple. So simple in fact it will blow your mind. Most new vapers believe that putting e-liquid in the tank and waiting a minute will give the juice enough time to seep in and start vaping. When I started vaping almost 3 years ago, this was the information I was given and I blew through coils. The simple solution, which is now commonly accepted by everyone in the industry is to put a drop or two of liquid DIRECTLY onto the coil before assembly. By pre-dripping your coil, you aren’t relying on the pulling power of the fresh wick to get you started. This becomes ever more important as you move away from small clearomizer tanks where the coils cost pennies and move up to some of the industry beast’s, where a single coil can cost upwards of $8. Protect your investment and get the most out of your coil by dropping some liquid down the hole, you will notice the difference immediately.
Is My Juice Too Thick For This
Look at the tank system you have in your hand, the PG/VG ratio of your e-liquid will play a pivotal role in whether or not you have a great vaping experience. When looking at a coil system, I have a simple rule: The smaller the holes, the higher the need for PG (Propylene Glycol). PG acts as a thinning agent for VG (Vegetable Glycerin) and the other ingredients in your liquid. Trying to get Max VG e-liquid through tiny holes will result in your tanks inability to wick fast enough, which in turn will result in you pulling a sour face because of the dry hit you just got when you fried your coil. Most smaller coil systems are not equipped to deal with anything greater than a 50/50 mix, so don’t put an 80/20 VG mix anywhere near it.
Aim The E-Liquid For The Side Wall
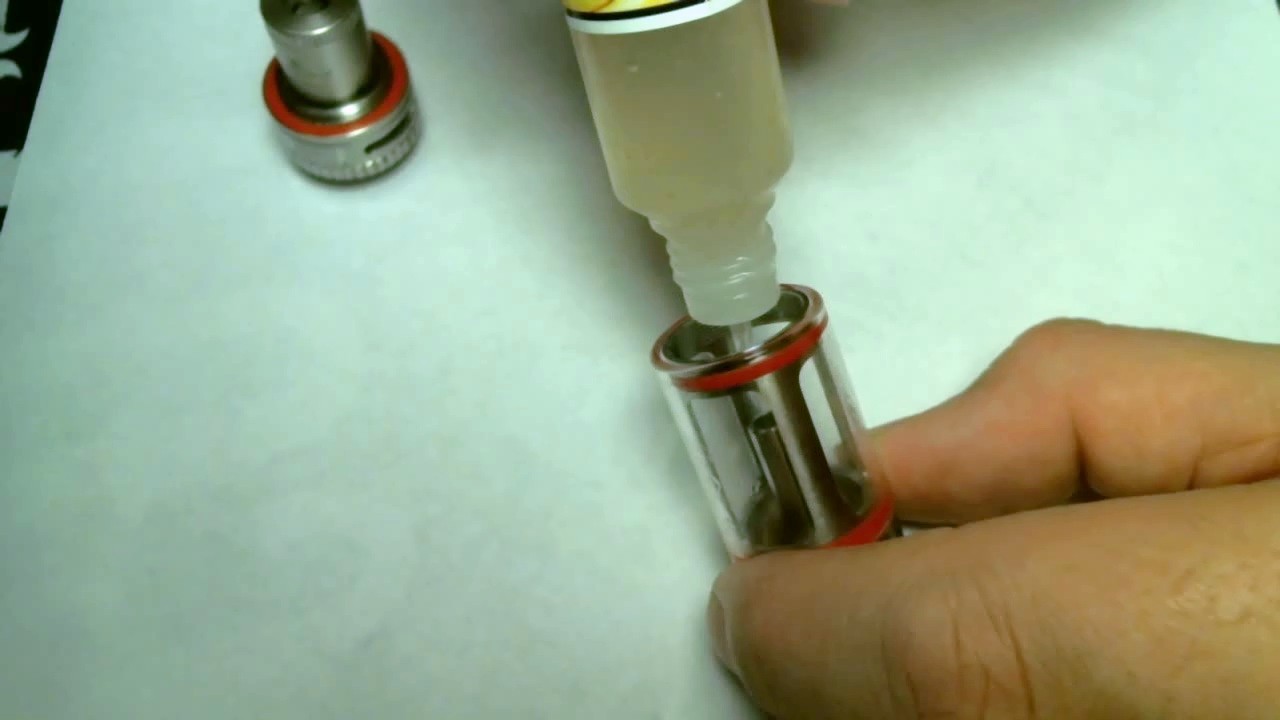
When you look down into any clearomizer you will see a post in the center with a hole in it. This is called the airflow channel and you do not want to put your e-liquid down it. The only thing you will achieve by getting e-liquid in there is a wet leg, so when filling your tank aim for the side wall made of glass or plastic. Keep the tank on an angle as you fill it to make sure nothing gets anywhere near the airflow channels hole until you are almost at the top, then straighten it out for the last little bit, making sure not to pass the fill line.
What Do You Mean, There Is A Fill Line
If your tank has had a problem with leaking, aside from simple fixes like threads not being tightened properly – which we will get to in a minute – all clearomizer’s rely on vacuum pressure to keep the liquid from dropping out of the bottom. With smaller bottom fill tanks, it is hard to over fill them as the center column is deliberately much shorter than the inside of the chamber. If you over fill those – as I used to do on a regular basis – the only problem you will have is e-liquid draining down the center channel and into your tip, which doesn’t taste great but it isn’t the end of the world. You should only ever fill them up until the e-liquid is level with the top of the air flow channel. When you get out in to the brave new world where top fill tanks are a reality, the same rules actually apply. When using the TFV4 – my favorite tank, which is why it keeps getting referenced – you still need to keep an air bubble at the top prevent gravity from doing its dastardly deed. For some time I was tempted to jam the tank full with as much e-liquid as humanly possible, but after a couple of wet hands and having to dry out my IPV3 Li, I learned my lesson.
Rubber Bits And Twisty Things
You should always pay attention to the gaskets and threads on your tank, and while you are filling it is a perfect time to glance over them. When using disposable or smaller clearomizers, if the rubber looks bad – with little tears and pieces missing – it is probably time to invest in something else. Many of the higher end tanks now come equipped with spare glass and new O-rings to keep them in circulation for a longer period of time. Just like any mechanical device, pieces wear out over time. Keep the screw threads clean and the gasket tracks free of debris and you will get a much longer life cycle out of them.
Let It Warm Up First
Imagine getting into your vehicle, pushing the gas pedal to the floor and then starting the engine. Now sit there for the next 10 minutes without letting your foot move even slightly: my guess is you wouldn’t. Your tank is no different from the engine of your families automobile, you have to let it break in and warm up before giving it full power. After installing the coil, for the first few hits, use it at the lowest power setting it will allow. Most coils have the power limits written right on the side, just use the lowest one. After a few minutes, you can move up the scale, slowly until you reach the limit of the coil, or the optimal setting for you personally.
Conclusion
Six simple steps that will keep you from having a bad vaping experience, nothing overly complicated and now that you have read them, they seem like common sense. These simple steps are already being shown to people in a lot of vape shops, but as most vapers have never stepped inside one, this article is for them.
As always, enjoy your vaporizer and vape safe!