Today, I’m going to be hydrodipping the Reuleaux DNA200 Mod and filming this tutorial during the process. I’ve been wanting to give the hydrodipping project a try for a while now, so I figured what the hell – as I learn it, you can too. This way of transferring an image doesn’t only apply to the Reuleaux DNA200, you can do this on a number of things, such as controllers, the caps to your RDA’s, cell phone cases, and just about anything else that you can apply paint to. I just happen to use this mod as my guinea pig.
If you do a Google search, you can find a few places that offer dip kits, meaning it will come with everything you need to water transfer an image that you’ve chosen. You’ll obviously need to purchase a bucket separately (used to hold the water), some latex gloves, and paper towels.
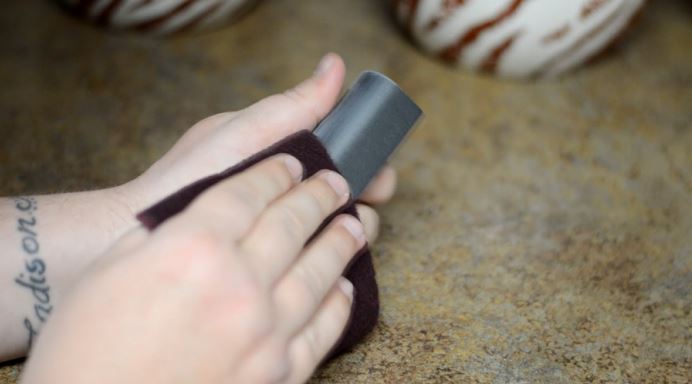
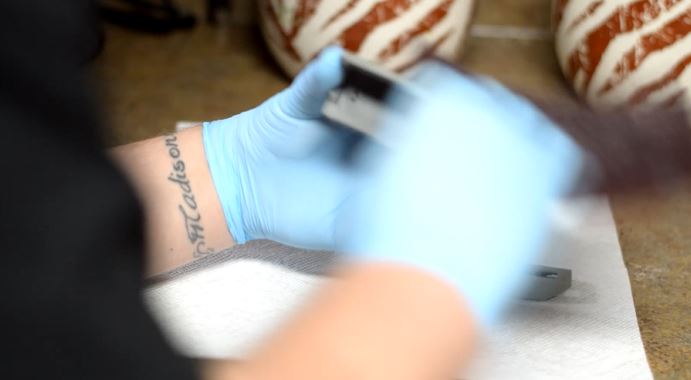
1. Preparing The Parts
You’ll want to first start by scuffing of the paint on your part. You do this so that the primer will stick to the part. Next you’ll need to wash the part. Get a clean paper towel and dry the part off. Once you dry the part, you can look over the part to ensure that you’ve scuffed it completely. If the gloss coat is no longer visible on the part and it gives off a dull appearance, then it’s good to go.
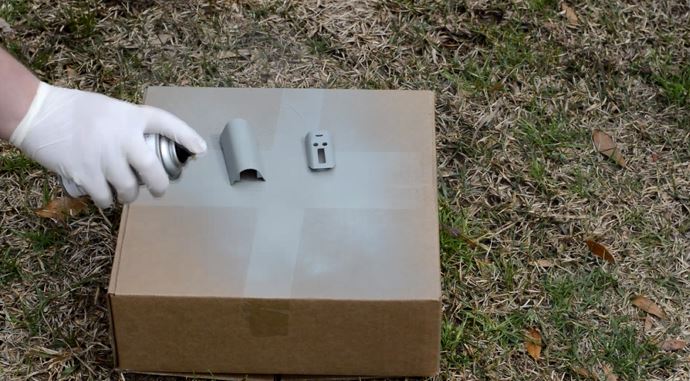
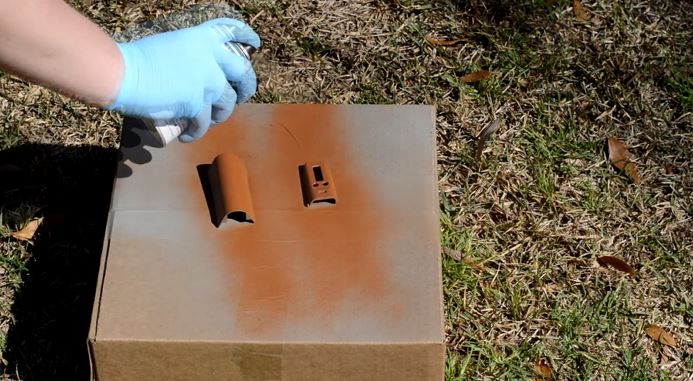
2. Applying the Primer
When you’re ready to apply the primer, you need to first make sure you shake up the can really well. Then begin by spraying the parts with the primer, but applying a light and even coat. Give the primer around 15 to 20 minutes to dry and apply another light and even coat.
3. Scuffing The Primer
Now use the clean side of your scuff pad and lighting scuff the primer once it has had time to dry thoroughly. Do not scuff it up too much or you’ll go through the primer. You’ll want to scuff it up enough to where the primer is smooth to the touch. Next grab a peice of paper towel and wipe off the scuffed part real good.
4. Applying The Base Coat
When applying the base coat, which is the main color of your part, spray it light and even just as you did with the primer. Let that sit for a while, maybe 15 to 20 minutes, then spray another light and even coat. If you feel that it didn’t cover perfectly, wait another 15 or 20 minutes and apply another coat to the part(s). If you’re not rushing the project like I am, you can actually research further into sanding the paint to remove any imperfections and actually making the paint job smooth to the touch. However, I don’t care too much right now about this being perfect, because to be honest moving this camera around to take these shots has already started to get old. Not setting the best example, am I?
5. Preparing The Film (Graphic)
In this step you’ll want to roll out some of the film, then cut how much you think you’ll need. You can use this video attached to this post to reference about how much I use for these parts. And, not to mention, you can’t cut the film too big or it won’t be able to fit in your bucket or container that you’ve purchased to hold your water. Since I have two parts that I’m going to be dipping, I cut two pieces. Once you’ve cut those, you’ll need to outline the film with masking tape (or any type you may have lying around). The instructions say that you do this to help stabilize the film while it’s in the water. I’m guessing that means that it makes it where the film doesn’t dissolve too much – don’t know, not quite sure on that one. Then cut a slit on each flat side of the tap, which will allow the film to expand once it’s in the water.

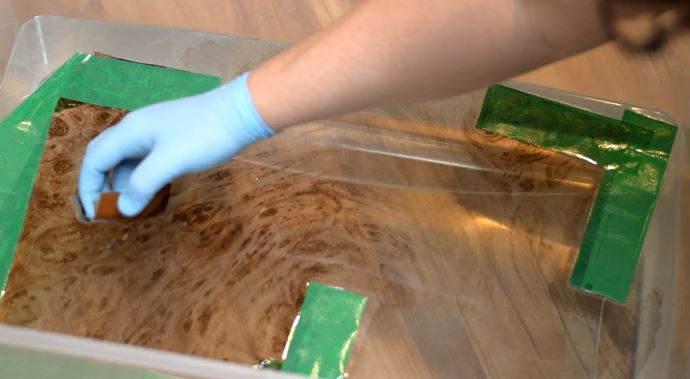
6. Hydrodipping
When you’re ready to put the film in the water, grab two corners of the film, then gently lay it into the water, trying to prevent any air bubbles from getting underneath. Once you’ve placed the film in the water, let it sit for 60 seconds, then spray the activator onto it. Let the activator do its thing for about 20 seconds, then dip the part at an angle, pushing the part onto the ink so that it completely covers it.
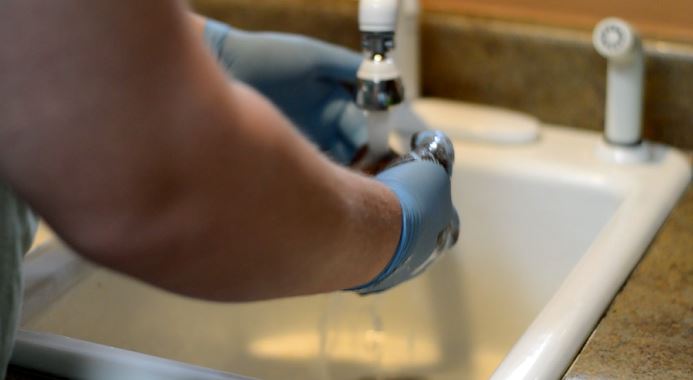
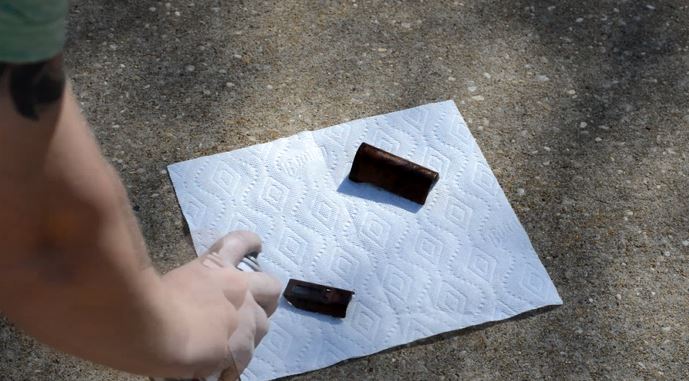
7. Washing Off The Excess Film
Now you’ll want to immediately wash the excess film off the part. If you run it under warm water, it helps remove the excess film even better. You can tell if the excess film is gone when there is no longer a glossy look on it. Once you do that, set the part onto a paper towel and let it self dry.
8. Dip The Second Part
9. Wash Off Excess Film On Second Part
10. Applying The Clear Coat
Now you’ll want to spray the high gloss clear coat on your parts. Just like we did with the primer and the base coat, spray a light and even coat. Wait for about 20 minutes or so, then spray another light and even coat. Let that dry thoroughly for about an hour or two, then put your device back together. Now, if you want to make your part perfect and beautiful, you can research into wet sanding and polishing so that you can make the part super smooth and very glossy.
The Finished Product