
Coil connection issues can quickly become every vapers pet peeve. Some folks will use ohm readers, as they are putting their systems together, even with pre-built coils from the factory. But unfortunately, many of us just blindly believe that they are going to work properly. We have put together a quick check list to make sure that you fill your tank with e-liquid and you won’t have to empty it back out to fix things. Unless you’re using a top coil system, everything we are about to discuss should be on your list of things to do as you change out your coils, no matter if you’re using an RDA or Tank.
The Best Way To Fix A Coil Problem Is To Prevent It From Happening
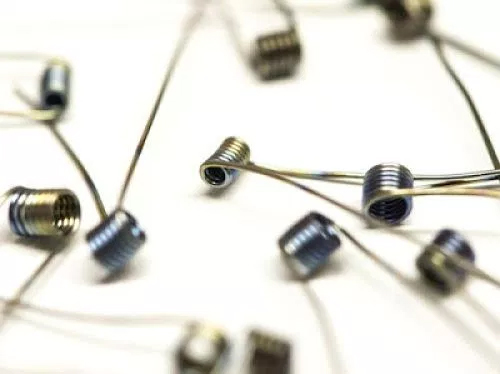 I mentioned in the top of the post that some people will religiously check their coil(s) reading before they put their systems together — this is a habit everyone should get into. Even though you just popped that coil out of its blister pack and read what its supposed resistance is, put it on an ohm reader. They’re not expensive and can help you out with much more than just figuring out the wattage range of the coil. If you put a coil on a reader, even if it’s the one built-in to your mod and it reads anything other than what you expect, it may have a problem. It could be shorting out somewhere, the connections may be loose or it may just be a dud coil. A good practice to get into is checking every coil before you put e-liquid anywhere near them.
The Check List
If your reader just gave you attitude with an “Atomizer Short” or “0.0Ω” reading, follow this quick checklist to find and fix the problem.
- Are The Connections Secure?
If it’s an RDA or RBA, you may not have tightened the screws enough to get a solid connection. If you have burned your coils after building to pinch and pulse them, the screws may have become loose. Get into the habit of checking the screws to make sure they are secure, just don’t over do it as you may strip out your posts.
- Are The Coils Even?
If you just rolled 2 coils and one is longer than the other, this could potentially cause connection issues. Pay attention to the number of wraps you do for each side to make sure this doesn’t happen.
- Is A Coil Shorting Against The Deck?
This happens more often than you would think, a coil is too close to a post or the outer deck and arcs out, causing a short. Get into the habit of physically checking the coils to make sure that the only parts touching anything are the lead ends going into the deck. If you see the coil is too close to anything, move it away from the problem.
- Is There Debris on The Deck?
If I had a dollar for every time I’d shorted a deck because of a tiny piece of Kanthal, I’d have 5, maybe even 6 dollars. This is one of the most common causes of deck shorts and can be avoided by looking at the deck, or my personal favorite, running a magnet around the deck to grab hold of any stragglers.
- Did I Leave A Piece of The Old Coil Inside The Post Hole?
It happens. Before installing new coils, get into the habit of physically check for, and removing, any old pieces of wire. Again, as long as you have undone the screws enough, this can be quickly achieved with the use of a magnet.
- Did I Accidentally Cut Through My Coil While I Was Stripping The Excess?
Don’t judge, I am just giving you every possible reason for your coils not to be working and this does happen. Unfortunately, if this is the cause of your short you are going to have to go back to wrapping and start again.
Pre-Built Coil Issues
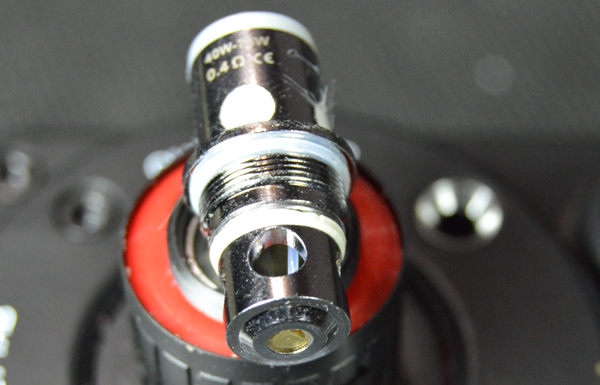 These are generally much simpler as there are no screws to deal with and 9 times out of 10 the connection issue is as simple as one of the connection points crossing over to its opposing polarity. One piece of wire is supposed to touch the positive side of the circuit, normally the 510 pin at the base, and the other one is supposed to be nowhere near it.
- If you happen to see the positive post coming out from beneath an insulator and arcing to the negative side, pull the 510 pin out, adjust the wire and put it back together. After that just make sure it is seated correctly in its housing and check it on the meter again.
- Another issue you may run into is the coil not being correctly seated in the tank. Make sure that it is threaded in properly and tightened down as much as possible. You would be surprised how many people take their “broken mods” into vape shops because of this issue. If you can still turn the coil in its seat, its not tight enough.
- Make sure that you have no debris inside the coil housing. Something as simple as a piece of plastic could prevent a solid connection and cause an atomizer short. Get into the habit of checking it and wiping out the area every time you open up the tank.
- Even with pre-made coils and tank bases I would suggest using an Ohm reader, just to check if the coil is reading right. it is much easier to figure out what is wrong with your set-up before you fill it with e-liquid.
Conclusion: If you run through these checklist and see nothing out-of-place, the problem may not be with the coil connections at all. Make sure to check out our 510 connections issue post to carry on diagnosing the system.


Sometimes it’s your mod … my relauex only works with adjustable 510s
Very true.
i fixed mine by bunching my battery pack after trying everything for over an hour! thanks technology!
It is often assumed that the problem lies with the tank or the mod when often times it is with the coil, especially with pre-built coils!
Why my vaporesso attitude kit displays ‘High Temperature’ Message